Table of Contents
Advertisement
Quick Links
Advertisement
Table of Contents

Related Manuals for Kärcher KM 150/500 R LPG


Summary of Contents for Kärcher KM 150/500 R LPG
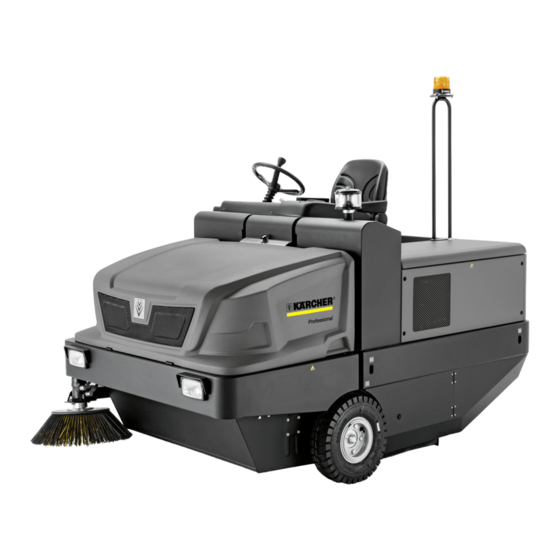
- Page 1 KM 150/500 R LPG 59641240 01/14...
-
Page 3: Table Of Contents
Please read and comply with assigned the task of handling the appli- Safety instructions these original instructions prior ance. to the initial operation of your appliance and The appliance must not be operated by – General notes store them for later use or subsequent own- children, young persons or persons ers. - Page 4 by slowly letting out the gas in open Danger In the installation and storage rooms as spaces by conforming to all safety reg- Risk of explosion! Do not handle liquified well as the workshops ulations and are to be indicated as gas like petrol.
-
Page 5: Symbols On The Machine En
The machine may not be used or stored – Symbols on the machine Symbols in the operating instruc- in hazardous areas. It is not allowed to tions use the appliance in hazardous loca- Risk of burns on account of tions. Danger hot surfaces! Allow the ex- The following applies in general: Keep... -
Page 6: Operating And Functional Elements
Operating and Functional Elements KM 150/500 R LPG Operating field Function keys 1 Cabin door (option) 2 Driver cabin (optional) 3 Beacon lamp 4 Windshield wiper (option) 5 Blinker (option) 6 Heating/air conditioning (option) 7 Operating field 8 Steering wheel... -
Page 7: Multifunction Display
Multifunction display Before Startup Install/replace gas bottle Warning Lock/ release parking brake Only use replacement cylinders with 11 kg Loosen parking brake; press brake contents of tested models. pedal at the same time. Danger Activate the parking brake; press brake Risk of injury! pedal at the same time. -
Page 8: Inspection And Maintenance Work
Caution Inspection and maintenance work Open the gas supply Risk of damage! Only use the direction Check engine oil level. switch when the machine is standing still. Check the water cooler. Set the travel direction switch to "back- ... -
Page 9: Emptying Waste Container En
Reinsert the cotter pin into the locking Sweeping damp or wet floors Close the gas inlet pin to store it. Switch off the blower. Set the programme switch to sweep with sweeping brush when cleaning surfaces. Set the programme switch to sweep with sweeping brush and side brush when cleaning edges. -
Page 10: Maintenance And Care
Check brake fluid status. General notes on safety Maintenance and care Check the pad for wear, replace if re- Danger quired. General notes Risk of injury! Always apply the safety bar Check the container lid and lubricate it. when the waste container is raised. - Page 11 Danger Danger Risk of explosion! Do not put tools or similar Charge the battery only with an appropriate on the battery, i.e. on the terminal poles charger. and cell connectors. Danger Risk of injury! Ensure that wounds never come into contact with lead. Always clean your hands after having worked with batter- ies.
- Page 12 Note: Tighten the oil drain screw using a Note: When installing the new roller brush, Checking roller brush torque wrench to 25 Nm. ensure correct positioning of the bristle as- Start the motor. Fill in motor oil. sembly. ...
- Page 13 Open the side cover as described in Check and adjust sweeping track of the Chapter "Replace brush roller". side-brush Release the 6 wing nuts on the side Check tyre pressure. holding plate. The side-brushes lift up. ...
-
Page 14: Ec Declaration Of Conformity En
EC Declaration of Conformity FU 05 Time relay 30 A Seat contact switch We hereby declare that the machine de- FU 06 Ventilator motor hy- 25 A scribed below complies with the relevant draulic cooler basic safety and health requirements of the EU Directives, both in its basic design and FU 07 Program selection... -
Page 15: Troubleshooting
Troubleshooting Fault Remedy Appliance cannot be started Sit on the driver seat, the seat contact switch gets activated. Charging or replacing battery Gas bottle empty - replace gas bottle. Gas removal valve closed - open the valve by turning it in anti-clockwise direction. Inform Kärcher Customer Service. -
Page 16: Technical Specifications
Technical specifications KM 150/500 R LPG Machine data Drive speed, forward km/h Drive speed, reverse km/h Climbing capability (max.) Surface cleaning performance without side brushes 13200 Surface output with side-brush 16500 Working width without side brushes 1200 Working width with side-brush... - Page 17 Roller brush Roller brush diameter Roller brush width 1200 Speed 1/min Sweeping track Side brushes Side brush diameter Speed (continuous) 1/min 0 - 54 Tyres Size, front 5.00/8 10 Air pressure, front Size, rear 5.00/8 10 Brake Front wheels mechanical Rear wheel hydrostatic Filter and vacuum system...
- Page 19 http://www.kaercher.com/dealersearch...
Need help?
Do you have a question about the KM 150/500 R LPG and is the answer not in the manual?
Questions and answers