Advertisement
Table of Contents
- 1 Checking the Proper Connections for each Unit
- 2 Remote Condenser
- 3 Step 2: Refrigeration Connection between both Units
- 4 Remote Condenser Piping Connection
- 5 Step 3: Installation Leaking Test and Vacuum
- 6 Step 4: Open Gas and Liquid Taps
- 7 Step 6: Start up
- 8 Step 5: Only for Greater Distances than 5 Meters between Units
- Download this manual
REMOTE MR 400 INSTALLATION
STEPS TO INSTALL A REMOTE MR 400
STEP 1: PLACING BOTH UNITS (REMOTE CONDENSER AND SPLIT MACHINE) IN ITS LOCATION
CHECKING THE PROPER CONNECTIONS FOR EACH UNIT:
REMOTE CONDENSER:
It needs an electrical supply (check label with power supply specifications). It comes
without an electrical cable. Connect to the power supply directly (it does not need
communication with the split unit).
To connect, remove the rear cover, using a Torx screwdriver. The electrical cable must
go through the hole next to the piping hole. Use a 3x1.5 mm
Terminal connector to supply electrical power to the remote condenser, located behind the
Level the unit correctly.
Locate the remote condenser unit under a shadow. We advise to place it under a roof,
whenever possible.
The remote condenser unit works between 0ºC (32ºF) and 43ºC (109.4ºF) air
temperature.
metallic cover.
2
electrical cable.
Terminal connector
Cable
passing hole
Advertisement
Table of Contents

Related Manuals for ITV MR 400


Summary of Contents for ITV MR 400
- Page 1 REMOTE MR 400 INSTALLATION STEPS TO INSTALL A REMOTE MR 400 STEP 1: PLACING BOTH UNITS (REMOTE CONDENSER AND SPLIT MACHINE) IN ITS LOCATION CHECKING THE PROPER CONNECTIONS FOR EACH UNIT: REMOTE CONDENSER: It needs an electrical supply (check label with power supply specifications). It comes without an electrical cable.
- Page 2 REMOTE MR 400 INSTALLATION Check the air direction through the remote condenser, always install the unit with the air direction out to the ambient when installed in a wall, to avoid condensed air returning to the condenser. If more than one unit is going to be installed, please located them to avoid the...
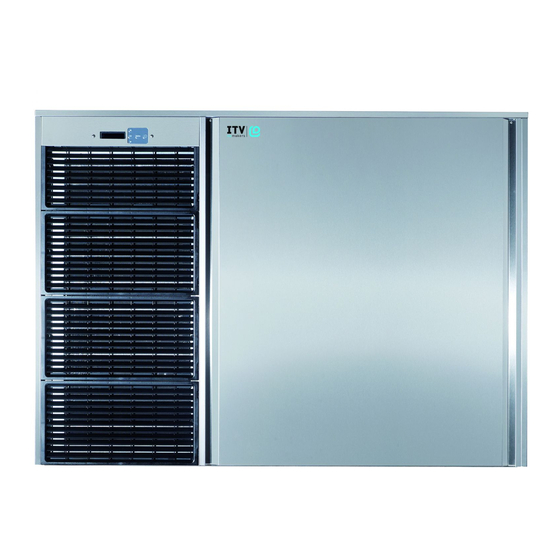
- Page 3 REMOTE MR 400 INSTALLATION MR400: It needs an electrical supply (check label with power supply specifications). The unit comes with an electric cable, and no plug. Water supply: it needs a water tap nearby. The unit comes with a water hose, ¾” GAS connection, and two net filters.
- Page 4 REMOTE MR 400 INSTALLATION Always connect the remote condenser to the refrigeration pipes by welding. The remote condenser comes with the inlet gas pipe closed, and the outlet liquid pipe with a gas intake. Cut both pipes to weld.
- Page 5 REMOTE MR 400 INSTALLATION STEP 5: ONLY FOR GREATER DISTANCES THAN 5 METERS BETWEEN UNITS If the distance between the remote condenser and the split is greater than 5 meters, it is necessary to add some refrigerant. Add 40 grams per extra meter, up to 15 meters maximum.
Need help?
Do you have a question about the MR 400 and is the answer not in the manual?
Questions and answers