Advertisement
17760 Rowland Street
City of Industry, CA 91748
626/369-2695
WARP9
- WP9L / WP9S Installation Instructions
®
WARNING: Fixtures must be grounded in accordance with local codes or the National Electrical Code.
!
Failure to do so may result in serious personal injury.
MAINTENANCE: A regularly scheduled maintenance program should be established to retain
!
optimum light output and reduce heat retention. Dusting with a soft, clean, dry cloth is normally
sufficient for the reflector. Any accumulation of dust or dirt should be removed regularly from both sides
of the lens during re-lamping (using ammonia water). Do Not use alkaline or acid cleaners on reflector
surfaces.
Kim Lighting recommends mounting WARP9 luminaires on round poles to further improve aerodynamics
and lend to the fixture's camouflaged appearance. Round poles have less visual signature than
square poles.
NOTE: All wiring must be done by a qualified electrician.
KEEP THIS SHEET FOR FUTURE REFERENCE.
Parking lots and roadways require luminaire on 20' - 40' poles to efficiently light these large areas. Pedestrian areas
require poles to decrease in height to 10' - 16'. Avoid installing pole-mounted luminaires close to the building, as they
tend to dominate the architecture.
Attention: If your fixture is equipped with a multi-tap ballast and if no voltage was specified on the purchase order, the
ballast has been wired for operation on a 277 volt circuit (347V in Canada). If other than 277 volts is required, i.e.; 208V,
240V, connect incoming voltage lead to required voltage on terminal block.
INSTALLATION INSTRUCTIONS:
Tools Required:
N" Socket Wrench
q
1. Lay pole horizontal on padded supports
to protect finish. Pull field wires
through pole and out the top. Tie-wrap
wires to pole backing plate. Tie wires
in a knot or back loop through
tie-wrap.
1/18/17
EC 170118003
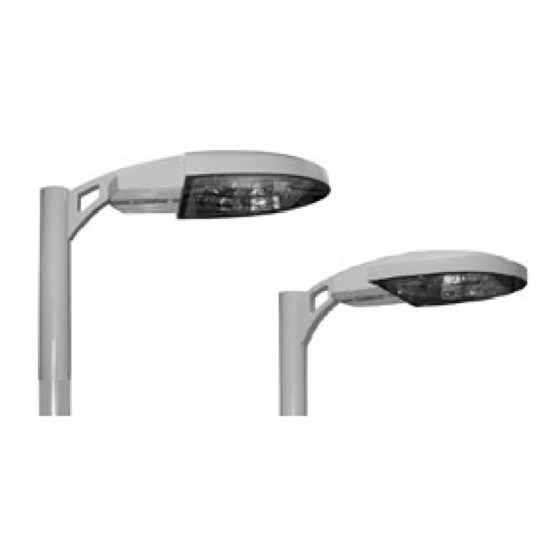
WP9LE
WP9LM
!
Make certain electrical supply is OFF before starting fixture.
2. Attach fixture assembly to pole
(2 places) using washer and C" bolt.
Be sure fixture is aligned with anchor
base and other fixtures for multiple
mounts. Tighten to 20 ft.-lbs. using
N" socket wrench.
Rev 6
WP9SE
WP9SM
C" Bolt
Attachment
3. Install arm access cover and secure
with self retained screw using a
B" Allen wrench.
B" Allen Wrench
q
93012589
Advertisement
Table of Contents

Related Manuals for HUBBELL LIGHTING KIM LIGHTING WARP9 WP9L


Summary of Contents for HUBBELL LIGHTING KIM LIGHTING WARP9 WP9L
- Page 1 17760 Rowland Street WP9LE City of Industry, CA 91748 WP9LM WP9SE 626/369-2695 WP9SM WARP9 - WP9L / WP9S Installation Instructions ® WARNING: Fixtures must be grounded in accordance with local codes or the National Electrical Code. Failure to do so may result in serious personal injury. MAINTENANCE: A regularly scheduled maintenance program should be established to retain optimum light output and reduce heat retention.
- Page 2 WARP9 - WP9L / WP9S Installation Instructions ® INSTALLATION INSTRUCTIONS (cont.) Disconnect Plug Disconnect Plug 4. Slide latch back to open ballast 5. Join the disconnect plug halves between 6. Always make sure retention cable is compartment. Use both hands as the the socket &...
- Page 3 WARP9 - WP9L / WP9S Installation Instructions ® LAMP INSTALLATION & REPLACEMENT (cont.) WARNING: This HID /Fluorescent utilizes a lamp that may contain mercury. For information on disposal of lamp, go to website: www.lamprecycle.org Manufacturer Power Rating Lamp Type 150W Ceramic 100W Ceramic...
Need help?
Do you have a question about the KIM LIGHTING WARP9 WP9L and is the answer not in the manual?
Questions and answers