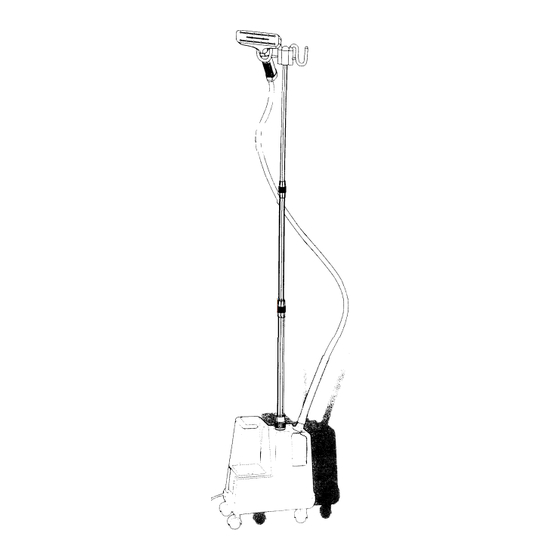
Summary of Contents for Steamfast SP-350 Series
-
Page 1: Before Use
Built for years of care-free use, Read These Instructions completely before use. MODEL SP-350 Series Please read this manual before using and keep for future reference. - Page 2 Dear Consumer Thank you for purchasing the SteamFast Professional Style steamer. In order to prolong the life of your steamer we recommend that the water tank be drained between each use if tap water is being used. This will reduce liming as a result of hard water.
- Page 3 INTRODUCTION Congratulations on your purchase of the Steam Fast professional Steamer. You will find that the Steam Fast easy to use and extremely versatile. Your new steamer provides professional results every time! 1. Holds over one half gallon of water 30 minutes of continuous operation.
-
Page 4: Important Safety Instructions
IMPORTANT SAFETY INSTRUCTIONS When using electrical appliances, always follow basic safety precautions, including the following: 1 . Read all instructions. 2. To protect against risk of electrical shock, d o not put appliance in water o r other liquid. 3. Close supervision near children. - Page 5 LEARNING ABOUT YOUR STEAMER Please refer to the picture for each point (1) The control HANDLE on the end of the hose sits just before the nozzle. The HANDLE is designed to be heat free and is safe to grasp. Use the HANDLE to aim the direction of the steam released from the nozzle.
- Page 6 STEAMER ASSEMBLY STEP 1 -ATTACHING THE ROD A. Set the appliance on a steady surface. B. The Rod is shipped in a collapsed position and must be extended for use. Take the Rod and loosen the Top Knurled Knob slightly by rotating it counter-clockwise.
-
Page 7: Steamer Operation
STEAMER OPERATION STEP 1 - PREPARATION FOR USE A. Set the unit on the floor and remove the water container. Check the inside of the container the sediment. If present rinse the container and following the Removing Mineral Buildup procedure f o u n d later in this manual. -
Page 8: Importance Notice
PRESSING WITH STEAM 1 . G r a s p t h e c o n t r o l h a n d l e with t h e nozzle facing upward. Beginning at the bottom of the fabric will allow the s t e a m t o r i s e i n s i d e a n d o u t s i d e removing wrinkles. -
Page 9: Cleaning And Storing
Drain the unit by removing the drain plug (located at the side of the main unit-see P.4 # 1 1). This will allow contents of the reservoir (main unit) to drain. Tipping the unit in the direction of the drain plug to remove any remaining water. -
Page 10: Other Important Notes
OTHER IMPORTANT NOTES During operation the steamer hose gurgle a. This is a normal result of condensation collecting inside the hose. Simply lift the control handle upward until the hose is extended to its f u l l height. b. The gurgling will disappear when the excess moisture inside the hose has had a chance to drain back into the base. - Page 11 TROUBLE SHOOTING THE STEAMER PROBLEM CAUSE Steamer fails to heat No steam Water drips from nozzle Nozzle gurgles Steam is intermittent Water tank Valve leaks Note: Water chemicals and conditions will vary in different areas. To insure continued operation of the steamer, never store without cleaning and removing excess water from the reservoir and water container.
- Page 12 Removing Mineral Buildup One common problem with steamers is mineral buildup caused by the high mineral content in many municipal water supplies. Mineral residue inside of the internal pipes and heater can cause intermittent steaming or in severe cases no steaming at all.
- Page 13 Reassembling The Water Tank Valve Cap If the plunger becomes separated from the Valve Cap, follow the following procedure. A. Grab the Value Cap Assembly and rotate it counter clockwise about 1/8th of a turn. Lift straight up t o remove the cap.


Need help?
Do you have a question about the SP-350 Series and is the answer not in the manual?
Questions and answers