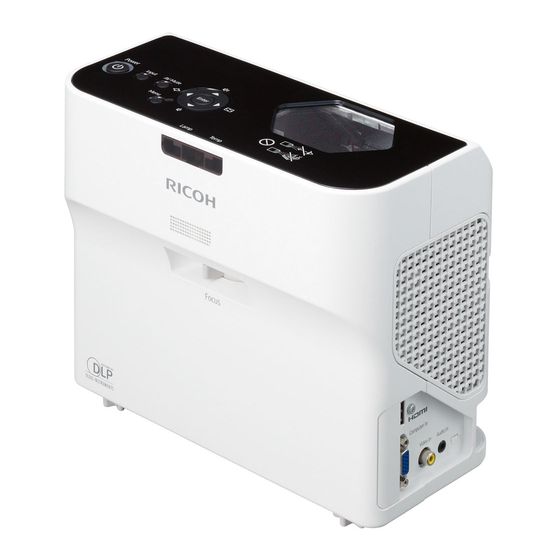
Ricoh PJ WX4130 Setup Manual
Hide thumbs
Also See for PJ WX4130:
- Operating instructions manual (100 pages) ,
- Brochure & specs (4 pages)
Table of Contents
Advertisement
Quick Links
Advertisement
Table of Contents

Summary of Contents for Ricoh PJ WX4130
- Page 1 Setup Guide Preparations for Using the Projector Projecting an Image Appendix Read this manual carefully before you use this machine and keep it handy for future reference. For safe and correct use, be sure to read “Safety Information” before using the machine.
-
Page 3: Table Of Contents
TABLE OF CONTENTS Manuals Provided with the Projector........................2 Manuals for the Projector..........................2 Viewing the PDF Manual on the CD-ROM.......................3 How to Read This Manual..........................4 Symbols................................4 Notes................................4 1. Preparations for Using the Projector Checking the Accessories..........................5 Connecting Equipment to the Projector......................7 Connecting a Computer..........................7 Connecting AV Equipment..........................7 Connecting the Power Cord..........................9... -
Page 4: Manuals Provided With The Projector
Manuals Provided with the Projector Manuals for the Projector Read this manual carefully before you use the projector. Refer to the manuals that are relevant to what you want to do with the projector. • The manuals are provided in various formats. ®... -
Page 5: Viewing The Pdf Manual On The Cd-Rom
Viewing the PDF Manual on the CD-ROM This section describes how to view the PDF manual on the supplied manual CD-ROM. File path The manual is included in the following folder on the CD-ROM: Manual\(language) Insert the CD-ROM in the CD-ROM drive of your computer. Double-click the "Manual"... -
Page 6: How To Read This Manual
How to Read This Manual Symbols This manual uses the following symbols: Indicates points to pay attention to when using the projector. Indicates supplementary explanations of the projector’s functions, and instructions on resolving user errors. Indicates the names of buttons on the control panel and remote control. It also indicates items displayed on the menu screens. -
Page 7: Preparations For Using The Projector
1. Preparations for Using the Projector Checking the Accessories The projector is provided with the following accessories. Make sure that everything is included in the package. If anything is missing or damaged, contact your sales representative or service representative. Remote control AAA battery LR03 (2 ea) RGB cable (3 m) Power cord... - Page 8 1. Preparations for Using the Projector • Use only the RGB cable provided with the projector. • Use only the power cord set provided with the projector.
-
Page 9: Connecting Equipment To The Projector
Connecting Equipment to the Projector Connecting Equipment to the Projector • Do not place the power cord and connection cable in a way that might cause someone to trip and fall. The product might fall over and cause an injury. Various equipments can be connected to the projector. - Page 10 1. Preparations for Using the Projector To input audio signals, connect an audio cable to the Audio In port of the projector and to the audio output of the recorder or the player. If an HDMI interface is available on a device you want to use, connect an HDMI cable to the HDMI ports of the projector and the device.
-
Page 11: Connecting The Power Cord
Connecting the Power Cord Connecting the Power Cord • Do not use any power sources other than those that match the specifications shown. Doing so could result in fire or electric shock. • Do not use any frequencies other than those that match the specifications shown. Doing so could result in fire or electric shock. - Page 12 1. Preparations for Using the Projector Insert the connector of the power cord set into the AC In socket on the right side of the projector. CLB029 Insert the power plug into a power outlet.
-
Page 13: Projecting An Image
2. Projecting an Image Basic Operations • Do not look into the projection window or vent when the product is on. The bright light may damage your eyes. Be especially careful in an environment with children. • Do not place low heat resistant material near the exhaust vents. Hot air may come from the exhaust vents, resulting in damage to the product or an accident. -
Page 14: Selecting An Input Signal
2. Projecting an Image Press the [Power] button. CLB030 The projector beeps and the indicator flashes blue. The start-up screen is displayed. When the start menu is displayed When the projector is turned on for the first time after it is purchased, specify the display language and lamp power level. -
Page 15: Turning Off The Projector
Basic Operations The input signal is detected automatically and the image is projected. The input signal changes each time the [Input] button is pressed. When projecting the screen of a notebook computer When connecting a notebook computer to the projector, switch the computer's image output. In Windows operating systems, the image output can be switched with a function key. - Page 16 2. Projecting an Image...
-
Page 17: Appendix
3. Appendix Trademarks Adobe, Acrobat, and Reader are either registered trademarks or trademarks of Adobe Systems Incorporated in the United States and/or other countries. HDMI and High-Definition Multimedia Interface are trademarks or registered trademarks of HDMI Licensing, LLC. ® Windows is either a registered trademark or a trademark of Microsoft Corporation in the United States and/or other countries. - Page 18 3. Appendix...
-
Page 19: Index
INDEX Accessories.............. Trademarks............Turning off the projector........Turning on the projector........Basic operations............ Connecting a computer........... Connecting AV equipment........Connecting equipment..........Connecting the power cord........How to read this manual......... Input button............Input signal............. Language............... Manuals............... 2, 3 Notebook computer..........Notes................ - Page 20 MEMO...
- Page 21 MEMO...
- Page 22 MEMO...


Need help?
Do you have a question about the PJ WX4130 and is the answer not in the manual?
Questions and answers