IDEAL Vol-Con 61-076 Instruction Sheet
Voltage/continuity tester
Hide thumbs
Also See for Vol-Con 61-076:
- Instruction manual (2 pages) ,
- Manual (2 pages) ,
- Instruction manual (11 pages)
Advertisement
Table of Contents
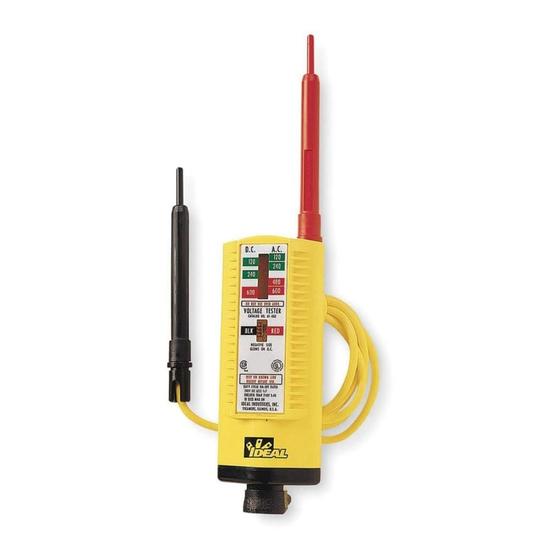
Vol-Con
®
Instruction Sheet
Usage Instructions
• Testing for Continuity – no switching required
Place tester across terminals (live or dead) of components or circuit to be tested. The continu-
ity LED (same as " + DC" LED) will come "On" when resistance between prods is 500K ohms
or less. Full brightness of the continuity LED occurs when the resistance between prods is
300K ohms or less. Reversing prods will verify continuity versus low volt DC.
• Locating Blown Fuses (single phase, three phase and DC)
Turn Power Off. Place tester across the suspected fuse to perform continuity
check. If continuity LEDcomes "On," the fuse is good. If the continuity LED
does not come "On," the fuse is defective.
For locating a blown fuse with the power on, place tester across the "source"
side of one fuse and the load side of an adjoining fuse. If no voltage is indi-
cated, the fuse next to the load side prod is blown. If voltage is indicated,
the fuse next to the load side prod is OK. Repeat the same test with the
prods on the opposite side of the same two fuses to check the other fuse.
On a three phase circuit, repeat the same test as above. An indication of no
voltage or lower than normal line voltage indicates the blown fuse.
•
Finding Grounded Side of Line (neutral)
Touch one test prod to the ground and the other test prod to each of the line
terminals until one is found that does not give a voltage indication, that one is
the grounded side of line and the continuity LED should be "On."
• Testing for "Grounded"Side of Motor or Appliance
With power to motor or appliance "Off," touch one test
prod to the frame and the other prod to each of the terminal
connections. The terminal which turns the continuity LED
"On" is the grounded side. With power to motor or appli-
ance "On," place tester across the frame and to each of the
terminal connections. The terminal which does not give a
voltage indication, but does give a continuity indication, is
the grounded side.
•
Testing for 25 to 60 Cycle Frequency
Place tester between each side of AC line. A low frequen-
cy hum and slow vibrations indicate 25 cycle current. 60
cycle current is indicated by a higher frequency hum and
more rapid vibrations.
•
Checking Continuity of Cords,Motors,Appliances,etc.
Remove power source and place tester across circuit to be
tested. Continuity LEDwill come "On" if resistance is less
than 500K ohms.
• Locating Excessive Leakage to Ground
Place tester across the neutral terminal and the ground, only the continuity
light should come "On," indicating neutral and ground are connected. If the
" – DC" light also comes "On," there is a 5VAC or greater between neutral
and ground indicating a high resistance leakage to ground. High resistance
leakage is qualified since a low resistance (high current) leak to ground
would open a circuit breaker or blow a fuse.
Voltage/Continuity Tester
99 Washington Street
Melrose, MA 02176
Fax 781-665-0780
TestEquipmentDepot.com
#61-076, 61-079, 61-080
Advertisement
Table of Contents

Related Manuals for IDEAL Vol-Con 61-076


Summary of Contents for IDEAL Vol-Con 61-076
- Page 1 99 Washington Street Melrose, MA 02176 Fax 781-665-0780 TestEquipmentDepot.com #61-076, 61-079, 61-080 Vol-Con ® Voltage/Continuity Tester Instruction Sheet Usage Instructions • Testing for Continuity – no switching required Place tester across terminals (live or dead) of components or circuit to be tested. The continu- ity LED (same as “...
- Page 2 Cautions • To avoid the risk of electrical shock, discon- nect test leads before removing the batter y pack. Do not operate unit with the batter y pack removed. • Do not use on over 600 volts. This instrument is for intermittent service only. The duty cycle on:off ratio is 1:7 for 240 volts or less, and 1:40 for 240 volts or greater.
Need help?
Do you have a question about the Vol-Con 61-076 and is the answer not in the manual?
Questions and answers