Advertisement
IMPORTANT SAFETY INFORMATION: Always read this manual first
before attempting to install or use this fireplace. For your safety, always
comply with all warnings and safety instructions contained in this manual
to prevent personal injury or property damage.
To view the full line of Dimplex products, please visit
www.dimplex.com
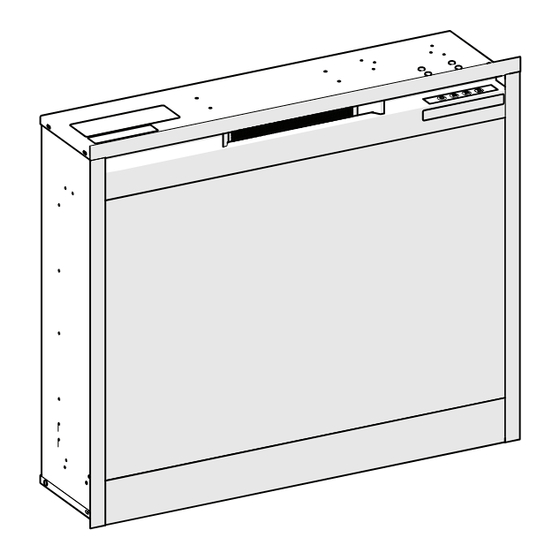
Owner's Manual
Model
DFR2651L
6908932359
6908932459
7213960100R05
Advertisement

Related Manuals for Glen Dimplex Dimplex DFR2651L


Summary of Contents for Glen Dimplex Dimplex DFR2651L
- Page 1 Owner’s Manual Model DFR2651L 6908932359 6908932459 IMPORTANT SAFETY INFORMATION: Always read this manual first before attempting to install or use this fireplace. For your safety, always comply with all warnings and safety instructions contained in this manual to prevent personal injury or property damage. To view the full line of Dimplex products, please visit www.dimplex.com 7213960100R05...
-
Page 2: Table Of Contents
Table of Contents Welcome & Congratulations ....3 IMPORTANT INSTRUCTIONS ....4 Fireplace Installation . -
Page 3: Welcome & Congratulations
Welcome & Congratulations Thank you and congratulations for purchasing an electric fireplace from Dimplex. Please use our convenient online registration page to record your model and serial numbers for future reference at www.dimplex.com/register Rating Label with Model Number Serial Number Label Please carefully read and save these instructions. -
Page 4: Important Instructions
IMPORTANT INSTRUCTIONS ⑥ Do not use outdoors. When using electrical appliances, basic precautions should always ⑦ Never locate this heater where be followed to reduce the risk of it may fall into a bathtub or other fire, electric shock, and injury to water container. - Page 5 IMPORTANT INSTRUCTIONS ⑭ To reduce the risk of electric ⑳ When transporting or storing shock, this heater has a polarized the heater and cord, keep in a plug (one blade is wider than dry place, free from excessive the other). This plug will fit in a vibration and store so as to avoid polarized outlet only one way.
-
Page 6: Fireplace Installation
Fireplace Installation Glass Installation WARNING: Ensure the power (if applicable) cord is not installed so that it is pinched or against a sharp edge 1. Unpack the firebox and the and ensure that the power cord is front glass. stored or secured to avoid tripping 2. - Page 7 Fireplace Installation in the most appropriate place for Figure 2 securing and using the provided L-bracket and the screw that was removed attach the firebox to the mantel. (Figure 2) ! NOTE: There are no guide holes provided for the L-Brackets in the mantel.
- Page 8 Fireplace Installation Do not install the fireplace 4. The firebox is to be installed insert directly on carpet or from the front of the mantel similar surfaces which may and inserted so that the restrict air circulation. flanges are flush against the front surface of the mantel.
-
Page 9: Operation
Operation Figure 5 Figure 6 C D E F Floating Display WARNING: This electric Standby firebox must be properly installed Turns the unit On and Off. before it is used. → Activated by pressing the The unit can be controlled by Standby button on the remote either the manual controls which or the unit. - Page 10 Operation Heat ON/OFF D & E. Thermostat Controls Cycles the unit sequentially Adjusts the temperature set point through the 3 settings: Low Heat, to your individual requirements. High Heat and Off. Once the desired set temperature is reached the heater will turn →...
- Page 11 Operation holding for 2 seconds will disable Brightness and enable the heater. Changes the brightness of the ! NOTE: When the heater has lights in the unit. been disabled and either the → Adjusted by repeatedly pressing the corresponding or the is pressed the On button on the remote.
- Page 12 Operation Resetting the Temperature Cutoff Switch Should the heater overheat, an automatic cut out will turn the heater off and it will not come back on without being reset. It can be reset by unplugging the unit and waiting 5 minutes before plugging the unit back in.
-
Page 13: Maintenance
Maintenance Fireplace Cleaning WARNING: Disconnect power before attempting any Use warm water only to clean maintenance or cleaning to painted surfaces of the Compact reduce the risk of fire, electric Fireplace. Do not use abrasive shock or damage to persons. cleaners. -
Page 14: Warranty
What this limited warranty does not cover only and is not transferable. This limited warranty does not apply to products that have been repaired (except by Glen Dimplex Americas or its Products excluded from this limited authorized service representatives) or warranty otherwise altered. - Page 15 Warranty • Glen Dimplex Americas will in its How State and Provincial law apply sole discretion either repair or This limited warranty gives you specific replace such defective product or legal rights, and you may also have other part without charge. If Glen Dimplex...
-
Page 16: Replacement Parts
Flame LED Light Assembly ..... 3001390100RP 1-888-346-7539 | www.dimplex.com In keeping with our policy of continuous product improvement, we reserve the right to make changes without notice. © 2019 Glen Dimplex Americas www.dimplex.com...
Need help?
Do you have a question about the Dimplex DFR2651L and is the answer not in the manual?
Questions and answers