Advertisement
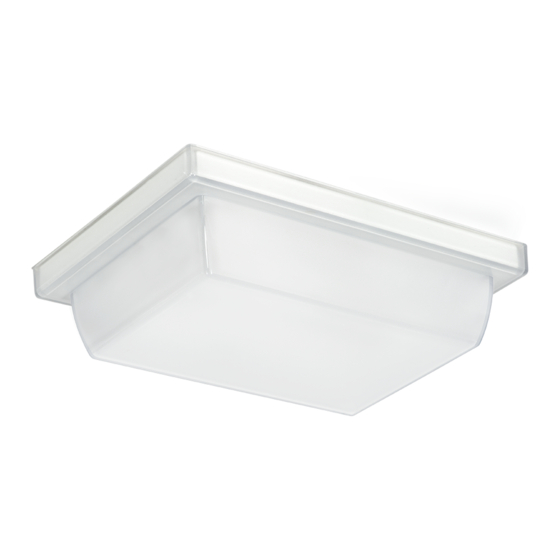
VAN1LED INSTALLATION INSTRUCTIONS
Thank you for buying RAB lighting fixtures. Our goal is to design the best quality products to get the job done right. We'd like to hear your comments.
Call the Marketing Department at 888-RAB-1000 or email: marketing@rabweb.com
IMPORTANT
READ CAREFULLY BEFORE INSTALLING FIXTURE. RETAIN THESE INSTRUCTIONS FOR FUTURE REFERENCE.
Fixtures must be wired in accordance with the National Electrical Code and all applicable local codes. Proper grounding is required
for safety. Vandalproof fixtures are for indoor or outdoor use and should not be used in areas with limited ventilation or high
ambient temperatures. THIS PRODUCT MUST BE INSTALLED IN ACCORDANCE WITH THE APPLICABLE INSTALLATION CODE BY A
PERSON FAMILIAR WITH THE CONSTRUCTION AND OPERATION OF THE PRODUCT AND THE HAZARDS INVOLVED.
WARNING: Make certain power is OFF before installing or maintaining fixture.
CAUTION: For proper weatherproof function all gaskets must be seated properly and all screws inserted and tightened
firmly. Apply weatherproof silicone sealant around the edge of the Back Box, Lens and/or Junction Box. This is especially
important with an uneven surface. Silicone all plugs and unused conduit entries.
LOCATION
COVERED CEILING MOUNT ONLY
SUITABLE FOR WET LOCATIONS
CEILING MOUNTING
1. Loosen Tamperproof Screws to remove Refractor from
Mounting Plate.
2. Attach Universal Mounting Bar to Junction Box with
bar screws (provided).
3. Feed Supply Wires through Mounting Plate Gasket.
4. Use "S" shaped EZ Hang Hook to hold Mounting Plate
near Junction Box during wiring. Make appropriate
wiring connections.
5. Attach ground wire(s) to Green Ground Screw (already
in place on Universal Mounting Bar).
6. Remove EZ Hang Hook and discard.
7. Align Mounting Plate with Mounting Plate Gasket.
Secure Mounting Plate to Junction Box by tightening
O-Ring and 1/4-20 Bolt into center hole in Mounting
Plate.
8. Secure Refractor back onto Mounting Plate by
tightening provided Tamperproof Screws.
9. Refractor should be tightly seated against Mounting
Plate Gasket.
EZ Hang Hook
Universal
Mounting Bar
Bar Screw
Ground Screw
Supply
Wires
O-Ring and
1/4-20 Bolt
Refractor
Bar Screw
Mounting
Plate Gasket
Mounting
Plate
Tamperproof
Screws
Advertisement
Table of Contents

Summary of Contents for RAB Lighting VAN1LED
- Page 1 VAN1LED INSTALLATION INSTRUCTIONS Thank you for buying RAB lighting fixtures. Our goal is to design the best quality products to get the job done right. We’d like to hear your comments. Call the Marketing Department at 888-RAB-1000 or email: marketing@rabweb.com IMPORTANT READ CAREFULLY BEFORE INSTALLING FIXTURE.
- Page 2 VAN1LED INSTALLATION INSTRUCTIONS Thank you for buying RAB lighting fixtures. Our goal is to design the best quality products to get the job done right. We’d like to hear your comments. Call the Marketing Department at 888-RAB-1000 or email: marketing@rabweb.com...


Need help?
Do you have a question about the VAN1LED and is the answer not in the manual?
Questions and answers