Advertisement
Quick Links
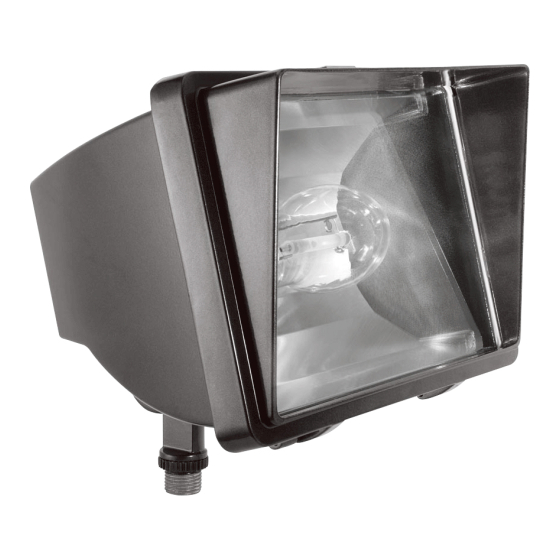
FUTURE FLOOD INSTALLATION INSTRUCTIONS
Thank you for buying RAB lighting fixtures. Our goal is to design the best quality products to get the job done right. We'd like to hear your comments.
Call the Marketing Department at 888-RAB-1000 or email: marketing@rabweb.com
IMPORTANT
READ CAREFULLY BEFORE INSTALLING FIXTURE. RETAIN THESE INSTRUCTIONS FOR FUTURE REFERENCE.
Fixtures must be wired in accordance with the National Electrical Code and all applicable local codes. Proper grounding is required
for safety. THIS PRODUCT MUST BE INSTALLED IN ACCORDANCE WITH THE APPLICABLE INSTALLATION CODE BY A PERSON
FAMILIAR WITH THE CONSTRUCTION AND OPERATION OF THE PRODUCT AND THE HAZARDS INVOLVED.
WARNING: Make certain power is OFF before installing or maintaining fixture. No user serviceable parts inside.
LOCATION
1.
Secure the Future Flood to any 1/2" NPS hole in a metal
plate coverplate, junction box or landscape post. Plug all
unused holes and seal threads with silicone.
2.
The swivel arm on the Future Flood allows 150º of vertical
aiming adjustment.
3.
Do not aim fixture to any object closer than 18 inches.
LAMP INSTALLATION
CAUTION: Prior to installing, check that the lamp is
the correct ANSI type and wattage. Observe lamp
manufacturer's recommendations on lamp operation,
ballast type and burning positions.
1.
Disconnect power. Make sure fixture and lamp are cool
enough to touch.
2.
Remove screw from the door clip on the top of the fixture.
Open fixture, swing door down on hinges.
3.
Fully insert lamp into socket.
4.
Before closing door, make sure frame gasket is properly
seated all around the fixture.
5.
Close door. Replace screw on door clip, if desired.
WIRING
Do not use any supply voltage other than those specified
below:
FF35-FF150 HPS
FFH50-70 MH
FF42QT
* No internal wiring changes needed for various voltages as
the ballast is quad tap electronic.
1.
Connect the black fixture lead to the (+) LINE supply lead.
2.
Connect the white fixture lead to the (-) COMMON
supply lead.
3.
Connect the bare copper Ground wire from fixture to
supply ground.
(+)LINE
(-)COMMON
GROUND
CLEANING & MAINTENANCE
CAUTION: Be sure fixture temperature is cool enough
to touch. Do not clean or maintain while fixture is
energized.
1.
Clean glass lens with non-abrasive glass cleaning solution.
2.
As lamps age, light output diminishes. Mass relamping at
regular intervals ensures full light output at the highest
efficiency.
120V only
120V only
120V thru 277V*
BLACK
LIGHT
WHITE
FIXTURE
GROUND
Advertisement

Summary of Contents for RAB Lighting future flood
- Page 1 FUTURE FLOOD INSTALLATION INSTRUCTIONS Thank you for buying RAB lighting fixtures. Our goal is to design the best quality products to get the job done right. We’d like to hear your comments. Call the Marketing Department at 888-RAB-1000 or email: marketing@rabweb.com IMPORTANT READ CAREFULLY BEFORE INSTALLING FIXTURE.
- Page 2 FUTURE FLOOD INSTALLATION INSTRUCTIONS Thank you for buying RAB lighting fixtures. Our goal is to design the best quality products to get the job done right. We’d like to hear your comments. Call the Marketing Department at 888-RAB-1000 or email: marketing@rabweb.com...


Need help?
Do you have a question about the future flood and is the answer not in the manual?
Questions and answers