Table of Contents
Advertisement
Quick Links
Advertisement
Table of Contents

Related Manuals for Kogan KA12LDGFRYA


Summary of Contents for Kogan KA12LDGFRYA
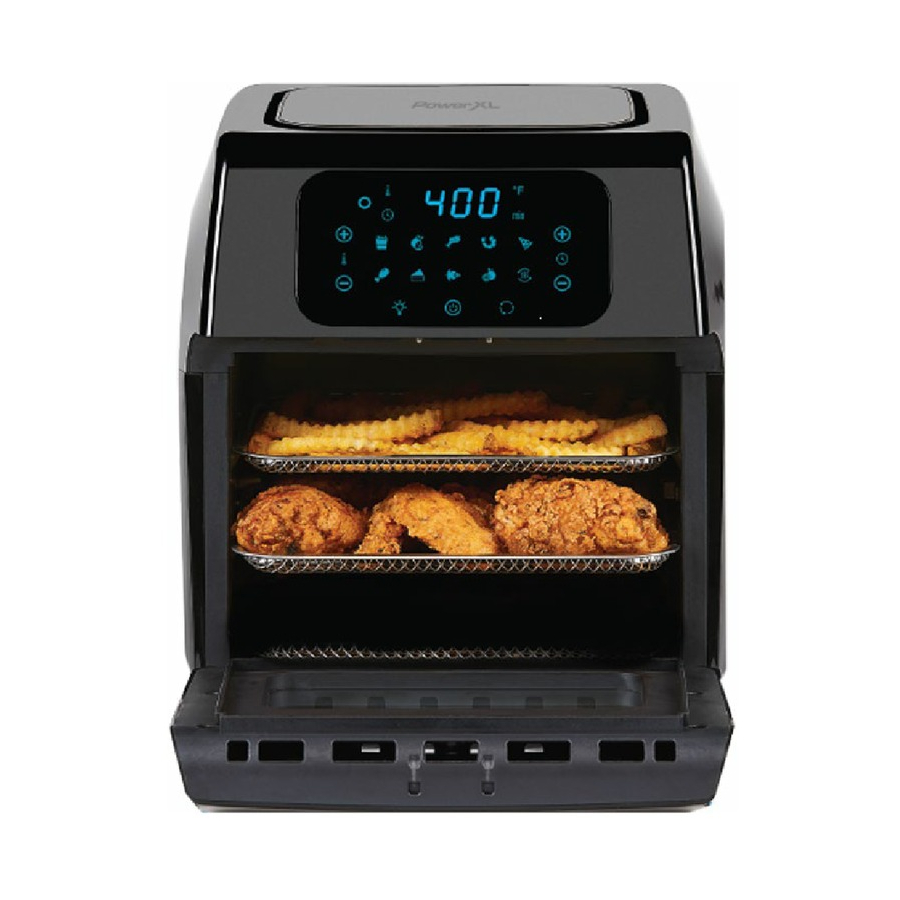
- Page 1 12L Digital 1800W Air Fryer Oven KA12LDGFRYA...
-
Page 2: Safety And Warnings
Do NOT PLACE the unit on stove top surfaces. 12. If the power cord is damaged, contact Kogan.com. YOU MUST HAVE IT REPLACED by the manufacturer, its service agent or a similarly qualified person in order to avoid hazard. - Page 3 16. NEVER USE this appliance with an extension cord of any kind. 17. DO NOT OPERATE the appliance on or near combustible materials, such as tablecloths and curtains. 18. Do NOT USE the 12L Air Fryer Oven for any purpose other than described in this manual.
- Page 4 Overheating Protection If the inner temperature control system fails, the overheating protection system will be activated and the unit will not function. When this happens, unplug the power cord. Allow time for the unit to cool completely before restarting or storing. Automatic Shut-Off The appliance has a built in shut-off function that will automatically shut down the unit when the timer LED reaches zero.
-
Page 5: Parts And Accessories
PARTS & ACCESSORIES Main Unit with Control Panel Allows you to control the functions of the unit. Air Intake Vents DO NOT COVER the air intake vents while the unit is operating. Hot Air Outlet Vents DO NOT COVER the air outlet vents while the unit is operating. Mesh Basket (Crisper Trays) This can be used not only for dehydration but also to cook crispy snacks or reheat items like pizza. - Page 6 Round Basket (Baking Cage) Great for fries, roasted nuts and other snacks. Use rotisserie fetch tool to place basket into unit. Drip Tray Cook with the drip pan in place for easy clean-up. a. Skewers Great for kebabs, meat, fish or veggies. b.
-
Page 7: Operation
OPERATION Before using the 12L Air Fryer Oven for the first time Read all material, warning stickers and labels. Remove all labels and stickers. Store packing materials safely if possible. Wash all parts and accessories used in the cooking process with warm soapy water. - Page 8 Cooking with the 12L Air Fryer Oven Place the ingredients on a crisper tray, on one of the rotisserie accessories or in the round basket. Put the crisper tray, round basket or rotisserie spit into the unit and shut the oven door.
-
Page 9: Using The Accessories
USING THE ACCESSORIES Placing Drip Tray into Unit Insert drip tray into bottom of unit. Cook with the drip pan in place for easy clean-up. Placing Mesh Basket (Crisper Trays) into Unit Place crisper trays into unit by sliding through the side grooves and onto the back lip. - Page 10 Removing Round Basket (Baking Cage) & Rotisserie Spit from Unit Open the door of the unit to pause cooking cycle or turn unit off by pressing the power button. Insert rotisserie fetch tool (handle tool) beneath the rotisserie shaft. Lift the right side of the rotisserie fetch tool at a slight angle to clear the bracket and then shift to the right until the left side of the shaft slides out of the rotisserie shaft socket.
- Page 11 3. Rotation Button Select this button when cooking anything using the rotisserie mode. Function can be used with any preset. The icon will blink while in use. 4. Temperature Control Buttons These buttons enable you to raise or lower cooking temperature by 5°C intervals ranging from 80°C to 200°C.
- Page 12 Preset Button Cooking Chart Cooking time for whole roasted chicken will vary with weight. Use meat thermometer to check internal temperature as per chart below. Preset Button Temperature Time 7. French Fry 200°C 15 minutes 8. Steaks/Chops 175°C 25 minutes 9.
- Page 13 Warnings: Never use a cooking vessel filled with cooking oil or any other liquid with this unit! Fire hazard or personal injury could result. Cooking Chart Settings The tables on page 14 will help you select the correct temperature and time for best results. As you become more familiar with the 12L Air Fryer Oven cooking process, you may adjust these settings to suit your own personal tastes.
- Page 14 Hamburger 125–500g 7-14 minutes 182°C Sausage Roll 125–500g 13-15 minutes 200°C Chicken 125–500g 18-22 minutes 182°C Drumsticks Chicken Breast 125–500g 10-15 minutes 182°C Spring Rolls 125–750g 15-20 minutes 200°C Use oven-ready Frozen Chicken 125–500g 10-15 minutes 200°C Use oven-ready Nuggets Frozen Fish Sticks 125–500g 6-10 minutes...
-
Page 15: Cleaning And Storage
CLEANING AND STORAGE Clean the 12L Air Fryer Oven after each use. The round basket and other accessories are made of durable stainless steel and are dishwasher safe. Never use abrasive cleaning materials or utensils on these surfaces. Caked-on food should be soaked for easy removal in warm, soapy water. -
Page 16: Troubleshooting
Error Codes Display Shown Possible Cause Solution Broken thermal sensor circuit Contact Kogan.com Thermal sensor short circuit Contact Kogan.com FAQ: 1. Can I prepare food other than fried dishes with my 12L Air Fryer Oven? You can prepare a variety of dishes, including steaks, chops, burgers and baked goods. -
Page 17: Specifications
8. What happens if the unit still does not work after I have tried all the troubleshooting suggestions? Contact Kogan.com. Do not attempt to repair the appliance yourself. Failure to do so could render your warranty null and void. SPECIFICATIONS... - Page 18 This is a Quick Start Guide and while we hope that this has given you the assistance needed for a simple set-up, a full user guide outlining all of this product’s instructions and features can be found online at help.kogan.com...
Need help?
Do you have a question about the KA12LDGFRYA and is the answer not in the manual?
Questions and answers