Advertisement
Quick Links
Advertisement

Subscribe to Our Youtube Channel
Related Manuals for Kogan KA10DMFAFRA


Summary of Contents for Kogan KA10DMFAFRA
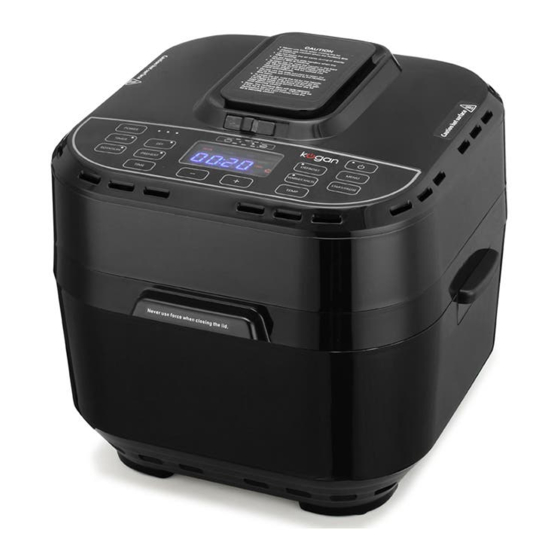
- Page 1 10L DIGITAL MULTIFUNCTION AIR FRYER KA10DMFAFRA...
-
Page 3: Safety And Warnings
The appliance is not intended to be operated by means of an external timer or any type of separate remote control system. • The use of accessories which are not recommended or supplied by Kogan may cause fire, electric shock or injury. •... - Page 4 • Improper installation may result in the risk of fire, electric shock or injury to persons. • If the power cord or plug is damaged, do not use the appliance. • The appliance has no user-serviceable parts contained within. Do not attempt to repair, disassemble or modify the appliance.
- Page 5 OVERVIEW Accessories: Baking fork Baking skewer Baking tray High and low grill ‘...
-
Page 6: Operation
OPERATION Control panel... - Page 7 Quick cooking guide Opening lid Hold the lid handle (Fig. 1) and raise the lid as per Fig. 2: it will click into place. Raise until it clicks into place again (Fig. 3): it will automatically lock. Closing lid Raise the handle while pulling the closing lid handle (Fig. 4) down and bring the pot to the plate body (Fig.
- Page 8 Placing inner pot Align the inner pot handle, with the shaft assembly hole at the back of the pot body (Fig. 6). Place evenly with both hands (Fig. 7). Using baking tools Making skewers: String the ingredients with baking skewers (Fig. 8) and place on grill (Fig. 9) Place grill in inner pot (Fig.
- Page 9 Making roast chicken with baking fork: Use the shaft of the grill to put the chicken on, then clamp the chicken on both sides of the fork and tighten (Fig. 14) Place grill in the plate as shown (Fig. 15) Making roast chicken with baking tray and grill: Place baking plate in grill (Fig.
-
Page 10: General Operation
General operation Insert the plug into a grounded socket and the "power" light will flash. Open lid, insert food and close lid as described in the Overview section of this manual. Press the power key to enter standby: the screen will flash, displaying "----". Click the 'Power' key to exit standby. - Page 11 Removing food Open the lid as described in the Overview section of this manual. Once food is safely cooled, remove along with the grill. When finished Press the Power button while in standby to power to power down completely. Unplug the power cord. Thawing function If food needs thawing, you can press the Thaw key while in standby state.
-
Page 12: Cleaning And Care
CLEANING & CARE Cleaning Always allow the appliance to cool completely before cleaning. Never immerse the lid into liquid. Always unplug the power cord before cleaning. It is imperative that the appliance be washed thoroughly after each use. Do not use any abrasive materials for cleaning. Cleaning steps: Disconnect the power cord and allow the appliance to cool completely before cleaning. - Page 13 NOTES...
- Page 14 NOTES...
- Page 16 Need more information? We hope that this user guide has given you the assistance needed for a simple set-up. For the most up-to-date guide for your product, as well as any additional assistance you may require, head online to help.kogan.com...
Need help?
Do you have a question about the KA10DMFAFRA and is the answer not in the manual?
Questions and answers