
Subscribe to Our Youtube Channel
Related Manuals for Go Power GP-MPPT-85/20


Summary of Contents for Go Power GP-MPPT-85/20
- Page 1 GP-MPPT-85/20 ________________________________________________________________________ User Manual GP-MPPT-85/20 © 2019 GoPower!
-
Page 2: Table Of Contents
GP-MPPT-85/20 _______________________________________________________________________ Contents Installation Overview ................3 Introduction Regulatory Information Specifications IMPORTANT SAFETY INSTRUCTIONS ............5 Choosing a Location ................6 Choosing an Array................... 6 Installation ....................7 Tools and Materials Needed Instructions Wiring Diagram ..................8 Operating Instructions ................9... -
Page 3: Installation Overview
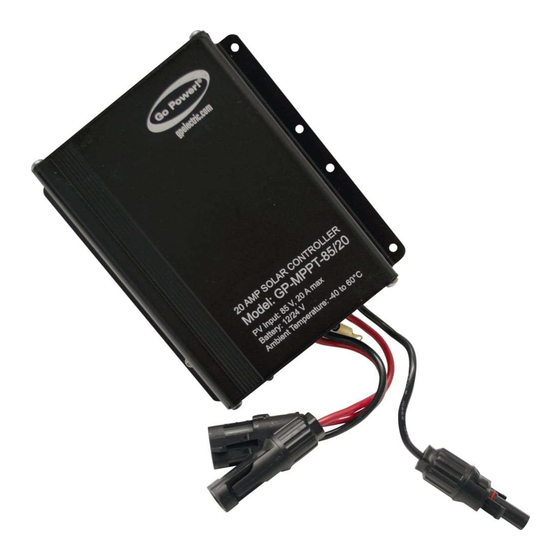
Controller prevents overcharging by limiting the current flowing into the batteries from your solar array. The GP-MPPT-85/20 is a photovoltaic (PV) charge controller intended for use at 12 or 24 VDC system voltage and is rated for a nominal charge current of 20 amps. - Page 4 The total rated maximum open circuit voltage of the PV input should not exceed 85 volts. GP-MPPT-85/20 will not allow charging when connected to greater than 85 volts of PV input and will be permanently damaged by 100V or more of PV input. Be sure to account for temperature effects.
-
Page 5: Important Safety Instructions
GP-MPPT-85/20 _______________________________________________________________________ IMPORTANT SAFETY INSTRUCTIONS SAVE THESE INSTRUCTIONS THIS MANUAL CONTAINS IMPORTANT INSTRUCTIONS FOR MODEL GP- MPPT-85/20 THAT SHOULD BE FOLLOWED DURING INSTALLATION AND MAINTENANCE OF THE CHARGE CONTROLLER. Electricity can be very dangerous. Installation and Disconnect all maintenance should be performed only by a power sources licensed electrician or qualified personnel. -
Page 6: Choosing A Location
GP-MPPT-85/20 _______________________________________________________________________ Choosing a Location The GP-MPPT-85/20 is designed to be mounted vertically. Allow at least 2in (5cm) of space around GP-MPPT-85/20 for cooling. Install on non-flammable surface. Do not install in direct sunlight. The GP-MPPT-85/20 should be: • Mounted as close to the battery as possible •... -
Page 7: Installation
Mount the GP-MPPT-85/20. Mount GP-MPPT-85/20 to a non- flammable surface. Mount vertically for proper heat dissipation. Select wire type and gauge. If this GP-MPPT-85/20 was purchased as part of a Go Power! Solar Power Kit, appropriate wire type, gauge and length is provided. -
Page 8: Wiring Diagram
Connect negative solar array wire directly to the charge controller, not via the vehicle chassis. Congratulations, your GP-MPPT-85/20 should now be operational. If the battery power is low and the solar array is producing power, your battery should begin to charge. -
Page 9: Operating Instructions
The term lead acid is a generic battery designation. Choose the charging profile that works best with your battery manufacturer’s recommendations. LED Display Start Up When GP-MPPT-85/20 is connected to the battery bank, the controller will start a power up mode which takes several seconds to complete. LED Indicators LED Icon... -
Page 10: Switching Between Battery Banks
An external switch or relay can be used to select which battery bank is charged by the controller. GP-MPPT-85/20 automatically determines nominal system voltage at startup. If there is a large jump in battery voltage (i.e. switching from one battery bank to another with a different nominal voltage), then the controller will detect the new nominal system voltage and reset. -
Page 11: Blank Led Display
GP-MPPT-85/20 _______________________________________________________________________ Blank LED Display Display Reading: Blank (no LEDs) Time of Day: Daytime/Nighttime Possible Causes: Battery voltage or connection, blown fuse/breaker, wiring/connector problems How to tell: Check the battery voltage. If battery voltage is <9V, the controller will not charge, and the LEDs may not function correctly. -
Page 12: Red Solar Led On
Increase the battery bank capacity. Consult your dealer or installer for assistance. Remove any secondary charging source. GP-MPPT-85/20 will only begin charging after battery voltage has fallen to a normal level. Use a voltmeter to check if voltages are in correct range. - Page 13 GP-MPPT-85/20 _______________________________________________________________________ Remedy: Check all connections from the controller to the array including checking for correct wire polarity. Check that all connections are clean, tight, and secure. Wait 5 minutes and recheck charging status. A delay is present to prevent erratic behavior.
-
Page 14: Limited Warranty
10.0 Limited Warranty GoPower warrants the GP-MPPT-85/20 for a period of five (5) years from the date of shipment from its factory. This warranty is valid against defects in materials and workmanship for the five (5) year warranty period. It is not valid against defects resulting from, but not limited to: •... - Page 15 GP-MPPT-85/20 _______________________________________________________________________ © 2019 GoPower!
- Page 16 GP-MPPT-85/20 _______________________________________________________________________ © 2019 GO POWER!® By Valterra Products, LLC GP-MPPT-85/20_Manual_revA electric.com © 2019 GoPower!
Need help?
Do you have a question about the GP-MPPT-85/20 and is the answer not in the manual?
Questions and answers