Table of Contents
Advertisement
Advertisement
Table of Contents

Subscribe to Our Youtube Channel
Related Manuals for Poynting MIMO-3-V2


Summary of Contents for Poynting MIMO-3-V2
- Page 1 Making wireless happen MIMO-3-V2 User Guide Version: 1.0...
-
Page 2: Antenna Mounting
Index Packing Check List Tools Required Optional Accessories Introduction Installation Instructions Antenna Mounting Precautions Cable Routing Safety A-MIMO-0003-V2_PCL... - Page 3 Packing Check List Item Description Quantity A-MIMO-0003-V2 Antenna only Adhesive Foam Discs M4 x 12mm Stainless Steel Screws Grip Extenders SMA(f) to RP- SMA(m) Adapter 10mm Threaded Spigot 50mm Threaded Spigot Plastic Nut Cable Clips Spigot Seal *Quantity will differ with different versions Version: 1.0...
-
Page 4: Packing Checklist
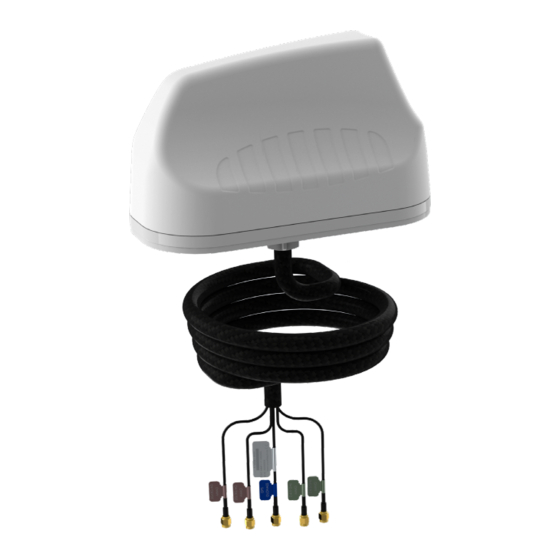
Packing Check List The appearance of each component Antenna Unit Adhesive Foam Discs 10mm Threaded Spigot 6x (M4 x 12mm) Plastic Nut Stainless Steel Screws *SMA(f) to RP-SMA(m) 50mm Threaded Spigot Adapter Grip Extenders Cable Clips Spigot Seal *Antenna with Wi-Fi only A-MIMO-0003-V2_PCL... -
Page 5: Tools Required
(4 - 22mm)) Masking tape Hand drilling machine Centre punch Hammer 27mm spanner/ Drilling template wrench (Available on www.poynting. tech/downloads) Installation Drill Hole Template Scale 1:1 Optional Accessories Optional Accessories Various Cable extensions are available Magnetic Base Kit... -
Page 6: Installation Instructions
Introduction This User Guide provides information on the installation instructions of the MIMO-3-V2 antenna. Installation Instructions Threaded Spigot Mounting Download the 1:1 drill template from http://www.poynting.tech/downloads • Choose the mounting location carefully and a position at least 50cm from heat sources, with a clear line of sight to the sky. - Page 7 Installation Instructions area. • Alcohol wipes can be used to remove oil and dirt from the surface. • Remove the wax protection paper from the adhesive foam seal at the base of the antenna. • Insert the antenna cables and threaded spigot through the drilled hole.
- Page 8 Installation Instructions Threaded Spigot Mounting Antenna Adhesive foam seal Plastic Threaded Spigot M4x12mm Stainless Steel Screws Spigot Seal Ø22 Recommended RF Cable Drilling hole Size Plastic Nut Metallic Surface 50mm or 10mm Threaded Spigot M4 x 12 Stainless steelscrews Spigot seal Plastic Nut adhesive foam seal 6x (M4 x 10mm...
- Page 9 Installation Instructions Surface mounting Adhesive surface mounting • Clean the entire surface on which you plan to stick the antenna • Remove Nut, spigot seal and Short spigot from antenna • Push the Rf cable into the groove in the plastic base •...
- Page 10 Installation Instructions Optional magnetic base kit Antenna RF Cable Adhesive foam seal for Adhesive installation 6 x Magnetic Discs 6 x M4 x8mm Stainless Steel screws Non scratch rubber Adhesive discs Metallic Surface or Magnetic surface for Optional Magnet Base kit installation Antenna Mounting Precautions •...
-
Page 11: Cable Routing
Cable Routing • Avoid wrapping the cables around the pole. Route the antenna cables straight down the inside of the pole to avoid using extra equipment such as cable ties. • Use the minimum cable length required. Do not run more cable than needed to ensure minimum cable losses are achieved. - Page 12 Safety When drilling, remember: Use safety goggles when drilling the holes. Avoid using bits that are dull, bent or damaged. Be aware of where your fingers are in relation to the drill bit when using the drilling machine (i.e., don’t drill into your hand). To stop the drilling machine, let the drill chuck come to a complete stop on its own.
Need help?
Do you have a question about the MIMO-3-V2 and is the answer not in the manual?
Questions and answers