Advertisement
Table of Contents
- 1 Table of Contents
- 2 Overlook
- 3 Technical Characteristics
- 4 Installing and Replacing Batteries
- 5 Start and Stop Recording
- 6 Uploading from the B70 Recorder
- 7 Setting Microphone Amplification for Tiny16
- 8 Timers
- 9 Voice Activation System (VAS)
- 10 Circular Recording
- 11 Charging and Battery Maintenance
- 12 Recorder Settings
- 13 Technical Support
- 14 Appendix 1
- 15 Appendix 2
- Download this manual
Digital voice recorders
of EM Tiny +, Tiny16+ series
.................................................... 2
.....................................................11
Appendix 1
Operation manual
Contents
..................................... 15
...................................... 17
...................................... 17
............................................... 18
............................................... 19
.............................. 4
.................... 5
.............................. 6
.................. 10
..................... 12
................ 16
...11
Advertisement
Table of Contents

Related Manuals for EDIC-mini Tiny16+ Series


Summary of Contents for EDIC-mini Tiny16+ Series
-
Page 1: Table Of Contents
Digital voice recorders of EM Tiny +, Tiny16+ series Operation manual Contents ............ 2 Overlook ......4 Technical Characteristics ....5 Installing and replacing batteries ......6 Start and Stop Recording ....10 Uploading from the B70 recorder ...11 Setting Microphone Amplification for Tiny16+ .............11... -
Page 2: Overlook
Overlook Voice recorders of the Edic-mini Tiny (16) + series are professional devices intended for making high quality record of voice messages into built-in flash memory. The recordings can be further uploaded onto the PC. These voice recorders feature really unique characteristics (the world's smallest size, maximum autonomy, high acoustic sensitivity etc). - Page 3 the preset time using timer. Due to the absence of removable elements the recorder is operational under wide temperature ranges when shaking or dusted. The LED indicates operating modes of the device as well as its status. The recorder is equipped with VAS enabling to compress pauses efficiently in messages therefore saving considerably the recorder's memory.
-
Page 4: Technical Characteristics
Depending on the modification, recorders differ in: • Power source (battery, built-in rechargeable battery or battery + solar battery, external power supply) • Built-in memory capacity • The option to quickly replace the memory The user can upgrade the recorder's firmware via USB port. -
Page 5: Installing And Replacing Batteries
Recording Duration Recording duration depends on the type and quality of the battery in use, its charge level, and the record mode specified. Estimated duration for different modes is specified in Appendix 1. Installing and replacing batteries Before starting, install the supplied battery. The LED flashes 3 times and it will be on for about 40 sec. -
Page 6: Start And Stop Recording
Start and Stop Recording To start recording, set the Switch to «On». The LED flashes five times, and the recorder starts recording. During recording, the LED is flashing, the number of flashes indicating battery charge level (1 flash indicates charge of 80-100%, 2 flashes - 20-80%, 3 flashes indicate charge of 0-20%, which means the battery must be replaced or rechargeable battery charged) and free memory... - Page 7 Attention: • Avoid using the recorder with nearly discharged battery, otherwise it may turn off at the wrong moment. • The higher the record's sampling rate, the more energy is consumed by the recorder. At the frequency of 22 kHz the consumption is twice higher than at 8 kHz, and for the recorders with batteries the autonomy is down by more than three times.
- Page 8 Playing Back and Uploading to the PC Use EMPlus program to play back and upload records onto the PC as well as to configure your recorder. SoundProcessor program is designed to process the transferred records and to facilitate the conversion of records to text. Both programs including the instructions are in the built-in memory of the recorder and operate under Windows XP (SP2, SP3) / Vista/7/8.
- Page 9 panel. To upload right click on the selected record and choose «Copy to PC» from the context menu. The record will be converted to WAV to be displayed at the right panel. You can also drag and drop the selected record from the left panel to the right one.
-
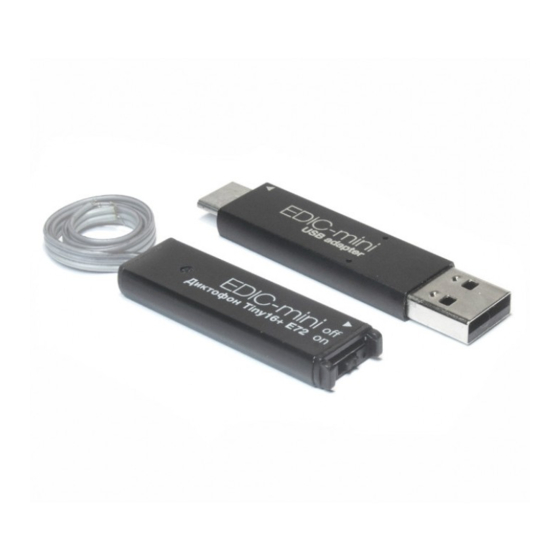
Page 10: Uploading From The B70 Recorder
Uploading from the B70 recorder For the model Tiny + B70 slide the recorder's cover with flash memory in the direction indicated by the arrow and slide it onto the USB adapter of B70. Then connect the adapter to the USB port of your computer. -
Page 11: Setting Microphone Amplification For Tiny16
Setting Microphone Amplification for Tiny16+ The recorder provides the option to adjust amplification of the microphone's signal (from 0 dB to +40 dB). Both fixed amplification and Automatic Gain Control can be set. AGC enables it to automatically adjust amplification according to the sound level. -
Page 12: Voice Activation System (Vas)
«free memory « in EMPlus and continuous operation time in Appendix 1. 2. When configuring Daily Timer you need to set record's start and end time. For example «start 09:20 stop 13:05» - with these settings the recorder starts recording every day at 9:20 and stops recording at 13:05. - Page 13 energy consumption from the power source. The principle of VAS is as follows: after user starts recording, recorder starts tracing signal from the microphone. If the signal is less than the one specified in settings (VAS level), it is not the sound from the microphone that is stored in memory, but only the time value during which the threshold hasn't been exceeded.
- Page 14 the pauses are not saved, then the resulting record will consist of recorded parts only (signal exceeds the threshold). These parts will be played one after another without interruption. Configuring VAS Voice Activation System (VAS) is configured in the EMPlus program by changing two parameters: VAS threshold level and VAS time.
-
Page 15: Circular Recording
If in case of silence, the recorder does not go to Signal Standby Mode and continues recording, VAS level is to be changed to be closer to zero (if it was -20 dB, now it should be set at -17 dB). If when desired signal appears the recorder does not go to Record Mode, the level of VAS should be changed to be closer to -55 dB (if it... -
Page 16: Charging And Battery Maintenance
to circular recording. After there is no more free memory, the recorder begins to record new data over old ones. The volume of the memory specified determines the duration of the resulting circular record. Charging and Battery Maintenance The battery starts charging automatically when you connect the recorder to the USB- port of the computer. -
Page 17: Recorder Settings
Recorder Settings With the EMPlus program you can set all the necessary parameters of the recorder, such as: • Enabling and configuring timers • Enabling and configuring VAS • Enabling and configuring circular recording • Recording quality adjustment • Password protection of the recorder •... -
Page 18: Appendix 1
Appendix 1 Record duration for Tiny+, Tiny16+ in hours at various settings Model Sample rate 8kHz 11kHz 16kHz 22kHz Tiny+ B70 Tiny+ B73 Tiny+ B74 Tiny+ B76 Tiny+ A77 Model Sample rate 8kHz 10kHz 13,3kHz 20kHz Tiny16+ A75 Tiny16+ S78... -
Page 19: Appendix 2
Appendix 2 Troubleshooting Trouble Trouble Possible Solution Symptom 1 Faint LED The recorder is Replace the battery is permanently unresponsive (for battery recorders) to the user’s Press the Reset button for activity 2 seconds or switch off and then back on the recorder's power (for rechargeable battery recorders) 2 When... - Page 20 4 10 flashes When enabling Try to format the recorder in of LED after recoding, the RecManager, but remember enabling recorder won't the contents will be deleted recording record 5 Recording Malfunction of Recorder's clock may fail starts at the timer because: wrong time...
Need help?
Do you have a question about the Tiny16+ Series and is the answer not in the manual?
Questions and answers