
Related Manuals for Alltion AC-2000 Series


Summary of Contents for Alltion AC-2000 Series
- Page 1 Instructions For AC-2000 Series Of Colposcope CE NO.: CTE12090042 Issue date: 2012-08-01 Revision date: 2014-12-05...
- Page 2 One-Step Colposcope Featuring LED Light Source LED Bulb Cover Red Dot concept design award * Lasts longer * Cool to the touch * Gives you more of a sure color balance Patented Diopter Knobs Head Inclination Adjusting Knob On/Off Switch and Fine Height adjustment Power Indicator Light Fine Focus Handle...
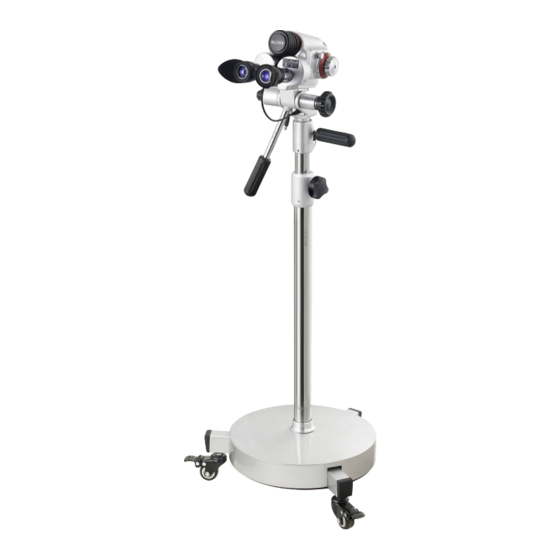
- Page 3 Three-Step Colposcope Featuring LED Light Source Red Dot concept design award LED Bulb Cover * Lasts longer * Cool to the touch * Gives you more of a sure color balance Patented Diopter Knobs Three-step Magnification Knob Head Inclination Adjusting Knob On/Off Switch and Fine Height Adjustment Power Indicator Light...
- Page 4 Three-step Green Filter Knob Magnification Knob LED Bulb Cover These circles give you the millimeter size at the tissue site according to the magnification you’re using. Rheostat Knob Fine Height Adjustment Handle Diopter knobs Eye shields help block external light Fine Focus Handle Fuse Seat...
-
Page 5: Indications For Use
(Shipping not included). Please keep this box and the protective foam for at least a year;should you need to return it to ALLTION for any warranty repairs. Otherwise there will be a nominal fee forus to send you a new box. - Page 6 4. Setting Up the Colposcope A. Remove the power cord from the shipping box. B. Insert the power cord into the plug located at the back end of the base. C. Insert the other end of the power cord into the wall socket. Note: It must be a three-hole wall socket, in order to ensure proper grounding of the instrument.
- Page 7 Lenses Before Adjustment Lenses During Adjustment Lenses Adjusted 6. Adjustment of the Diopter Knobs A. Set the Diopter Knobs at zero. B. Turn the Colposcope on, place your eyes against the eyepieces, and focus the Colposcope on a fixed object until that object appears clear and sharp. 6D and 6E C.
- Page 8 7. Colposcope Instructions for Use The following briefly describes using the Colposcope with a patient. It is recommended that you practice using the Colposcope to familiarize your- self with all of the features it has to offer. A. With patient in lithotomy position, your Colposcope should be placed so that the head of the scope is 300mm from the area you wish to view, with the...
- Page 9 8. Selecting Your Preferred Level of Magnification The ALLTION offers you the advantage of increasing or decreasing magnification during a colposcopic examination. A. When viewing the cervix, reach up and rotate the Three-Step Magnification Knob. B. Rotate it to your desired magnifica- tion (3.75, 7.5, or 15).
- Page 10 9.Integrated Video Camera An integrated video camera (1 CCD) is available in specific models. It is very convenient for the doctors to communicate with the patient by this device. 1.CCD camera power: connect the red wire from the head to the black wire from the bracket 2.Video Output Use the extra video cable to connect the yellow video cable and the TV or monitor AV adapter.
-
Page 11: Fuse Replacement
Colposcope Head Keeps Turning Tighten Gross Height Adjustment and locking Knob. 14. Information about disinfection for Alltion LED Colposcope You can wipe the colposcope with alcohol on a clean cloth, andyou can use the disposable alcohol pads, usually used to clean skin. Care must be taken not to put the alcohol on any lenses, whether that be the lenses the doctor looks through or the lenses towards the patient.
Need help?
Do you have a question about the AC-2000 Series and is the answer not in the manual?
Questions and answers