
Subscribe to Our Youtube Channel
Related Manuals for Digisol DG-BR5411QAC


Summary of Contents for Digisol DG-BR5411QAC
- Page 1 AC1200 Dual Band Wireless Gigabit Broadband Router DG-BR5411QAC 867 Mbps 300 Mbps V1.0 2018-08-13...
- Page 2 Copyright Copyright © 2018 by DIGISOL Systems Ltd. All rights reserved. No part of this publication may be reproduced, transmitted, transcribed, stored in a retrieval system, or translated into any language or computer language, in any form or by any means, electronic, mechanical, magnetic, optical, chemical, manual or otherwise, without the prior written permission of this company.
-
Page 3: Package Contents
Thank you for purchasing DG-BR5411QAC Dual Band Wireless Gigabit Broadband Router which supports Wireless speed Upto 867Mbps on 802.11ac and Upto 300Mbps on 802.11n! DG-BR5411QAC is the best choice for Small office / Home office users, all computers and network devices can share a single cable internet connection at high speed. -
Page 4: System Requirements
• Supports DHCP (Server/Client) for easy IP-address setup. • Advanced network and security features like:IP Filter/Traffic Rules, Port Forward, MAC filter, Firewall etc. • Allows you to monitor the router’s status like: DHCP Client Log, System Log, Security Log and Device/Connection Status. •... -
Page 5: Hardware Interface
Hardware Interface: Back panel of router is as described below: Interfaces Description Power Socket is where you will connect the power adapter. Power Please use the power adapter provided with this Wireless Router. Wide Area Network (WAN / Internet) port. RJ-45 interface to connect to the Ethernet Interface of the LAN (1 - 4) computer or other Ethernet devices through a LAN cable. -
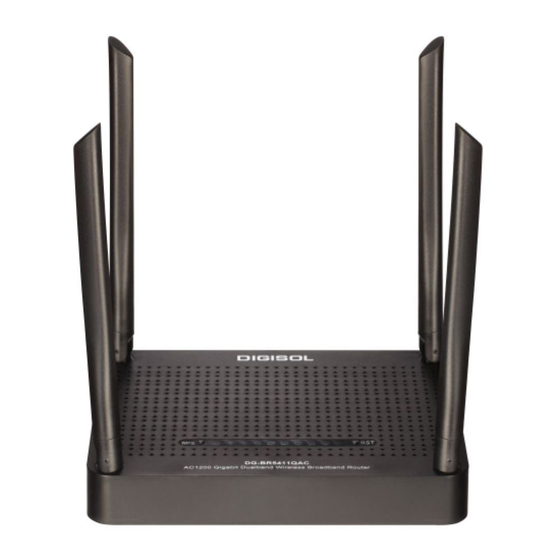
Page 6: Top View
Top View: There are four 5dBi dipole, non detachable antennas on each corner of router. WPS, RST button and LED to describe connection status of router. WPS: Press this button for 3 seconds to initiate WPS. RST(RESET): Reset the router to factory default settings (clear all settings). Press this button and hold for 10 seconds to restore all settings to factory default. -
Page 7: Hardware Installation
Hardware Installation: Please follow the below mentioned instructions to build the network connection between your new wireless router and your computers, network devices: Connect your Internet connection to the WAN port of the router by an Ethernet cable. Connect all your computers, network devices (switch/hub) to the LAN port of the router. Connect the power adapter (12V DC / 1A ) to the wall socket, and then connect it to the‘Power’... -
Page 8: Quick Install Guide
Quick Install Guide: For quick router setup please follow the step mention below: Open the web browser, and type the IP address of the router in the address bar as ‘http://192.168.2.1’. The following web page will display on screen: Enter Username = ‘admin’ and Password = ‘1234’. Click on ‘Sign in’ button to see the web management page of this router. -
Page 9: Gateway Mode
There are three modes of operation 1. Gateway Mode 2. Bridge Mode 3. Wireless ISP Mode 1. Gateway Mode : Select ‘Gateway’ and click on ‘Apply Changes’’. In this mode, the device is supposed to connect to the internet via ADSL/Cable Modem. -
Page 10: Bridge Mode
2. Bridge Mode : Select ‘Bridge’ and click on ‘Apply Changes’’. In this mode all ethernet interfaces and wireless interface are bridged together and NAT function is disabled. All the WAN related functions and firewall are not supported. -
Page 11: Wireless Isp Mode
3. Wireless ISP Mode : Select ‘Wireless ISP’ and click on ‘Apply Changes’. In this mode, all ethernet ports are bridged together and the wireless client will connect to ISP access point. The NAT is enabled and PCs in ethernet ports share the same IP to ISP through wireless LAN. - Page 12 Steps after selecting the desired mode of operation: Step 1: Time Zone Setting. Select your Time Zone according to your location. Step 2: LAN Interface Setup This page is used to configure the parameters for local area network which connects to the LAN port of your Access Point. Here you may change the setting for IP address, subnet mask, DHCP etc.
- Page 13 Step 3: WAN Interface Setup This page is used to configure the parameters for Internet Network which connects to the WAN port of your Access point. Here you may change the access method to Static IP, DHCP, PPPoE, PPTP or L2TP by clicking the drop-down menu of WAN Access type.
-
Page 14: Dhcp Configuration
DHCP configuration Select "DHCP Client" (Dynamic IP) under Access type option to obtain IP Address information automatically from your ISP. Usually Cable Modem and the router will automatically obtain an IP address from the DHCP server. PPPoE configuration Select WAN Access type as ‘PPPoE’. If your ISP uses a PPPoE connection it will provide you with a username and password. - Page 15 Step 4: Selection of Wireless Band Step 5: Wireless 5Ghz Basic Settings. This page is used to configure the parameters for Wireless LAN clients which may connect to your Access Point.
- Page 16 Step 6: Wireless 5GHz Security Settings. This page allows you to setup the wireless security. Turning on WEP or WPA by using Encryption Keys could prevent any unauthorized access to your wireless network. Step 7: Wireless 2.4GHz Basic Settings. This page is used to configure the parameters for Wireless LAN clients which may connect to your Access Point.
- Page 17 Step 8 : Wireless 2.4GHz Security Setup: This page allows you to setup Wireless Security. Turning on WEP or WPA by using the Encryption Keys could prevent any unauthorizd access to your wireless network. After clicking on ‘Finished’, router will take 20 seconds to reboot. Now the router is ready to use.
- Page 18 Following are the solutions to problems that may occur during the installation and operation of the DIGISOL DG-BR5411QAC Gigabit Dual Band Wireless Broadband Router. 1. Cannot login into the router. Verify whether password you entered is correct. If you have forgotten the password, then reset the router using reset button available on the top side of the router.
-
Page 19: Limited Lifetime Warranty
Lifetime Warranty offer, customer needs to contact DIGICARE's Technical Assistance Center for the same. You may be asked to provide proof of purchase of product for warranty claim of defective product. Please refer website www.digisol.com for the detailed support terms & conditions and support process. Warranty Policy 1. - Page 20 DIGISOL SYSTEMS LIMITED L-7, Verna Industrial Estate, Digisol is a Subsidiary of Smartlink Holdings Limited Salcete, GOA - 403722 www.digisol.com 1800 209 3444 helpdesk@digisol.com sales@digisol.com...
Need help?
Do you have a question about the DG-BR5411QAC and is the answer not in the manual?
Questions and answers