Advertisement
Advertisement
Table of Contents

Subscribe to Our Youtube Channel
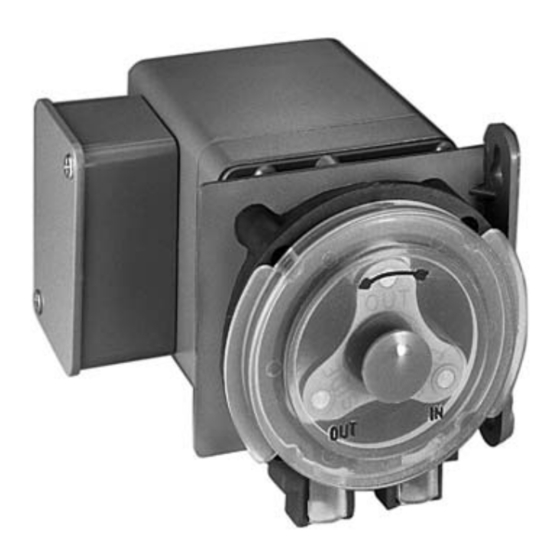
Summary of Contents for Blue-White FlexFlo A-1600 Series
- Page 2 Page 2 Thank You for purchasing the A-1600 Peristaltic Metering Pump. It is our policy to produce, market and provide service on our products to ensure your safety complete satisfaction. When installed and used in accordance with the following instructions, the A-1600 will provide years of safe, reliable service. For your safety the A-1600 was designed to be safe and easy to use.
-
Page 3: Unpacking Information
Page 3 INSTALLATION INSTRUCTIONS UNPACKING INFORMATION Verify that you have received all of the following equipment: - One A-1600 series pump - 10 ft. 3/8” O.D. Clear vinyl tubing with flow indicator - One threadless injector (T.I.) Fitting - One suction tube strainer - One ceramic weight - Two pump head tube assemblies (with fittings) - Two mounting screws... - Page 4 Page 4 SWIMMING POOLS Figure 1 INJECTOR CIRCULATION PUMP SOLUTION TANK FILTER RETURN LINE WATER WELLS Figure 2 To system Pressure relief valve Pressure Contact guage Well cover tank Pressure Solution switch tank Drain WELL Suction Tube Injector Point Submersible well pump...
-
Page 5: Wiring Diagram
Page 5 WIRING DIAGRAM Figure 3 Motor WIRING DIAGRAM A-1600T SERIES Injecting Indicator (Timer Models Only) Light Ground Common Power Power Switch Indicator Light Cycle Timer A- 1600 SERIES WIRING COLOR CODES Figure 4 **************MOTOR************ VOLTAGE COMMON GROUND 115v Black or Yellow Blue Green 230v... - Page 6 Page 6 OPERATING INSTRUCTIONS SUPPLY TANK FOR CHEMICALS Plastic containers must be designed and manufactured for this purpose. Your container must be designed for whatever chemical you are using. Do not place the container in direct sunlight. Ultraviolet (UV) rays attack many materials which can cause them to become brittle.
-
Page 7: Adjusting The Output
Page 7 OPERATING INSTRUCTIONS MEASURING THE OUTPUT FIGURE 5 Blue-White This volumetric test will take into Injection Fitting account installation factors such as line pressure, fluid viscocity, specific gravity, etc. This test is the most Discharge accurate for measuring the injector’s Tubing output in an individual installation. - Page 8 Page 8 OPERATING INSTRUCTIONS (Con’t) FIGURE 6 Hold the tube in your right hand with the fitting marked The tube will naturally curve toward the rear of the “R” facing you. Note that the fitting marked “L” is pump head. The curve in the tubing is a patented facing downward and away from you to the left.
- Page 9 Page 9 OPERATING INSTRUCTIONS (Con’t) THE PUMP TUBE ASSEMBLY A. The A-1600 Pump Tube Assemblies are designed for a service life of at least 800 hours. However, the service life can be adversely affected by the chemicals used, the amount of back pressure, the motor RPM, and temperature. The service life of 800 hours is based on the A-002-6 tube tested with water at 70F.
-
Page 10: Exploded View
Page 10 EXPLODED VIEW... - Page 11 Page 11...
- Page 12 TROUBLE SHOOTING GUIDE SYMPTOM POSSIBLE CORRECTIVE Tube wears out to fast 1. High back pressure 1. MAX PSI = 25 2. Temp. above 105° F 2. Do not install near a heat source 3. Clogged injection fitting 3. Clean fittings Injector runs noisy 1.
- Page 14 LIMITED WARRANTY Your new pump is a quality product and is warranted to be free of defects as set down it this policy. All parts, including rubberized goods and labor are covered under warranty for 90 days from date of pur- chase.


Need help?
Do you have a question about the FlexFlo A-1600 Series and is the answer not in the manual?
Questions and answers