Table of Contents
Advertisement
Advertisement
Table of Contents

Related Manuals for Ramblewood Green EC4-70


Summary of Contents for Ramblewood Green EC4-70
- Page 1 User Manual EC2-23 EC4-70 Ramblewood Green WWW.RAMBLEWOODGREEN.COM...
-
Page 2: General Information
This appliance is designed for domestic household use. The User Manual contains important product safety & installation information. Your safety is of the utmost importance. Please ensure you read this booklet before attempting to install or use the appliance, and contact RambleWood Green if you have any question. Safety Installation Guide ... -
Page 3: Hot Surface Hazard
Do not cook on a broken or cracked hob surface. If hob surface is cracked, please switch off the appliance at the main power supply (wall outlet) and contact a qualified technician immediately. Failure to follow this advice may result in electrical shock or death. Hot Surface Hazard ... -
Page 4: Product Specification
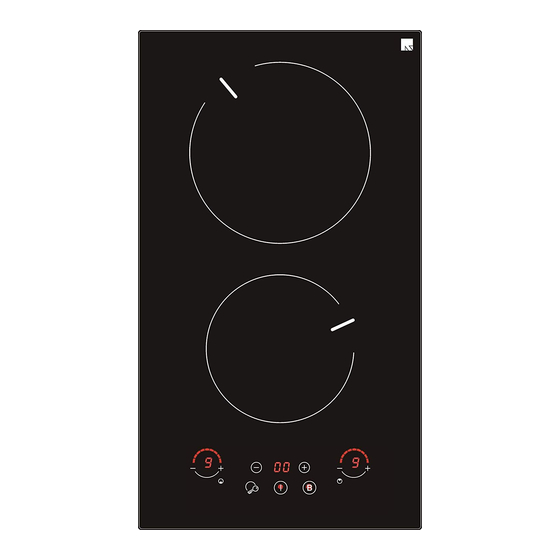
Product Specification MODELS EC2-23 EC4-70 Cooking Zone Input Voltage 220-240V, 60Hz 220-240V, 60Hz Max. Current 13.6A Output Power 1200W + 1800W 1000W + 1200W + 1800W + 2200W Max power 3000W 7200 W Front Side control operation Electrical cable type 3 core x 14AWG (1.4m) - Page 5 1. Front left: 1000W / 2200W(Boost) 2. Rear left: 1800W 3. Front right: 1200W 4. Rear right: 1100W / 2000W(Boost) 5. Control panel 6. Front: 1200W 7. Rear: 1800W...
-
Page 6: Control Panel
Control Panel 8. ON / OFF control 9. Child lock 10. Heating zone selection 11. Timer controls 12. Booster 13. Booster for the Front Left burner and Rear Right burner Touch Control Guide The control responds to touch, so you don’t need to apply any pressure. ... -
Page 7: Choosing The Right Cookware
Choosing the right Cookware Do not use cookware with jagged edges or a curved base. Make sure that the base of your pan is smooth, sits flat against the glass, and is the similar size as the cooking zone. Always center your pan on the cooking zone. Always lift pans off the ceramic hob - do not slide, or they may scratch the glass. -
Page 8: Using Your Ceramic Hob
Using your Ceramic Hob To start cooking Touch the control. After power on, the buzzer beeps once, all displays show “0”, indicating the burners are set to standby mode. Place a suitable pan on the cooking zone that you wish to use. Make sure the bottom of the pan and the surface of the cooking zone are clean and dry. -
Page 9: Power Off
You can modify the heat setting at any time during cooking. By holding down either of these buttons, the value will adjust up or down. Power Off 1. Touching the heating zone selection control that you wish to switch off. 2. -
Page 10: Child Lock
3. Residual Heat Indicator “H” will be shown when cooking zone is hot. It will disappear when the surface have cooled down. Child Lock You can lock the controls to prevent unintended use. When the controls are locked, all the controls, except the ON / OFF, are disabled. To lock the controls Touch the Child Lock control. -
Page 11: Over Temperature Protection
Booster In EC4-70, the Front Left and Rear Right burners have extra heating elements for power boosting. When press Booster button the extra heating element will be switched on to provide extra power. - Page 12 2. Set the time by touching the control of the timer. Hint: Touch either “-” or “+” control of the timer once, time decreases or increases by 1 minute. Touch and hold the “-” or “+” control of the timer will decrease or increase by 10 minutes.
- Page 13 Trouble Shoot / Debug Problem Possible Causes Action Make sure cooktop is wired up to the 220-240 AC power, NOT the 110VAC. The cooktop cannot be turned No power. The Red & Black wires of the power cable are both Hot/Live, thus should be connected to the Hot terminals of the power source.
-
Page 14: Countertop Installation
As shown in diagram below EC2-23 270 mm 480 mm 50mm Min. 50mm Min. 50mm Min. 50mm Min. EC4-70 710 mm 480 mm 50mm Min. 50mm Min. 50mm Min. 50mm Min. - Page 15 Under any circumstances, make sure the cooktop is well ventilated and the air inlet / outlet of the space under cooktop are not blocked. Note: The safety distance between the glass panel and the hood/cabinet above should be at least 760mm. A(mm) B(mm) C(mm)
-
Page 16: Fixing Brackets
Fixing Brackets: The unit should be placed on a stable, smooth surface (use the packaging cardboard). Fix the hob on the work surface by screw and four brackets on the bottom of chassis (see picture) after installation. Adjust the bracket position to suit for different countertop thickness. Caution ... - Page 17 Connecting the cooktop to 220V AC power supply This cooktop must be connected to the mains power supply only by a certified/licensed technicians. Before connecting the hob to the mains power supply, check that: The 220-240 AC voltage corresponds to the value given in the rating plate. ...
- Page 18 A symbol on the product or its packaging indicates that this product should not go into household waste. It must be taken to the collection point of an electric and electronic equipment recycling facility. By making sure this product is disposed of properly, you will help prevent the negative effects on the environment and human health that would otherwise result from inappropriate disposal of this product.
Need help?
Do you have a question about the EC4-70 and is the answer not in the manual?
Questions and answers