Windsor VP6 Service Manual
Hide thumbs
Also See for VP6:
- Operating instructions manual (20 pages) ,
- Operating instructions manual (19 pages)
Advertisement
Advertisement

Subscribe to Our Youtube Channel
Related Manuals for Windsor VP6


Summary of Contents for Windsor VP6
- Page 1 Service Guide VP6 and VP10 Back Pack Vacuum Repair Manual...
-
Page 2: Table Of Contents
Table of contents Section 1: Introduction page 3 Section 2: Machine components page 4 Section 3: Tools Required page 5 Section 4: General Maintenance Page 6 Section 5: Electrical Troubleshooting Schematic Page 7 Section 6: Vacuum System Troubleshooting Pages 8-13... -
Page 3: Section 1: Introduction
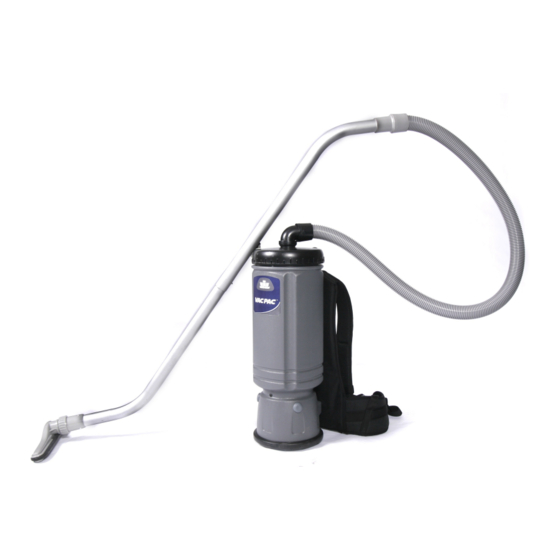
Section 1 Introduction How the machine works: The Vac Pac (VP6 and VP10) is a portable back pack vacuum cleaner intended for commercial use. The appliance is strapped to the operators back using a harness allowing the operator to clean without having to move the appliance manually. The machine uses a single motor in a canister with a hose and wand with multiple attachments for various applications. -
Page 4: Section 2: Machine Components
Section 2 Machine Components 1. Cap 2. Housing 3. Switch assembly 4. Power cord 5. Harness assembly 6. Accessories 7. Hose 8. Wand 9. Carpet tool... -
Page 5: Section 3: Tools Required
Section 3 Tools Required to repair the Vac Pac 1. #1 cross tip (Phillips) screw driver 2. #3 cross tip (Phillips) screw driver 3. Standard blade screw driver (Medium) 4. 15/16” open end wrench 5. AC line splitter for amperage testing, either hand made or purchased 6. -
Page 6: Section 4: General Maintenance
General Maintenance Section 4 The Vac Pac is simple to maintain, the most important step to optimal performance of the machine is to always use the cloth and micro paper filter together. The motor filter in the canister can only be changed by removing the motor keeping the cloth bag clean and changing the paper bag when full will prolong the life of the filter. -
Page 7: Section 5: Electrical Troubleshooting Schematic
Section 5 Electrical troubleshooting Schematic The electrical system of the Vac Pac is simply switch operated, power in power out trouble shooting principles are applied. The entire machine is operated with one switch and protected by an in-line fuse and thermal cut-off switch. -
Page 8: Section 6: Vacuum System Troubleshooting Pages
Section 6 Vacuum System Troubleshooting Symptom: Vacuum motor runs no suction: Check for full bag or clogged hose, wand and accessory tool. Vacuum motor runs for a while with weak suction then cuts off, this is caused by the motor over heating above 170° F. When this occurs the vacuum motor is not getting enough air flowing through it to keep it cool (flow through type). - Page 9 Vacuum System Troubleshooting Vacuum runs but trips the circuit breaker in the building. 1. Using an amp clamp set on AC amperes and a current splitter at the wall outlet, turn the vacuum motor on and check the reading, if the motor runs higher than 12 amps check the voltage at the outlet if the voltage under load is less than 110 VAC the motor is starving for voltage and is pulling excess amps to compensate.
- Page 10 Vacuum System Troubleshooting To access the motor the machine needs to be disassembled following these steps. 1. Using a standard flat screwdriver Remove the four screws holding the harness to the housing taking care not to lose the spacers on the bottom of the harness. 2.
- Page 11 Vacuum System Troubleshooting Check the vacuum motor for visible damage such as burnt windings, damaged Commutator, stuck carbon brushes, loose or rough bearings. Carbon brushes should never be allowed to wear to less than 3/8” of an inch, if this occurs damage to the Commutator will occur.
- Page 12 Vacuum System Troubleshooting 4. With the switch on check for voltage at the thermal switch and the white wire coming from the power cord you should see 120 +- 5 VAC. Move to step 5 Move to step 6 5. Test for voltage at the carbon brush end of the fuse you should see 120 +- 5 VAC. Move to step 8 Replace fuse/thermal switch assembly.
- Page 13 Vacuum System Troubleshooting Problem is resolved.
Need help?
Do you have a question about the VP6 and is the answer not in the manual?
Questions and answers