Sign In
Upload
Download
Table of Contents
Contents
Add to my manuals
Delete from my manuals
Share
URL of this page:
HTML Link:
Bookmark this page
Add
Manual will be automatically added to "My Manuals"
Print this page
×
Bookmark added
×
Added to my manuals
Manuals
Brands
Windsor Manuals
Vacuum Cleaner
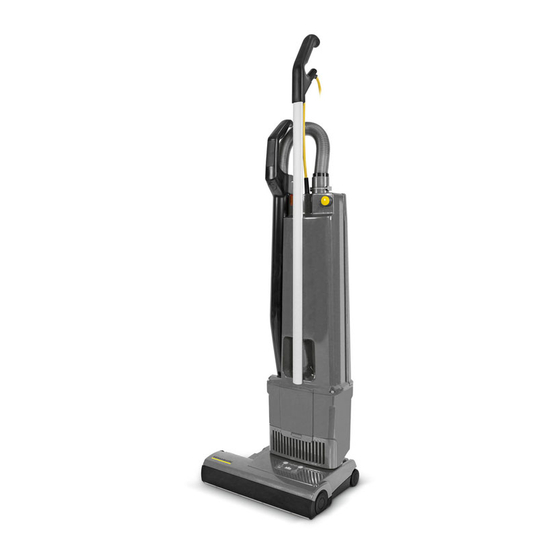
VS 14
Instructions manual
Windsor VS 14 Instructions Manual
Windsor versamatic vacuum cleaner instructions
Hide thumbs
1
2
3
4
5
6
7
8
9
10
11
12
Table Of Contents
13
page
of
13
Go
/
13
Contents
Table of Contents
Bookmarks
Table of Contents
Safety Instructions
Product View and Parts Identification
Assembling the Vacuum Cleaner
Attaching Suction Hose
Power Head on
Swivel Neck Latch
Brush Controller
Filter Level Indicator
Changing the Paper Bag
Changing Filters/The Brush Strip
Service Instructions
Maintenance
Entretien
Changing the Brush Roller
To Remove the Brush Roller Pulley
Changing the Electronic Controller
To Remove the Swivel Neck
Exploded Views and Parts Lists
Wiring Diagram
Technical Details
Advertisement
Quick Links
1
Assembling the Vacuum Cleaner
2
Power Head on
3
Product View and Parts Identification
4
Brush Controller
5
Changing Filters/The Brush Strip
6
Service Instructions
7
Maintenance
8
Exploded Views and Parts Lists
Download this manual
VS 14 / VS 18
Table of
Contents
Previous
Page
Next
Page
1
2
3
4
5
Advertisement
Table of Contents
Need help?
Do you have a question about the VS 14 and is the answer not in the manual?
Ask a question
Questions and answers
Related Manuals for Windsor VS 14
Vacuum Cleaner Windsor VS14 Operating Instructions Manual
Versamatic (62 pages)
Vacuum Cleaner Windsor VERSAMATIC 10120340 User Manual
Windsor vacuum cleaner user manual (20 pages)
Vacuum Cleaner Windsor VS14 User Manual
Versamatic (18 pages)
Vacuum Cleaner Windsor versamatic vs 14 User Manual
(9 pages)
Vacuum Cleaner Windsor Trek Vac 3 User Manual
Windsor trek vac user manual (16 pages)
Vacuum Cleaner Windsor VP6 Service Manual
(13 pages)
Vacuum Cleaner Windsor 1.014-013.0 Operating Instructions Manual
(19 pages)
Vacuum Cleaner Windsor 1.012-052.0 VSP14 Operating Instructions Manual
(62 pages)
Vacuum Cleaner Windsor Versamatic VSE I-3 User Manual
(9 pages)
Vacuum Cleaner Windsor versamatic 14 Operating Instructions Manual
(62 pages)
Vacuum Cleaner Windsor Versamatic Operation Manual
(2 pages)
Vacuum Cleaner Windsor Versamatic Plus Repair Manual
Replacing the power cord (2 pages)
Vacuum Cleaner Windsor Voyager DUO Maintenance And Operation
(3 pages)
Vacuum Cleaner Windsor Voyager DUO Maintenance And Operation
(3 pages)
Vacuum Cleaner Windsor Trek Vac 2 Manual
(16 pages)
Vacuum Cleaner Windsor VAC PAC VP Owner's Manual
(4 pages)
This manual is also suitable for:
Vs 18
Versamatic vs14
Versamatic vs18
Table of Contents
Print
Rename the bookmark
Delete bookmark?
Delete from my manuals?
Login
Sign In
OR
Sign in with Facebook
Sign in with Google
Upload manual
Upload from disk
Upload from URL


Need help?
Do you have a question about the VS 14 and is the answer not in the manual?
Questions and answers