Table of Contents
Advertisement
Quick Links
Advertisement
Table of Contents

Subscribe to Our Youtube Channel
Related Manuals for Oakton T-100IR


Summary of Contents for Oakton T-100IR
- Page 1 T-100IR Portable Turbidity Meter Instruction Manual - 1 -...
-
Page 2: Table Of Contents
Table of Contents Introduction ........................... - 3 - Technical Specifications ......................- 4 - Instrumentation Illustration ......................- 5 - Summary ..........................- 5 - Configuration ......................... - 5 - Display Mode .......................... - 6 - Keypad ............................ - 7 - Battery Installment ........................ -
Page 3: Introduction
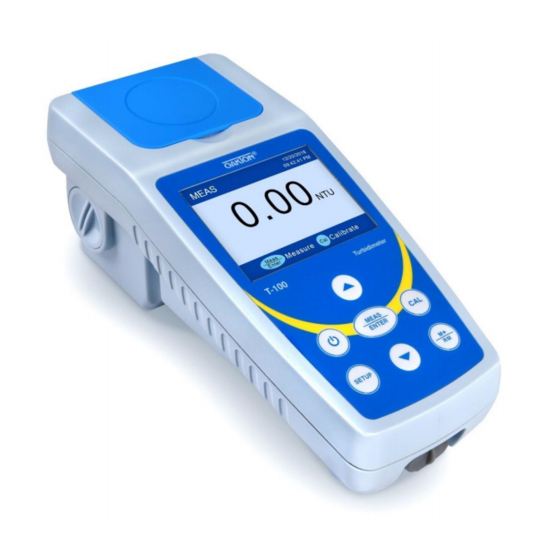
INTRODUCTION Thank you for purchasing the Oakton T-100IR Portable Turbidimeter (hereafter referred to as the instrument). The instrument is designed using the principle of scattering and conforms to the ISO 7027, (DIN EN 27027) methods for measuring the turbidity of aqueous solutions and is suitable for use in laboratories or on site. -
Page 4: Technical Specifications
TECHNIC AL SPECI FIC AT IONS Specification Description Measurement ISO 7027, (DIN EN 27027) compliant Method Light Source Infrared LED 0 ~ 1000 NTU (FNU), automatic range switch 0.01~19.99 NTU(FNU) Measuring Range 20.0~99.9 NTU(FNU) 100~1000 NTU(FNU) ≤ ±2% of reading+ stray light Accuracy ≤... -
Page 5: Instrumentation Illustration
INSTRUMENTATIO N ILLUS TR ATION 3.1 Summary Figure-1 Flip cover of the sampling well (Close the cover ⑦ Dust proof plug (Remove for measurements) ① when measuring) ⑧ ② Housing Sample well ③ ⑨ Display Calibration vials or sample vials Positioning mark (Align the mark with the mark ④... -
Page 6: Display Mode
3.3 Display Mode ① Measurement Mode ② Measured parameter, units Measuring ③ Operation Guide Mode ④ Low battery indicator ⑤ Date and time ① Calibration Mode - Green Calibration ② Measured parameter Mode ③ Progress bar ④ Operation guide ① Calibration Mode Calibration ②... -
Page 7: Keypad
3.4 Keypad Figure -3 Keypad Functions ⚫ Power on/off ⚫ In measurement mode, press to enter or exit calibration mode ⚫ In parameter setup and recall mode, press to return to measurement mode ⚫ In measurement mode, short press to perform single measurement; long press (>3s) to perform continuous measurement. -
Page 8: Calibration
number only indicates the number of measurement interfaces, which is not equal to the number of actual stored data. For a single measurement, one serial number corresponds to one measurement data. For continuous measurement, one serial number corresponds to multiple measurements in the measurement interface. -
Page 9: Calibration Procedure (Take 0 Ntu And 20 Ntu As An Example)
shelf life and NIST traceability. The polymer calibration solution of the instrument configuration has a service life of ≥12 months (calculated from the date of manufacture). When using the product, please check the effective date on the bottom of the bottle. d) The instrument has been calibrated at full range before leaving the factory. -
Page 10: Notes For Calibration
Figure 8.3). The screen indicates that the 20 NTU has been calibrated. Press to return to measurement mode as shown in Figure 8.4. If you want to continue to calibrate 100 NTU, place the 100 NTU calibration vial in the sample well and press to calibrate.., repeat the steps until 800 NTU calibration is completed, press to return to measurement mode. -
Page 11: Turbidity Measurement
TURBIDI TY ME ASU REMEN T 5.1 Sample Vial Handling a) The instrument is equipped with 6 sample vials, the cap is marked with 1 to 6 , and the bottom of the vial also has the same number. The number of the vial and the cap should be the same, do not mix. -
Page 12: Notes For Measurement
Figure 11.3 Figure 11.2 Figure 11.1 5.5 Notes for Measurement Turbidity measurement is related to many factors and is a complicated analytical measurement, which is related to the design of the instrument as well as many other factors, such as stray light, air bubbles, sample vials and operating techniques. -
Page 13: Parameter Setup
PAR AM ETER SETUP 6.1 Operation to enter the parameter setup mode → press to switch P1-P2-...P9 → press Press to enter each parameter → press to make changes → press to confirm → press to return to measurement mode. 6.2 Parameter Setup Reference Table Symbol Parameter... -
Page 14: Data Output Via Usb Port
D ATA O UTPUT VI A USB PORT 7.1 Display Interface ① ② ③ Figure 12 ①— Display area for storage value To display measuring number, date, time, measurement method (normal measurement or continuous measurement), measuring value and measurement unit. For continuous measurement, average, maximum and minimum measured values will also be displayed. - Page 15 SyncTime— Sync time key, press "SyncTime" key to sync computer time with instrument time. Download— Download key, press "Download" key to send data from instrument memory to computer. Clear— Clear key, press "Clear" key to delete data. Export— Export key, press "Export" key to export the stored value to computer Microsoft Excel document.
-
Page 16: Lamp Replacement
L AMP REPL ACEM ENT 8.1 Light source check Observe the light source on the left of the sample cell as in Figure 13. Turn the instrument on, and . The light source will light up for 5 seconds. If it’s not lighting up or is flashing, please press replace the lamp. -
Page 17: Warranty
WARR AN TY We warrant this instrument to be free from defects in material and workmanship and agree to repair or replace free of charge, at option of OAKTON INSTRUMENTS, any malfunctioned or damaged product attributable to responsibility of OAKTON INSTRUMENTS, for a period of TWO YEARS (SIX MONTHS for the standards) from the delivery.
Need help?
Do you have a question about the T-100IR and is the answer not in the manual?
Questions and answers