
Related Manuals for Connects2 CAM-PO1-AD


Summary of Contents for Connects2 CAM-PO1-AD
- Page 1 CAM-PO1-AD Rear View Camera Input and Video-In-Motion Application: Porsche Cayenne 2002>, Panamera 2009>, Boxster 2012 - 2016, Cayman 2012 - 2016 For Vehicles with PCM 3.0 (Cayenne E1 Only), PCM 3.1 Navigation Head Units www.connects2.com...
- Page 2 Connects2 can not be held responsible for the installation of this product. Technical Support Connects2 want to provide a fast and suitable resolution should you encounter any technical issues. With this in mind, when contacting Connects2, try to provide as much Information as possible.
- Page 3 Dip 5 – No function Dip 6 – No function / CAN-bus termination Pin-Assignments Factory Connector - Pin Configuration Cable Colour Assignment Pin No. +12V Battery Pin 15 Black Ground Pin 12 Orange/Brown CAN-low Pin 9 Orange/Purple CAN-high Pin 11 www.connects2.com...
- Page 4 CAN-HIGH – connection to the vehicle Blue/Black Pin 7 CAN-LOW – connection to the vehicle Pin 1 +12V Permanent Black Pin 5 Ground Green Pin 2 +12V rear-view camera (max. 400mA) White Pin 6 Alternative coding Connection Diagram Interface www.connects2.com...
-
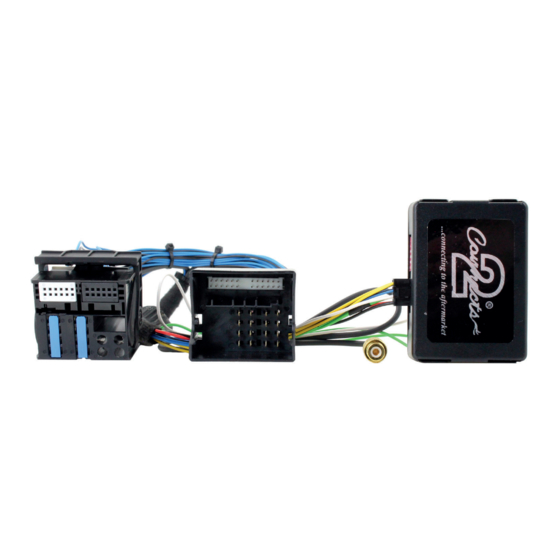
Page 5: Installation
2. Transfer the female Quadlock connector of the vehicle harness from the rear of the head-unit into the male Quadlock connector of harness. 3. Plug the female Quadlock connector of the harness into the male Quadlock connector on the rear of the head-unit. www.connects2.com... - Page 6 400mA). The green cable is high when reverse gear is engaged (and if ignition is off). The power will be deactivated from a speed of 20 km/h. Coding of the Rear-View Camera (Only PCM3.1) HASH KEY/MODE BACK ACCEPT HANG UP Steering-Wheel Buttons Left Steering-Wheel Buttons Right www.connects2.com...
- Page 7 LED inside the CAN-Box will be lit and the notice, “Rear-view camera“, will appear in the menu. Optionally coding of ParkAssistant to retrofit factory PDC (only PCM3.1) HASH KEY/MODE BACK ACCEPT HANG UP Steering-Wheel Buttons Left Steering-Wheel Buttons Right www.connects2.com...
- Page 8 CAN-box (visible at the male 8pin Molex connector). The PCM will reset after 5-10 seconds Disengage both steering-wheel buttons When decoding is successful, the red and the blue LED inside the CAN- Box will light up and the notice “ParkAssistant“ disappears in the menu www.connects2.com...
- Page 9 “Rear-view camera“ or “ParkAssistant” will appear in the menu after successful coding (or disappear after successful decoding) If a factory PDC exists in the car, set Dip4 to “ON” while coding, otherwise the factory PDC will be decoded www.connects2.com...
-
Page 10: Installation Specifications
The red and the blue LED inside the Interface will light up and the notice “Rear-view camera“ or “ParkAssistant” will appear in the menu after successful coding (or disappear after successful decoding) Activation of Video-In-Motion Functionality With Dip1 set to “ON”, the video-in-motion function is activated permanently www.connects2.com... - Page 11 NOTES www.connects2.com...
- Page 12 NOTES www.connects2.com...
Need help?
Do you have a question about the CAM-PO1-AD and is the answer not in the manual?
Questions and answers