Table of Contents
Advertisement
Quick Links
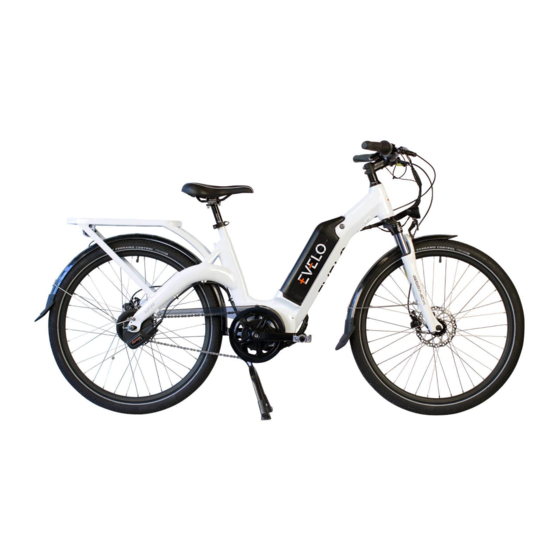
Assembly of EVELO Aurora Hub Drive Bicycle
The focus of this document is to assist with the assembly of your new EVELO
Aurora. The scope is intentionally narrow -- The "User Guide" that was
included with your bike covers a much broader spectrum of topics: fit
Unboxing Your EVELO
1. Begin unboxing the bike by cutting the
banding then opening the box. Use caution
regarding the staples as they can be very
sharp.
2. Remove the small boxes.
3. The easiest way to get the bike out of the
box is to lie the box down on its side and
then slide it out. See image ----->
4. Remove packaging including zip ties.
Caution: sometimes the zip ties are used to
hold cables or wires in place. A good indi-
cator is if the zip tie is touching a painted
surface of the bike—those should remain in
place.
5. Empty all the boxes so you know what
you are working with.
adjustments, battery care, controls etc.
Our Team is here to help 7 days a week!
contact@evelo.com
877-991-7272
Feel Free to reach out!
1
Advertisement
Table of Contents

Subscribe to Our Youtube Channel
Related Manuals for Evelo Aurora


Summary of Contents for Evelo Aurora
- Page 1 Assembly of EVELO Aurora Hub Drive Bicycle The focus of this document is to assist with the assembly of your new EVELO Aurora. The scope is intentionally narrow -- The “User Guide” that was included with your bike covers a much broader spectrum of topics: fit adjustments, battery care, controls etc.
- Page 2 Rotate Fork (if needed) Depending on how the bike was packed at the factory, you may need to turn the forkso that the Fork Arch is facing forward. If needed, rotate the steering assembly so that the cables aren’t wrapped around the frame and the arch is facing forward.
- Page 3 Install Stem (cont) 6. Turn the stem so that it will be inline with the front wheel (once installed). 7. Securely tighten the 2 bolts located on either side of the stem. Install Headlight 1. Remove the bolt from fork arch. 2.
- Page 4 Install Front Wheel (cont) 3.Check the slot in the brake caliper for a plastic spacer. Remove it if there is one. This piece is typi- cally orange, but other colors are possible. 4.Install the front wheel, taking care to fit the brake disc into the slot in the caliper.
- Page 5 Install Pedals Installation of the pedals requires a 15 mm wrench. It is important to note that the pedals are threaded differently. The right pedal will screw in clockwise, and the left pedal will screw in counterclockwise. There is an L and an R stamped into the end of each pedal for refer- ence.
- Page 6 Positioning Chain Its possible that the chain has come off the chain- ring during shipping. Correcting this is quite easy. Begin at the bottom and pull the chain forward and place it on the teeth of the chainring. You will be pulling against the spring tension of the rear deraillure.
- Page 7 Your new EVELO bicycle is equipped with a three-inch tire and mounted to a wide rim. Your bike’s tire and rim are both designed for maximum comfort, traction, and stability. This tire and rim combination may be a bit different than bike tires you have used in the past. Given the much higher volume created by tire and rim combination, the recommended pressure is sig- nificantly lower than tire pressure on most bicycles.
- Page 8 It is located on the headtube of your bike, just above the front fork. There is considerable additional information in your “User Guide”. Of course, if you ever have questions, our team is ready to help! contact@evelo.com 877-991-7272...
Need help?
Do you have a question about the Aurora and is the answer not in the manual?
Questions and answers