Table of Contents
Advertisement
Quick Links
Advertisement
Table of Contents

Subscribe to Our Youtube Channel
Related Manuals for Vivo DESK-V201G


Summary of Contents for Vivo DESK-V201G
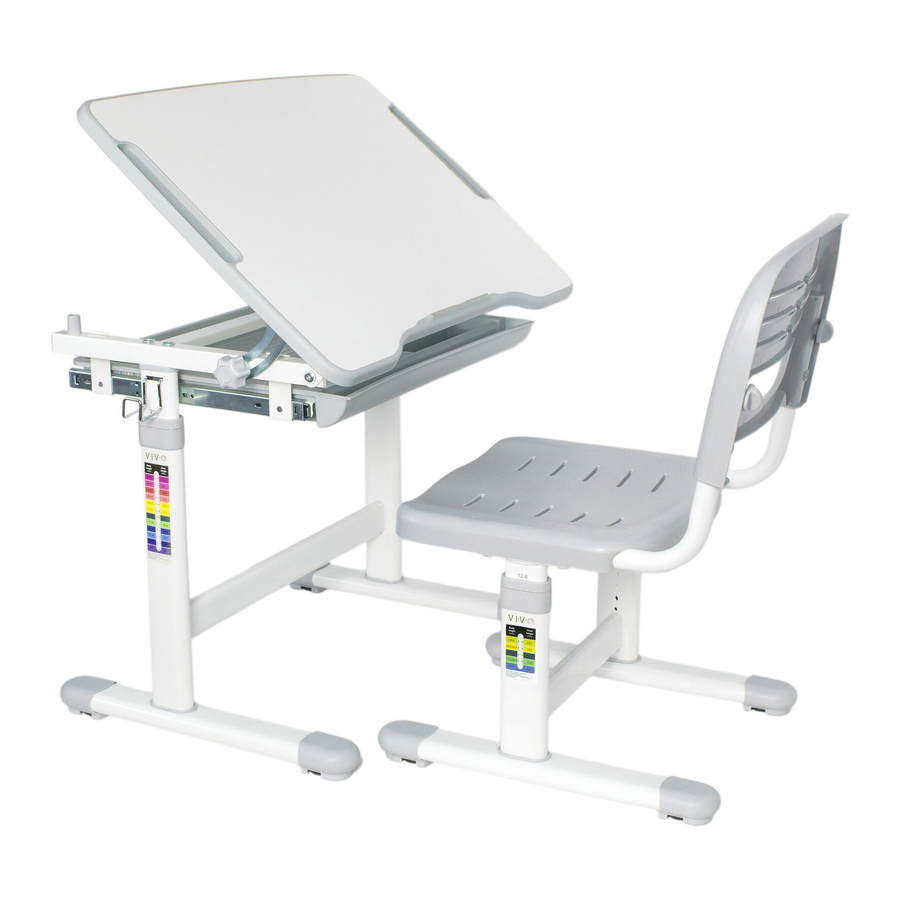
- Page 1 26” x 19” Height Adjustable Desktop Workstation Instruction Manual SKU: DESK-V201G Scan the QR code with your mobile device or follow the link for helpful videos and specifications related to this product. https://vivo-us.com/products/desk-v201g help@vivo-us.com www.vivo-us.com 1-800-371-5654...
- Page 2 WARNING! If you do not understand these directions, or if you have any doubts about the safety of the installation, please call a qualified technician. Check carefully to make sure there are no missing or defective parts. Improper installation may cause damage or serious injury. Do not use this product for any purpose that is not explicitly specified in this manual and do not exceed weight capacity.
-
Page 3: Tools Needed
WARNING: CHOKING HAZARD SMALL PARTS - NOT FOR CHILDREN UNDER 3 YEARS. ADULT SUPERVISION IS REQUIRED. TOOLS NEEDED Phillips Screwdriver DO NOT EXCEED WEIGHT CAPACITY. 50lbs 150lbs Failure to do so may result in serious injury. (22.68kg) (68.04kg) CHAIR DESK ASSEMBLY STEPS STEP 1 Attach chair legs (B1) to chair feet (B2), making sure legs are fully seated in openings. - Page 4 STEP 2 Mount plastic seat bottom (B6) to assembled chair frame using 4 long plastic thread screws (A4). Tighten with phillips screwdriver. Slide plastic seat back (B7) onto chair frame, aligning upper or lower holes in seat back with screw holes in frame depending on the needed height. STEP 3 Secure seat back using knobs (A5).
- Page 5 STEP 4 Assemble right side drawer slider (B9) to desktop (B8) using 2 short screws (A6) and 2 plastic washers (A3). Tighten with allen wrench. Check to ensure slider pulls out towards the front of the desk. Assemble left side drawer slider (B10) to desktop using 2 short screws (A6) and 2 plastic washers (A3).
- Page 6 STEP 5 (cont.) Assemble desktop to legs using 4 long screws (A8) and 4 plastic washers (A3). Tighten with allen wrench. STEP 6 Squeeze sides of hook (A9) and fit into slot on left or right side of desk. Adjust desk feet to sit level if needed.
- Page 7 Height Adjustment RAISE: Step on the support bar with one foot and pull up with even motion on both sides of the desk, until it reaches desired height. Repeat with chair. LOWER: Step on the support bar with one foot and pull up with even motion on both sides of the desk, until it reaches max height.
- Page 8 Love your new VIVO setup and want to share? Tag us in your photo! @vivo_us If any parts are received damaged or defective, please contact us. We are happy to replace parts to ensure you have a fully functioning product.
Need help?
Do you have a question about the DESK-V201G and is the answer not in the manual?
Questions and answers