Sign In
Upload
Download
Table of Contents
Contents
Add to my manuals
Delete from my manuals
Share
URL of this page:
HTML Link:
Bookmark this page
Add
Manual will be automatically added to "My Manuals"
Print this page
×
Bookmark added
×
Added to my manuals
Manuals
Brands
Crown Manuals
Mixer
4S
Operator's manual
Crown 4S Operator's Manual
Mortar mixer
Hide thumbs
1
2
Table Of Contents
3
4
5
6
7
8
9
10
11
12
13
14
15
16
17
18
19
20
21
22
23
24
25
26
27
28
29
30
31
32
33
34
35
36
37
38
page
of
38
Go
/
38
Contents
Table of Contents
Troubleshooting
Bookmarks
Table of Contents
Table of Contents
Introduction
Safety
General Safety
Operating Safety
Maintenance Safety
Transport Safety
Tire Safety
Storage Safety
Refueling Safety
Electrical Safety
Safety Signs
Sign-Off Form
Safety Sign Locations
Operation
To the New Operator or Owner
How the Machine Works
Pre-Operation Checklist
Pre-Start Procedures
Machine Break-In
Controls
Operating
Transporting
Storage
Service and Maintenance
Service
Fluids and Lubricants
Greasing
Servicing Intervals
Service Record
Maintenance
Engine Oil Changing
Engine Speed Setting
Air Cleaner Maintenance
Belt Tension and Alignment
Wiper Spacing and Replacement
Gearbox Oil Changing
Trouble Shooting
Specifications
Bolt Torque
Index
Advertisement
Quick Links
Download this manual
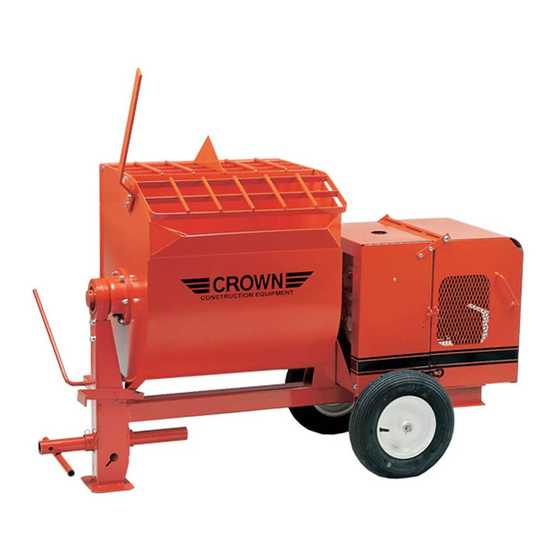
MORTAR MIXER MODELS:
4S, S4S, 5S, 6S, 6SR, S6SR, 6PR,
8S, S8S, 8P, 10S, S10S, 12S & S12S
OPERATOR'S MANUAL
www.discount-equipment.com
SERIES
MM ~ Mech.
BULLETIN No.
200078-R04
SUPERSEDES
200078-R03
DATE
May 2004
Table of
Contents
Previous
Page
Next
Page
1
2
3
4
5
Advertisement
Table of Contents
Need help?
Do you have a question about the 4S and is the answer not in the manual?
Ask a question
Questions and answers
Related Manuals for Crown 4S
Mixer Crown CT10153 Original Instructions Manual
(29 pages)
Mixer Crown CT10049 Original Instructions Manual
(104 pages)
Mixer Crown IQ System AMB-5 Installation Instructions
Backup retro module (4 pages)
Mixer Crown CT26011HX Original Instructions Manual
(136 pages)
Mixer Crown C6CT Operator's Manual
(39 pages)
Mixer Crown MRX-12 Operation Manual
Iq matrixer (11 pages)
Mixer Crown IQ system AMB-5 Product Reference
Ambient noise sensing mixer (5 pages)
Mixer Crown Mixer/Multiplexer MPX-6 Operation Manual
Crown audio mpx-6 mixer/multiplexer operation guide (8 pages)
Mixer Crown SMX-6 Operation Manual
Sensing mixer/multiplexer (24 pages)
Mixer Crown SMX-6 Troubleshooting Manual
Iq system troubleshooting (18 pages)
Mixer Crown SMX-6 Installation Instructions
Iq system backup retro module (4 pages)
Mixer Crown 14M Quick Start Manual
Commercial audio series (2 pages)
Mixer Crown AMB-5 Service Manual
Iq system mixers (52 pages)
Mixer Crown IQSMX-6 Reference Manual
Iq mixer/multiplexers with automatic signal processing (34 pages)
This manual is also suitable for:
5s
S4s
6sr
6s
8s
S6sr
...
Show all
6pr
S8s
8p
10s
S10s
12s
S12s
Table of Contents
Print
Rename the bookmark
Delete bookmark?
Delete from my manuals?
Login
Sign In
OR
Sign in with Facebook
Sign in with Google
Upload manual
Upload from disk
Upload from URL


Need help?
Do you have a question about the 4S and is the answer not in the manual?
Questions and answers