Advertisement
Quick Links
Advertisement

Related Manuals for Lovibond Tintometer SensoDirect Salt110


Summary of Contents for Lovibond Tintometer SensoDirect Salt110
- Page 1 Lovibond Water Testing ® Tintometer Group ® SensoDirect Salt110 Salt Meter - Instruction Manual...
-
Page 2: Battery Installation
* High quality, compact unit with a separate electrode that is designed for easy operation. * Water resistant front panel with easy to read LCD display and rubberised function keys Unpacking Please check that the shipment includes the following items: • Lovibond SensoDirect Salt110 ® • Lovibond SensoDirect Salt Sensor ®... - Page 3 When the instrument is used without the protective cover please use the enclosed plastic cover to protect the calibration screws against dust and humidity. 2. Specification Display LCD, 21.5 mm (0.7“) digit height Maximum display count no. 10 Measurement Range 0 -10% salt (% weight) Test values over 10% doesn‘t confirm with the specifications...
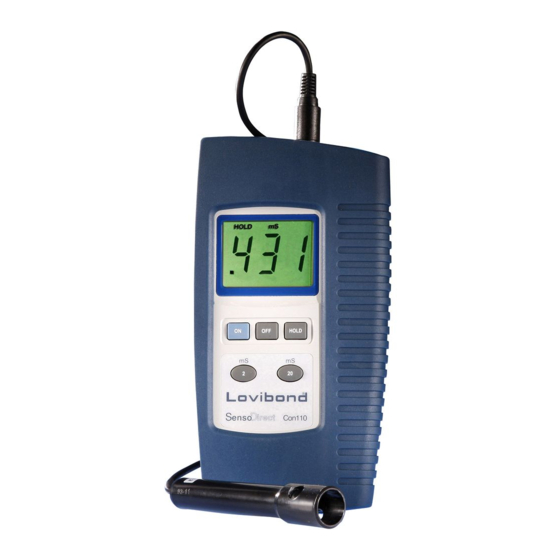
- Page 4 3. Funktionsbeschreibung Figure 1 Display Power ON Button Power OFF Button Data Hold Button Salt probe input socket Calibration Screws Battery compartment/cover Stand Protective cover Probe Handle Salt Sensor 4. Taking measurements 1) Connect the Salt probe to the probe input socket (Figure 1, 2) Power on the instrument by pressing the Power ON Button.
- Page 5 5. Calibration vernier adjustment rough adjustment Figure 2 To calibrate the meter: Prepare a 0.6% weight salt Solution (NaCl) 6000 mg/l (ppm). For example: 1000g salt Solution contain 6g salt. 2) Hold the Probe Handle by hand and immerse the let the Probe Head wholly into the measured solution Shake the Probe several time to let the air bubble leave away from the Probe Head until the reading value reach stable.
- Page 6 6. Changing the battery Figure 3 1) „ “ in the left corner of the display indicates that it is necessary to replace the battery. However, accurate measurements may still be made for several hours after the “Low Battery” indicator first appears. 2) Remove the protective cover before replacing the battery.
- Page 7 Bemerkungen SensoDirect Salt110...
- Page 8 Tintometer Inc The Tintometer Limited Lovibond Water Testing Hauptstraße 2 6456 Parkland Drive ® Lovibond House / Solar Way Schleefstraße 8-12 Solstice Park / Amesbury, SP4 7SZ 5212 Hausen AG Sarasota, FL 34243 44287 Dortmund Tel.: +41 (0)56/4422829 Tel.: +1 941-756-6410 Tel.: +44 (0)1980 664800...
Need help?
Do you have a question about the Tintometer SensoDirect Salt110 and is the answer not in the manual?
Questions and answers