Table of Contents
Advertisement
Quick Links
1. Power ON/OFF
Press briefly
If ! is displayed,
press to deactivate
Automatically turns off after
8 minutes of inactivity
Press and hold (3 sec.) to turn the
instrument off
Press to activate / de-activate
backlight
2. Taking a reading
Remove protective cap and immerse
the instrument into the sample to be
measured so that the instrument is
submersed to the sealing ring level.
Reading is displayed
Press briefly ! to freeze / unfreeze
Press and hold (3 sec.) to store data
While pressing button, memory
listing (e.g. 01) appears
3. Calibration
Rinse electrode thoroughly with
distilled water before using in each
buffer solution.
Re-calibrate according to individual
recommendations.
Use Lovibond
®
Standard Solutions or
pH buffer tablets in accordance with
the kit manual (see 4.)
Remove protective cap from the
probe. Turn ON, rinse electrode
with distilled water and immerse
the probe into pH 7
solution.
M
4. Preparation of buffer
Press and hold (3 sec.) to start
calibration
solution
CAL 1 will flash
1. Fill a clean beaker with 20 ml distilled water.
2. Add one buffer tablet of the required value
Wait until
disappears
and shake or crush with a clean stirring rod
until the tablet dissolves.
Press 1 sec.
3. Allow to stand for about two minutes to
Calibration will take place
ensure that the buffer is completely dissolved
and to allow any insoluble particles to settle.
4. Immerse the electrode into the buf-
CAL 2 will flash
fer solution and carry out calibration
(see 3. Calibration)
Exit for 1 point calibration or go to
5. Remove the electrode and rinse it tho-
2nd point calibration
roughly
6. Use the buffer solution only once
Rinse electrode with distilled
water and immerse into pH 4
Accuracy
L
buffer solution.
The maximum tolerance of fresh buffer solu-
CAL 2 will flash
tions is ±0.05 pH.
Wait until
disappears
5. Selection of pH and mV
mode
Press and hold (1 sec.)
Calibration will take place
CAL 3 will flash
Exit for 2 point calibration or go to
3rd point calibration
6. Recall Data
Rinse electrode with distilled
water and immerse into pH 10
H
buffer solution
CAL 3 will flash
Wait until
disappears
Press and hold (1 sec.)
Calibration will take place
3 point calibration is finished
L
H
will appear on screen and
M
show type of calibration (1 point to
3 point calibration)
7. Delete Stored Data
8. Select Buffer System
Toggle to select mode
Note: mode mV does NOT show
ORP on the display, only millivolt.
9. Set Date/Time display
type
Power ON
Press and hold (3 sec.)
Most recent memory setting will
flash
Press to recall
Most recent memory setting is
displayed
Toggle to other stored values
Press to exit
Recall Data (see 6.)
Press and hold (3 sec.)
CLEAR will flash
Confirm deletion of stored data
This erases all stored data
Automatic return to normal display
Power ON
Press and hold (3 sec.)
Press 1 x
Current pH system will flash
Press to confirm
Toggle to change / select (7.00
or 6.86)
Save and exit
Power ON
Press and hold (3 sec.)
Press 4 x
Date is displayed
Confirm
Toggle to 12 hour clock (am/pm) or
24 hour clock
Save and exit
Advertisement
Table of Contents

Related Manuals for Lovibond SD 50


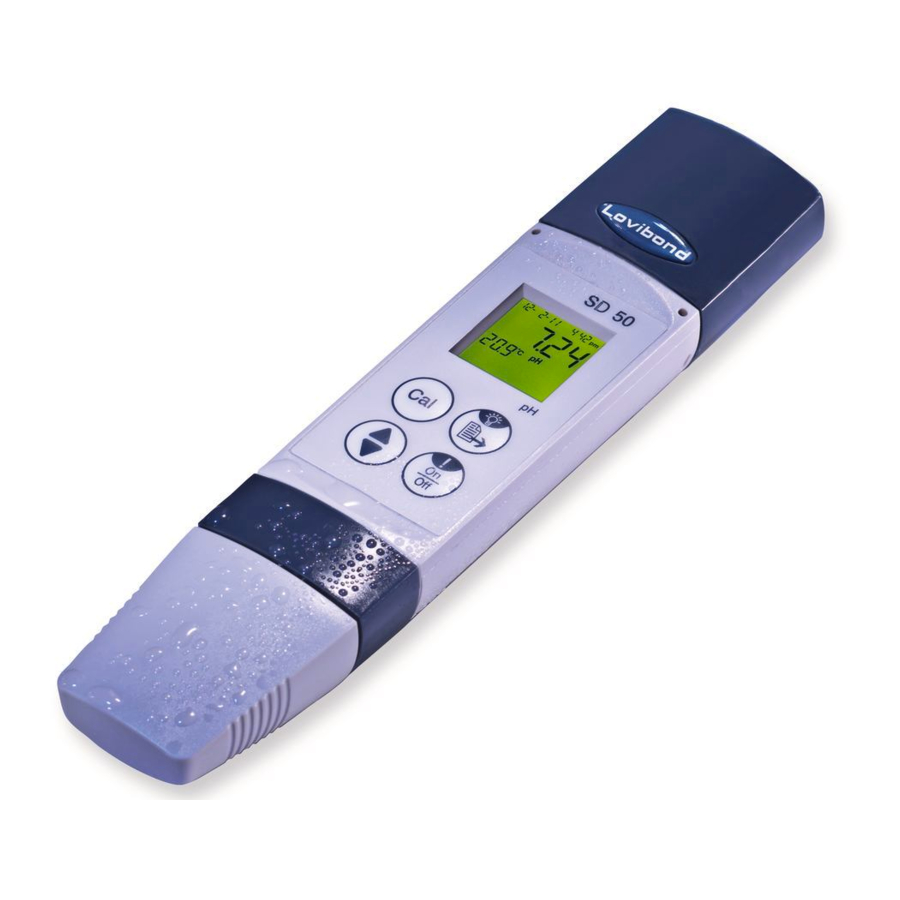
Summary of Contents for Lovibond SD 50
-
Page 1: Delete Stored Data
Date is displayed Re-calibrate according to individual Press and hold (1 sec.) Press to recall recommendations. Confirm Use Lovibond ® Standard Solutions or Most recent memory setting is Calibration will take place pH buffer tablets in accordance with displayed the kit manual (see 4.) - Page 2 Moisten electrode in tap water for some hours LCD display before initial use and after dormant periods. Save and exit 11 Auto-power off to save battery-life (8 minutes non-use) Instruction manuals available in further languages, visit www.lovibond.com • Printed in Germany 11/13...
Need help?
Do you have a question about the SD 50 and is the answer not in the manual?
Questions and answers