Sign In
Upload
Download
Table of Contents
Contents
Add to my manuals
Delete from my manuals
Share
URL of this page:
HTML Link:
Bookmark this page
Add
Manual will be automatically added to "My Manuals"
Print this page
×
Bookmark added
×
Added to my manuals
Manuals
Brands
Biotek Manuals
Laboratory Equipment
800TSI
Instructions for use manual
Biotek 800TSI Instructions For Use Manual
Absorbance reader
Hide thumbs
1
2
3
4
5
6
7
8
9
10
11
12
13
14
15
16
17
18
19
20
21
22
23
24
25
26
27
28
29
30
31
32
33
34
35
36
37
38
39
40
41
42
43
44
45
46
47
48
49
50
51
52
53
54
55
56
57
58
59
60
Table Of Contents
61
page
of
61
Go
/
61
Contents
Table of Contents
Bookmarks
Table of Contents
Contact Information
Intended Use Statement
Quality Control
Electromagnetic Interference and Susceptibility
User Safety
Safety Symbols
Installation
Package Contents
Unpack and Inspect the Reader
Remove the Shipping Hardware
Verify the Filter Wheel Contents
Select an Appropriate Location
Install the Power Supply
Optional) Install Gen5 on the Host Computer
Optional) Install the USB Driver
Optional) Connect the Host Computer
Turn on the Reader
Optional) Establish Communication
Repackaging and Shipping Instructions
Getting Started
External Components
Operate the Reader Using the Touchscreen
Operate the Reader Using Gen5 Software
Maintenance
Maintenance Overview
Warnings and Precautions
Clean Exposed Surfaces
Clean the Touchscreen
Filter Storage and Handling
System Test
Absorbance Test Plates
Liquid Tests
Specifications
General Specifications
Absorbance Specifications
Advertisement
Quick Links
1
Installation
2
Getting Started
3
Operate the Reader Using Gen5 Software
4
Maintenance
5
Absorbance Test Plates
6
Specifications
7
Absorbance Specifications
Download this manual
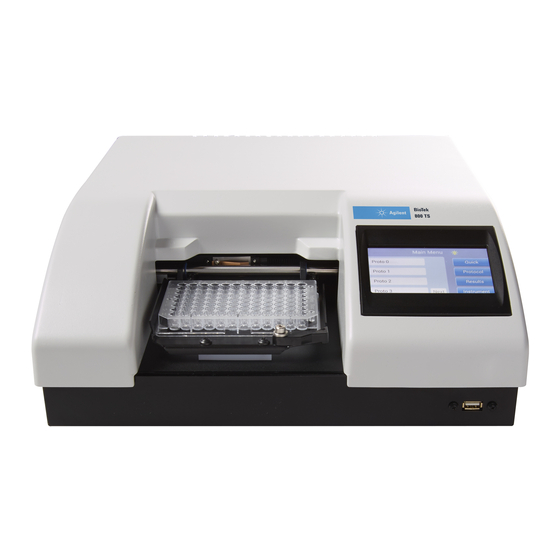
800™ TS
Absorbance Reader
Instructions for Use
®
BioTek
Instruments, Inc.
© 2017
PN 1561011, Rev A
Table of
Contents
Previous
Page
Next
Page
1
2
3
4
5
Advertisement
Table of Contents
Need help?
Do you have a question about the 800TSI and is the answer not in the manual?
Ask a question
Questions and answers
Related Manuals for Biotek 800TSI
Laboratory Equipment Biotek 800 TS Series Instructions For Use Manual
Absorbance reader (61 pages)
Laboratory Equipment Biotek ELx808 Operator's Manual
Absorbance microplate reader (172 pages)
Laboratory Equipment Biotek Synergy HTX Operator's Manual
Multi-mode microplate reader (184 pages)
Laboratory Equipment Biotek Synergy HT Operator's Manual
Multi-mode microplate reader (240 pages)
Laboratory Equipment Biotek MultiFlo FX Operator's Manual
Multi-mode dispenser. microplate dispenser (330 pages)
Laboratory Equipment Biotek Synergy H1 Operator's Manual
Hybrid multi-mode microplate reader (184 pages)
Laboratory Equipment Biotek ELx800 Operator's Manual
(218 pages)
Laboratory Equipment Biotek Epoch 2 Instructions For Use Manual
Microplate spectrophotometer (43 pages)
Laboratory Equipment Biotek BioStack 4 Operator's Manual
Microplate stacker (127 pages)
Laboratory Equipment Biotek Epoch Operator's Manual
Microplate spectrophotometer (88 pages)
Laboratory Equipment Biotek Synergy H1 Operator's Manual
Hybrid multi-mode microplate reader (190 pages)
Laboratory Equipment Biotek Synergy LX User Manual
Multi-mode microplate reader (198 pages)
Laboratory Equipment Biotek ELx50 Operator's Manual
(188 pages)
Laboratory Equipment Biotek 405 TS Getting Started Manual
Microplate washer (123 pages)
Laboratory Equipment Biotek RF302 Instruction Manual
(27 pages)
This manual is also suitable for:
800 ts series
800ts
800tsnb
800tstsuv
800tsuvi
Table of Contents
Save PDF
Print
Rename the bookmark
Delete bookmark?
Delete from my manuals?
Login
Sign In
OR
Sign in with Facebook
Sign in with Google
Upload manual
Upload from disk
Upload from URL


Need help?
Do you have a question about the 800TSI and is the answer not in the manual?
Questions and answers