Eaton HMIVU07CUNBE Instruction Sheet
Remote annunciator controller (rac) for eaton atc-900 series controllers
Hide thumbs
Also See for HMIVU07CUNBE:
- Instruction leaflet (21 pages) ,
- Instruction leaflet (23 pages)
Advertisement
Quick Links
1.0
Overview
The 7" RAC is a color touch-screen display with easy-to-use functions that provide a
powerful interface with up to 8 Automatic Transfer Switches equipped with the ATC-
900 controller. It supports serial RS-485 Modbus RTU and Modbus TCP/IP natively.
When using Ethernet to connect to an ATC-900, a serial-to-Ethernet Modbus gateway
is required such as the PXG-900 or the ELC-CAENET.
The 7" RAC Kit contains the following:
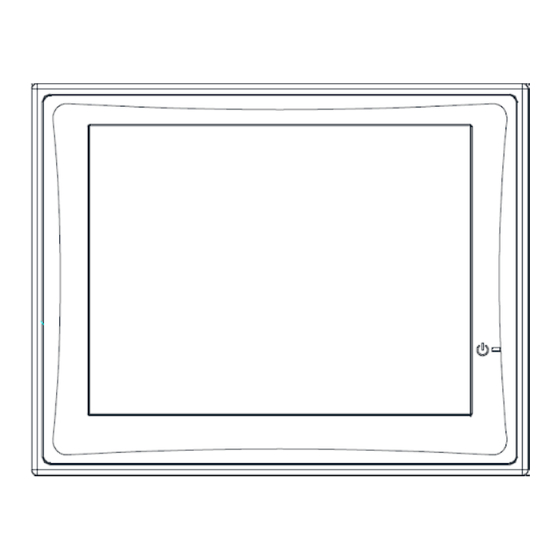
HMIVU07CUNBE (7" Color HMI Display)
IL04801003E (HMI Instruction Leaflet)
IB01602080E (Ethernet Setup Document)
ELC-PS01 or 02 (Optional 24VDC power supply)
IB140010EN (This Instruction Sheet)
66A8395, E, or EM (HMI Wiring Diagram)
66A8448H02 (HMI Interconnect Module – serial connections only)
Remote Annunciator
Controller (RAC)
Instruction Sheet for
ATC-900 Controllers
1
Revision: 006
IB140010EN
Advertisement

Related Manuals for Eaton HMIVU07CUNBE


Summary of Contents for Eaton HMIVU07CUNBE
- Page 1 When using Ethernet to connect to an ATC-900, a serial-to-Ethernet Modbus gateway is required such as the PXG-900 or the ELC-CAENET. The 7” RAC Kit contains the following: HMIVU07CUNBE (7” Color HMI Display) IL04801003E (HMI Instruction Leaflet) IB01602080E (Ethernet Setup Document)
- Page 2 The RAC supports Modbus RTU (serial RS-485) and Modbus TCP/IP (Ethernet). However, since the ATC-900 controller only supports serial Modbus, an RS-485 serial- to-Ethernet gateway must be used for Modbus TCP/IP. Eaton recommends using the ELC-CAENET module or a Power Xpert Gateway (PXG-900).
- Page 3 Note: multiple Modbus Ethernet gateways may be used to further expand the communication flexibility of the system. Drawing 66A8395EM should be referenced for wiring of multiple gateways. PXG-900 Ethernet Gateway ELC-CAENET Ethernet Gateway ATC-900 Setup The communication setpoints on each ATC-900 need to be set as follows: Baud Rate: 9600, 1-stop, Even Address:...
- Page 4 The first is to simply press the small SYSTEM button on the back of the unit for two seconds. The system menu will now be displayed on the screen. The menus are self- explanatory but if additional help is required, consult the manual on the Eaton website called “HMiSoft User Manual” IL04801003E.
- Page 5 The Overview screen (only available with multi-view firmware HMI) shows the current status of up to 8 ATS-900 controllers. In the example above, Station 1 is communicating and shows power connected through S1. Station 2 has timed out and is trying to reconnect automatically. Station 4 is connected to S2 (preferred source). Stations 5, 6, and 7 all have various alarm conditions which are displayed by the status window below each station.
- Page 6 To view the alarm popup window again at any time, press the “ATC-900 IN ALARM” indicator on the Controller View screen. Controller View Screen The Controller View shows a much more detailed view of a single controller. Note: this will be the default screen for a single-view firmware HMI. The top area contains a status grid with 6 indicators.
- Page 7 The voltage, frequency, phase- loss, and unbalance indicators Over-Voltage/Freq. have been designed to show a Indication quick graphical representation of Good Volt./Freq. Range how ‘healthy’ the source is. The Voltage/Frequency top grey area indicates the Over- Level Marker voltage or frequency dropout range.
- Page 8 The bottom area of the screen shows navigation buttons along with the “Show Manual Controls” button. The “Back to Overview” button navigates to the Overview Screen (Section 4.1). Note: this button is not available in the single-controller firmware. The “Event History” button navigates to the Alarm/Events Summary screen (Section 4.3). The “System Setup”...
- Page 10 Alarm and Events Screen Controller Events Controller Alarms The Alarm and Events screen displays time/date-stamped alarms (in red) and events (in black) for all connected controllers. This information is stored in the HMI’s memory, and will not be erased if the unit is powered down. Therefore, a “Reset History” pushbutton is provided to clear all historical events and alarms if needed.
- Page 11 Trend Label Overfreq. Range Underfreq. Range Navigation Sliders Current Data Pen The Trend screens show a graphical representation of Voltage, Frequency, Unbalance, and Amperage (Load trend only). The HMI takes data samples every 1 second for each controller it communicates to. The internal storage of the HMI can store up to 5.25 days of historical data on the single-view firmware, and up to 8.9 hours of historical data on the multi-view firmware.
- Page 12 System Setup Screen The System Setup screen allows the user to type in a name for each ATS controller (up to 8 controllers per RAC in a multi-controller configuration, or 1 controller in a single-controller configuration). Simply press the Edit button next to the controller you wish to name and type in your desired name using the on-screen keyboard.
- Page 13 As mentioned earlier, passwords are needed to initiate controller functions (Engine Test, Go to Emergency, and Manual Retransfer) and to access the setup menus. If you would like to change the passwords, press the Password Setup button in the Controller Setup screen. Default Password List Level Password...
- Page 14 Valid Setpoint Ranges Setpoint Category Navigation Buttons The HMI allows the user to program all ATC-900 controller setpoints remotely. The setpoints are organized into 5 categories: System Setup (3 pages) Time Delays Dropouts & Pickups (2 pages) ...
- Page 15 you are outside the limits, the HMI will display a popup letting you know it was an invalid entry. To return to the Controller Setup menu at any time, press the “Return to Controller Setup” button in the upper-left corner. For more information on any setpoint, consult the ATC-900 IB.
- Page 16 CAUTION This is a remote control device. Caution should be applied to make sure that appropriate procedures are in place for Engine Tests and Remote Transfers. Appropriate procedures include, but are not limited to, switch doors being closed and latched, personnel knowledgeable of transfers, and other site safety recommended procedures.
Need help?
Do you have a question about the HMIVU07CUNBE and is the answer not in the manual?
Questions and answers