Table of Contents
Advertisement
INSTALLATION & HARDWARE REFERENCE MANUAL
PANELS
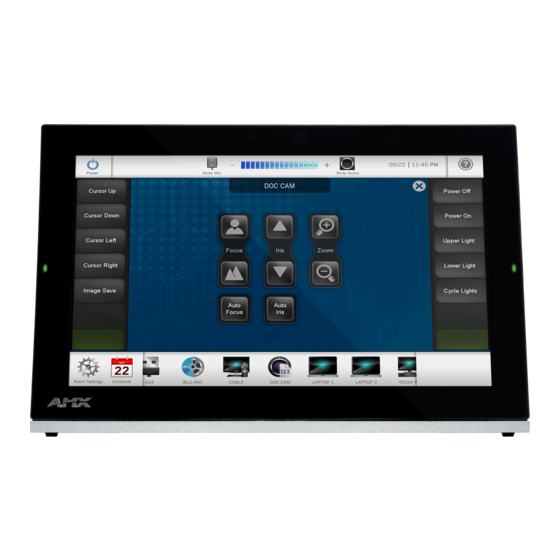
MODERO G5 TOUCH
MD-702 7" MODERO G5 WALL MOUNT TOUCH PANEL
MT-702 7" MODERO G5 TABLETOP TOUCH PANEL
MD-1002 10" MODERO G5 WALL MOUNT TOUCH PANEL
MT-1002 10" MODERO G5 TABLETOP TOUCH PANEL
MT-2002 20" MODERO G5 PANORAMIC TABLETOP TOUCH PANEL
A V FOR AN IT WORLD
®
Advertisement
Table of Contents


Need help?
Do you have a question about the MODERO G5 Series and is the answer not in the manual?
Questions and answers