dji Phantom 4 Flight Manual
Hide thumbs
Also See for Phantom 4:
- Quick start manual ,
- User manual (65 pages) ,
- User manual (56 pages)

Subscribe to Our Youtube Channel
Related Manuals for dji Phantom 4


Summary of Contents for dji Phantom 4
- Page 1 Phantom Flight Manual...
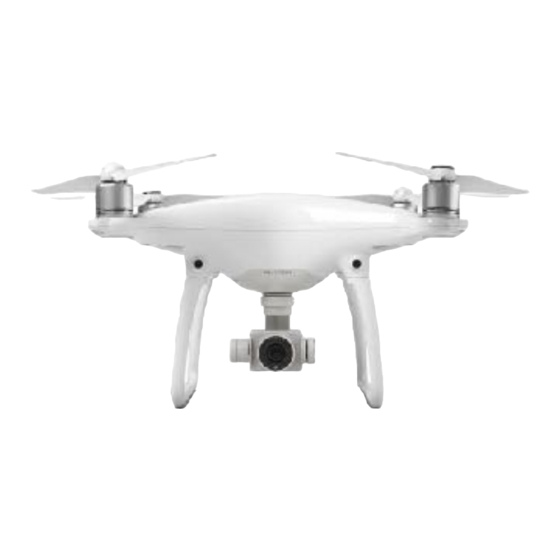
- Page 2 Phantom Components Phantom 4 Agri Battery Battery Charger Remote Control & Ground Station...
- Page 3 A brief description of each mode is provided below: (for other modes, refer to the Dji Phantom Manual) P-Mode : This mode allows for fully autonomous flight including taking off and landing. The Phantom automatically takes off when the “Start mission”...
- Page 4 Calibrations Dji Phantom 4 - Compass Compass Calibration Procedures • Choose an open area to carry out the following procedures. • Ensure that the compass is calibrated. If you did not calibrate the compass as part of your pre-flight preparations, or if you have •...
- Page 5 Click Ok and the IMU calibration will start • Then next page will show you the IMU calibration progress. Stay on this page during the Phantom 4 IMU calibration. • When the calibration reaches 100%, a popup message will appear stating “Calibration Complete. Restart Aircraft”...
- Page 6 Flight Controls (Manual Mode) It is important to learn to fly the Phantom in Manual mode. During any automated flight, the pilot should be ready and able to take manual control if required. Reverse forward...
-
Page 7: Attaching The Propellers
Attaching the Propellers... - Page 8 Led Status and Battery level...
-
Page 9: Charging The Batteries
Notes • You must fully charge the battery before your first flight • Always turn off the battery before inserting it or removing it from the Phantom 4 • Never insert or remove the battery when it is active Charging the Battery •... - Page 10 Flight Procedure 1. Plan a mission on the Aerobotics Mission Planner app. 2. Choose an appropriate place to takeoff and land. This area should be free of obstacles and near the highest point of your mission. 3. Switch on your remote control (Press the power button briefly, press it again and hold it until it powers on). 4.
- Page 11 Planning an Autonomous Mission with Aerobotics Mission Planner...
- Page 12 Planning an Autonomous Mission Open the Aerobotics Mission Planner App on your Sync you Aeroview Boundaries to the flight App tablet. Select a block you want to fly by tapping on it, to fly a bigger Generate Mission by tapping the Generate Mission Boundary, select multiple blocks.
- Page 13 Planning an Autonomous Mission To draw a custom mission tap on the “pen icon”, and draw Once your finger is released it will generate a boundary, the custom boundary with your finger. usually not following the blocked needed to fly. Adjust the boundary by holding onto the blue markers and To save custom mission, tap on the save button in flight drag them where best suited.
- Page 14 Planning an Autonomous Mission Recommended Flight Paramters: 1. Camera Type: Select Drone Type 2. Hatch Angle: Boundary Dependent(See next Picture) 3. Flight altitude: 80m -120m Crop age dependent 4. Overlap: 70% 5. Sidelap: 75% 6. Flight Speed: 9m/s - 12m/s Height dependent To access the parameters, click on the mission icon Hatch Angle is dependent to the Boundary.
- Page 15 Planning an Autonomous Mission To delete a mission, tap on the “delete mission” icon. Telemtry icons in order from the left. Battery percentage, flight mode, radio signal strength, distance from home, altitude and gps status.
- Page 16 Ensuring Correct Overlap: Take off from near highest point Getting the correct overlap of the images is important to ensure successful data processing. Aerobotics requires at least 75% overlap and sidelap (set through the mission planning app). However, this overlap is set relative to your takeoff point, thus where you take off from is important.
-
Page 17: Steep Slopes
Extreme Cases: Steep slopes If you are worried about lower resolution imagery when flying steep slopes, break the mission up into separate flights with different takeoff points. When flying areas of steep slopes, it is best to fly along the contour of the slope. Flight 1 Flight 2... - Page 18 support@aerobotics.co.za +27 (21) 035 1060...
Need help?
Do you have a question about the Phantom 4 and is the answer not in the manual?
Questions and answers