Advertisement
Quick Links
Cancer Institute
Microscopy Core Facility
Z
A
I
A1
M1
EISS
XIO
MAGER
AND
A U
G
SERS
UIDE
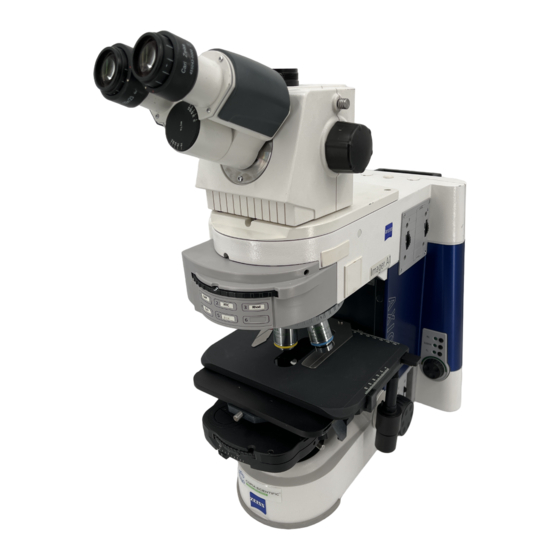
This is intended to provide a basic coverage of use of the Zeiss Axio Imager M1 for multi-
channelled fluorescent acquisition. For more complex usages please contact
Fig.1 – Front View of Microscope
Viewing
Slide
Microscope
Ocular Viewer
control
touch-screen
Mercury Lamp
(Reflected light)
Main Stage
Control Box
Microscope Power
st
1
Focusing
Supply Box
Wheel
V1.0
Advertisement


Need help?
Do you have a question about the Axio Imager A1 and is the answer not in the manual?
Questions and answers