
Related Manuals for Fisher & Paykel HS60XW4


Summary of Contents for Fisher & Paykel HS60XW4
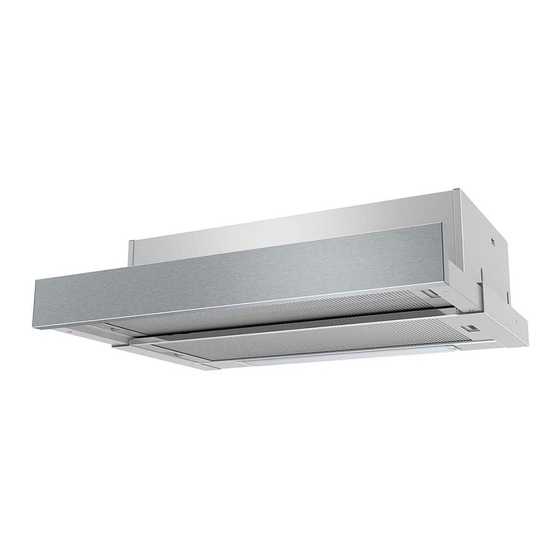
- Page 1 BUILT-IN SLIDEOUT RANGEHOOD HS60XW4, HS60LXW4, HS60LRX4 and HS90X4 models INSTALLATION GUIDE / USER GUIDE NZ AU...
-
Page 3: Table Of Contents
CONTENTS Safety and warnings Installation instructions Operating instructions Cleaning and maintenance Parts and accessories Customer care Service and Warranty IMPORTANT! Registration SAVE THESE INSTRUCTIONS Register your product with us so we can The models shown in this User guide may provide you with the best service possible. -
Page 5: Safety And Warnings
The rangehood must be installed onto a solid wall, stud, beam or truss. Weight of the product: 11.2 kg 11.2 kg (HS90X4) ● ● (HS90X4) 11 kg (HS60XW4) ● ● 11 kg 8.3 kg (HS60LRX4) ● ● (HS60XW4) 8.1 kg (HS60LXW4) - Page 6 SAFETY AND WARNINGS Ducting accessories are not supplied. All ducting must comply with local requirements ● ● and building codes. Attention should be given to ensure that any applicable regulations concerning ● ● the discharge of exhaust air are fulfilled. Before connecting any pipes, consult municipal ordinances to ensure that any ●...
-
Page 7: Installation Instructions
INSTALLATION INSTRUCTIONS Contents of packaging BUILT-IN SLIDEOUT RANGEHOOD HS60XW4, HS60LXW4, HS60LRX4 and HS90X4 models INSTALLATION GUIDE / USER GUIDE NZ AU Rangehood Installation guide/ Screw M6 x 40 mm User guide (including washer) Handle (1) Carbon filters (2) Screw 3 x 12 mm (HS60XW4) (HS60LRX4) (HS60LXW4) (HS60LRX4) Ducting adapter — ... - Page 8 INSTALLATION INSTRUCTIONS Product dimensions Power cord HS60XW4 HS60LRX4 HS90X4 HS60LXW4 PRODUCT DIMENSIONS Overall height of product Overall width of product Overall depth of chassis Overall depth of chassis (fully extended) Height of handle Installed chassis height Power cord length 1500...
- Page 9 Gas Burner 2 mm Panel heights Positioning RECIRCULATED DUCTED HS60LRX4 (top & rear) HS60LXW4 (top & rear) HS60LRX4 HS60XW4 (front) (top only) HS60LXW4 HS90X4 (front) (top only) MINIMUM CLEARANCES Height ( top of cooktop to base of rangehood) Electric cooktop min.
- Page 10 INSTALLATION INSTRUCTIONS WARNING! Failure to install the screws or fixing device in accordance with these instructions may result in electrical hazards. The manufacturer is not liable for any damage caused by not following these instructions. Before installing your rangehood Read the instructions carefully. ●...
- Page 11 INSTALLATION INSTRUCTIONS Venting requirements IMPORTANT! To reduce risk of fire and to properly exhaust air, be sure to duct air outside! Do not vent exhaust air into wall or ceiling cavities, attics, crawl spaces, or garages. This rangehood can be installed to operate with the exhaust air ducted externally from the kitchen or with the exhaust air recirculating within the kitchen.
-
Page 12: Operating Instructions
OPERATING INSTRUCTIONS Control panel features Light switch — left hand side Fan switch — right hand side The light can be operated The fan can be run at different speeds independently from the fan. depending on the cooking requirements. Operating instructions Pull out the front panel more than 50 mm. The front panel has to be pulled to its maximum extension so as to optimise the extraction capacity. -
Page 13: Cleaning And Maintenance
CLEANING AND MAINTENANCE WARNING! Unplug or disconnect the appliance from the power supply before servicing or cleaning. IMPORTANT! Never use abrasive or oil based cleaners. ● ● Wear gloves to protect against sharp edges. ● ● General maintenance The manufacturer is not liable for any damage caused by not following these instructions. The rangehood should be cleaned regularly using warm water with soap or mild liquid detergents. - Page 14 When replacing the bulb, let the bulb cool, and assure that power to the rangehood has been turned off. Use new bulbs according to that indicated on the rangehood nameplate. Carbon filter for all recirculating installations (Optional: HS60LXW4, HS60XW4, HS90X4) (With product: HS60LRX4) Active carbon filters are disposable items designed to remove grease and odours from cooking vapours before the air is channelled back into the kitchen.
-
Page 15: Parts And Accessories
PARTS AND ACCESSORIES ACCESSORY PART NUMBER Replacement aluminium filter x2 (HS60) 792391 Replacement aluminium filter x2 (HS90) 792392 Recirculation charcoal filter x2 792390 Light bulb 792461 Ducting kit 125 mm (eaves) PD-RHK125E Ducting kit 125 mm (wall) PD-RHK125W Ducting kit 125 mm (roof) PD-RHK125T... -
Page 16: Customer Care
CUSTOMER CARE Before you call for service or assistance... Check the things you can do yourself. Refer to your User guide and check that: Your product is correctly installed. You are familiar with its normal operation. If after checking these points you still need assistance or parts, go online to our website fisherpaykel.com to book a service, or contact Customer Care. - Page 17 SERVICE AND WARRANTY For details of your manufacturer’s warranty and contacts for servicing, refer to your separate service and warranty book provided with your appliance. This product has been designed for use in a normal domestic (residential environment). This product is not designed for any commercial use. Any commercial use by the customer will affect this products manufacturer’s warranty Complete and keep for safe reference: Model...
-
Page 20: Fisherpaykel.com
FISHERPAYKEL.COM © Fisher & Paykel Appliances 2019. All rights reserved. The product specifications in this booklet apply to the specific products and models described at the date of issue. Under our policy of continuous product improvement, these specifications may change at any time. You should therefore check with your Dealer to ensure this booklet correctly describes the product currently available.
Need help?
Do you have a question about the HS60XW4 and is the answer not in the manual?
Questions and answers