Advertisement
Table of Contents
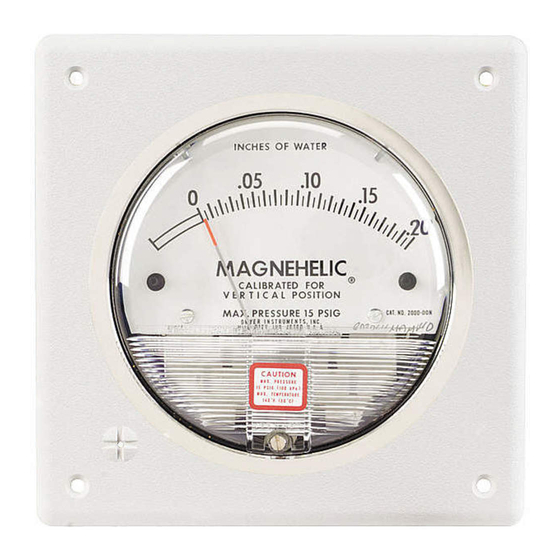
Front View showing mounted gage.
The A-464 mounting kit provides a flush mounting solution for
Magnehelic
®
Gage installations in applications such as clean
rooms and mechanical equipment rooms. The A-464 can also
be used as an alternative means to flush mount Magnehelic
Gages on control panel enclosures.
Utilizing the A-464 for Magnehelic
installation time while also producing an aesthetically pleasing
result.
INSTALLATION
Wall Mounting
1. Select a suitable location complying with the gage manufac-
turer's recommendations. The most common location for room
pressure measurement is on the wall next to the door entering
the room at the 5 ft. level. The wall depth must be at least 2-1/2
in. and clear of any obstructions.
Note: Always check for proper clearance before cutting any
holes.
2. Using the mounting plate (A1) as a guide, mark the wall for
the gage opening, local room reference fitting and mounting an-
chors.
3. Cut out the opening and drill the anchor holes with a 3/16 in.
drill and install the wall anchors (A3).
4. Install the gage on the mounting plate using the hardware
provided with the gage. Make sure to square the gage with the
mounting plate ensuring the jack screws contact the three
mounting ears.
5. Push one of the plastic tubing pieces (A5) onto the reference
fitting and onto the appropriate fitting on the back side of the
gage.
Note: For most applications this would be the low port. Cut the
tube to the length required. Tubing should not kink after instal-
lation.
DWYER INSTRUMENTS, INC.
P.O. BOX 373 • MICHIGAN CITY, INDIANA 46361, U.S.A.
A-464 Magnehelic
Installation and Operating Instructions
®
®
Gages installations reduces
®
Differential Pressure Gage Mounting Kit
A-464 shown with A-465 Space Sensor (sold separately)
Back View showing mounting and tubing
Parts List
A1 – Gage mounting plate
A2 –Wall anchor screws
A3 – Plastic wall anchors
A5 – Plastic tubing
6. Install the remaining piece of plastic tubing onto the uncon-
nected port on the back side of the gage. Connect the other end
of the tubing to the room pressure sensor located in the room
being measured.
Note: The accessory space pressure sensor kit A-465 provides
an ideal solution for remote room sensing.
7. Insert the assembly into the wall taking care to avoid kinking
the tubing. Secure the mounting plate to the wall with screws
(A2).
8. To calibrate the gage equalize the pressures being sensed
(i.e., open the room door and/or shut down the air handler), and
zero the gage.
Phone: 219/879-8000
Fax: 219/872-9057
Bulletin A-27-M
connections.
www.dwyer-inst.com
e-mail: info@dwyer-inst.com
Advertisement
Table of Contents

Related Manuals for Dwyer Instruments A-464


Summary of Contents for Dwyer Instruments A-464
- Page 1 A-464 shown with A-465 Space Sensor (sold separately) Back View showing mounting and tubing Front View showing mounted gage. connections. The A-464 mounting kit provides a flush mounting solution for Magnehelic ® Gage installations in applications such as clean rooms and mechanical equipment rooms. The A-464 can also be used as an alternative means to flush mount Magnehelic ®...
- Page 2 Note: Install the barbed fittings on the side ports after the gage is mounted on the panel. INSTALLATION DIAGRAM HIGH HIGH ©Copyright 2009 Dwyer Instruments, Inc. Printed in U.S.A. 3/09 FR# 443289-00 Rev. 3 DWYER INSTRUMENTS, INC. Phone: 219/879-8000 www.dwyer-inst.com P.O.
Need help?
Do you have a question about the A-464 and is the answer not in the manual?
Questions and answers