TallyGenicom 5040 Quick Start Manual
Flatbed printer
Hide thumbs
Also See for 5040:
- User manual (142 pages) ,
- Product manual (12 pages) ,
- User manual (146 pages)
Table of Contents
Advertisement
Quick Links
Download this manual
See also:
User Manual
Advertisement
Table of Contents

Related Manuals for TallyGenicom 5040


Summary of Contents for TallyGenicom 5040
- Page 1 5040 Quick Start Guide Flatbed Printer...
- Page 2 Important Information This device fulfils the European standards requirements by complying with the Directive of the Commission dated May 3, 1989 (89/336/EEC) relating to electromagnetic compatibility This equipment generates and uses radio frequency energy and the Directive dated February 19, 1973 (73/23/EEC) relating to low-voltage electrical and if not installed and used properly, that is, in accordance equipment.
-
Page 3: Table Of Contents
Quick start guide Table of contents Table of contents QUICK START GUIDE Introduction ....... 1 Symbols used. -
Page 5: Introduction
Quick start guide Introduction Introduction This Quick start guide is intended as a quick introduction into working with the printer and also to enable inexperienced users to operate the device properly. It de- scribes the most important functions of the printer and contains the essential infor- mation for your everyday work with the printer. -
Page 6: Using The Online Cd-Rom
Introduction Quick start guide First install the Adobe Acrobat Reader on your hard disk, unless the program has Using the Online CD-ROM already been installed. To install it, follow the steps described in the README file in the READER directory. To start the online documentation, call the Windows Explorer and double click on the START.PDF file. -
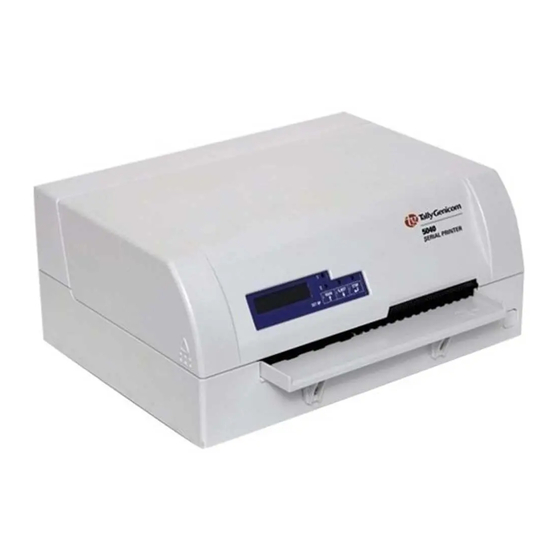
Page 7: Printer At A Glance
Quick start guide Printer at a glance Printer at a glance View from the front Cover Power switch (On/Off) Release lever Control panel Paper tray View with cover opened Ribbon cassette Print head... - Page 8 Printer at a glance Quick start guide View from the rear Power inlet Parallel 1st Serial 2nd Serial interface interface interface interface...
-
Page 9: Installation
Quick start guide Installation Installation Place your packaged printer on a solid base. Unpacking the printer Make sure that the “Up” symbols point in the correct direction. Open the packaging, lift the printer out of the cardboard box and remove the re- maining packaging material. -
Page 10: Placing The Printer
Installation Quick start guide Place the printer on a solid, flat, surface, ensuring that the printer is positioned in Placing the printer such a way that it can not topple, and that there is easy access to the control panel and paper input devices. -
Page 11: Checking The Printer Voltage
Quick start guide Installation Make sure that the device has been set to the correct voltage (e.g. 230 V in Europe, Checking the printer 120 V in the USA). To do this, check the type at the back of the printer. Contact voltage your dealer if the setting is incorrect. -
Page 12: Switching On The Printer
Installation Quick start guide Switching on the printer Press the power which is located at the front bottom right of the printer switch for switching on the printer. The printer initializes. When the initialization is completed, the Ready indicator lights up. The message ONLINE NO PAPER appears on the LCD. -
Page 13: Control Panel
Quick start guide Control panel Control panel The control panel consists of three keys for controlling the printer functions, four LEDs displaying the status of the printer and a LCD display with 2 x 16 digits. 1 LCD display: Displays the internal printer status, operat- ing instructions and error messages. -
Page 14: Operating The Printer
Operating the printer Quick start guide Operating the printer Before inserting a document make sure that the printer is switched on and the the Inserting a document message ONLINE NO PAPER is displayed in the LCD. Insert the document in such a way that the right paper edge is positioned inside the area between the left side of the symbol and the right edge of the document support, so that the docu- ment alignment can grasp it securely. -
Page 15: Inserting A Passbook
Quick start guide Operating the printer Before processing a new vertical-fold or horizontal-fold passbook, you should Inserting a passbook eliminate the stiffness of the fold by proceeding as follows. Open the passbook on the page that you want to print. Bend the fold backwards extremely hard.
Need help?
Do you have a question about the 5040 and is the answer not in the manual?
Questions and answers