Sunny SF-B901 User Manual
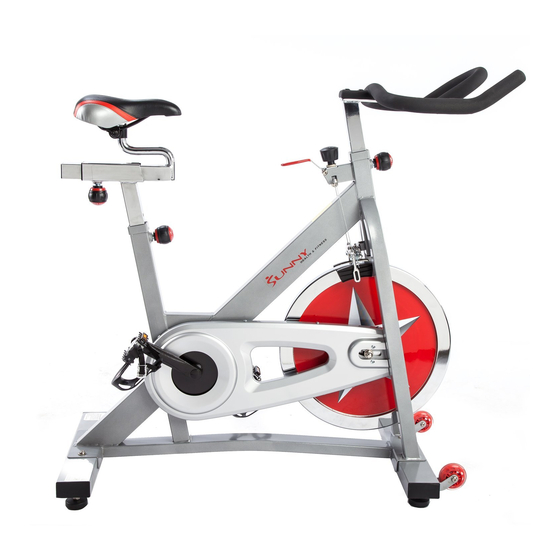
Pro indoor cycling bike
Hide thumbs
Also See for SF-B901:
- User manual (17 pages) ,
- User manual (13 pages) ,
- User manual (39 pages)

Subscribe to Our Youtube Channel
Related Manuals for Sunny SF-B901


Summary of Contents for Sunny SF-B901
- Page 1 SUNNY PRO INDOOR CYCLING BIKE USER MANUAL SF-B901 IMPORTANT: Read all instructions carefully before using this product. Retain owner’s manual for future reference. For customer service, please contact: support@sunnyhealthfitness.com...
-
Page 3: Table Of Contents
CONTENTS SAFETY GUIDELINES …………………………………………... 3 UNIT GENERAL KNOWLEDGE ………………………………… 4 EXPLODED DRAWING …………………………………………... 5 PARTS LIST ……………………………………………………….. 6 INSTALLATION …………………………………………………… 8 NOTICE …………………………………………………………….. 12 INSTRUCTIONS ON CHANGING BRAKE PAD ……………… 13... -
Page 4: Safety Guidelines
SAFETY GUIDELINES 1. It is important to read this entire manual before assembling and using the equipment. 2. Once assembled fully, please inspect to make sure all hardware parts such as bolts, nuts and washers are positioned correctly and tightly secured. 3. -
Page 5: Unit General Knowledge
UNIT GENERAL KNOWLEDGE Adjust the resistance by turning the adjusting Knob, and brake by pressing the Brake Handle. The equipment is suitable for using at home, in office, or other small places of leisure for fitness. 1. Maki sure the equipment is stable before exercise, if the ground isn’t flat, you can adjust Base Levelers (16) on the bottom of the stabilizers to help equalize the bike’s position. -
Page 6: Exploded Drawing
EXPLODED DRAWING... -
Page 7: Parts List
PARTS LIST Description Description Flat washer φ20*φ10*1.5 Main frame Seat post φ38*460*t4.5 Hexagon flat round head screw M10*25 Seat Slider 38*38*270*t1.5 Pedal (L/R) 9/16”-20UNF-RH Handlebar post φ38*270*t1.5 Flywheel (18KG) Handlebar φ28*998*t1.5 Flywheel spindle Cap nut M12*1.0 Chain adjuster welding Sleeve φ18*φ12*18.5L Rear base flat oval 40*80*t1.5*l500 Front base flat oval 40*80*t1.5*l500 Nylon nut M8... - Page 8 65 Brake pad holder 96*35*19 Front packing base 220*80*40 Hexagon flat round head screw- Rear packing base 220*/0*40 black M10*25 67 Flat washer-black φ20*φ10*1.5 Inner hexagon flat round head screw...
-
Page 9: Installation
INSTALLATION According to the Exploded Figure and parts list,take out all parts from carton. STEP 1: Disassemble Front Packing Base and Rear Packing Base Take out Main Frame from Carton, remove Inner Hexagon Flat Round Head Screw M10*16L (70), and take off the Front Packing Base (68), and Rear Packing Base (69) from the bike. - Page 10 STEP 2: Assemble Front Base and Rear Base According to the following figure, fix the Front Base (8) and Rear Base (7) to Main Frame (1) with Flat Washer (33) and Inner Hexagon Flat Round Head Screw (34) using Inner Hexagon Wrench. STEP 3: Install Left and Right Pedal IMPORTANT: Read instructions carefully, failure to do so may cause permanent damage to your bike.
- Page 11 STEP 4: Assemble the Handlebar Post According to the following figure, loosen and pull the Pop Pin (23), and slide the Handlebar Post (4), into the Handlebar Post Housing on the Main Frame (1), and re- tighten the Pop Pin. STEP 5: Assemble the Handlebar Fix the Handlebar (5) to the Handlebar Post (4) and tighten it with Hexagon Flat Round Head Screw-black M10*25L (66) and Flat Washer-black (67).
- Page 12 STEP 6: Assemble the Seat Post Loosen and pull the Pop Pin (23), and slide the Seat Post (2) into the Seat Post Housing on the Main Frame (1), then retighten the Pop Pin (23). STEP 7: Assemble the Seat Loosen and pull the Pop Pin (23) and slide the Seat Slider (3) into the Seat Post (2), then retighten the Pop Pin (23) and fix the Seat (22) to the Seat Slider (3).
-
Page 13: Notice
NOTICE Ensure all the Nuts, Nut Caps and Pedals are in a safe situation regularly and inspect the equipment periodically. If you should find any defective parts, don’t exercise until they’ve been repaired. 1. Pay more attention to easily damage parts due to wear. Please inspect the Brake Pads (41) if they fall off, or are not working before exercise. -
Page 14: Instructions On Changing Brake Pad
INSTRUCTIONS ON CHANGING BRAKE PAD Step 1: Remove Nylon Nut (58) which is under Brake Knob (11) with Opening Spanner . φ17 mm first, and then adjust the Brake Resistance to least amount of resistance. Step 2: Push Left Brake Pad (65) separated from its Holder (64) by hand Step 3: Take down the Left Brake Pad (65) Step 4: Push Right Brake Pad (65) separated from its Holder (64) by Hand Step 5: Take down the Right Brake Pad (65) - Page 15 Step 6: Insert the new Right Brake Pad (65) into the Right Holder (64) Step 7: Open the Left Holder (64) with hand Step 8: Insert the new Left Brake Pad into the Left Holder (64) Step 9: After tightening up the Tension Knob (11), put the Nylon Nut (58) onto and fix it .
Need help?
Do you have a question about the SF-B901 and is the answer not in the manual?
Questions and answers