
Subscribe to Our Youtube Channel
Related Manuals for Timeguard EL17


Summary of Contents for Timeguard EL17
- Page 1 CHANGE PROGRAM DAY 1 ON OFF TIMED CHANGE PROGRAM DAY 1 2 3 4 5 6 7 ON OFF TIMED PanelMASTER Models EL11 (24 hour) EL17 (7 day)
- Page 2 Self-tapping screws (No.6 x 3/8 in) for attaching bezel to EL11/17 General The EL11 (24 hour) or EL17 (7 day) is primarily a panel mounted timeswitch rated at 240V, 16A resistive at T40. It can also be surface mounted within cubicles if required.
- Page 3 Installation - Panel Mounting For panel mounting (in panels up to 7.0mm thick with the cut-out as shown in figure 3) the EL11/17 should be snapped into the bezel supplied and secured in place by the use of the 2 No. 6 x 3/8in self-tapping screws provided as shown in figure 4.
-
Page 4: Surface Mounting
Figure 5 Bezel Use No. 6 x 3/8in self- tapping screws to fully secure bezel to EL11/17 (fixed from rear) No. 4 x 5/8in self- tapping screw Bolt Figure 4 Surface Mounting The EL11/17 without bezel can be surface mounted using the 4 securing holes as shown in figure 6. -
Page 5: Normal Operating Mode
EL11 Programming Instructions Change Button Programme Button sets Hours and used to select the Minute times and clock time and the 4 self cancelling ON/OFF override programme times CHANGE PROGRAM and to review them once set DAY 1 Easy view 24 ON OFF TIMED hour digital Output Status... -
Page 6: Programming Sequence
Programming sequence ..➔ Setting clock Programme 3 ON Programme 1 ON Programme 3 OFF Programme 1 OFF Programme 4 ON Programme 2 ON Programme 4 OFF ..Programme 2 OFF Operating Mode Note: Button pauses greater than 1 minute during programming will result in automatic return to the operating mode. - Page 7 iii Press <Program> button once - the first ON time is now set and display shows ready for the first OFF programme time. iv Now set the hrs and minutes as before. v Repeat steps i to iv to set the remainder of the 3 ON/OFF times as required. Note: Any unused ON/OFF programme should be skipped until the display shows normal operating mode.
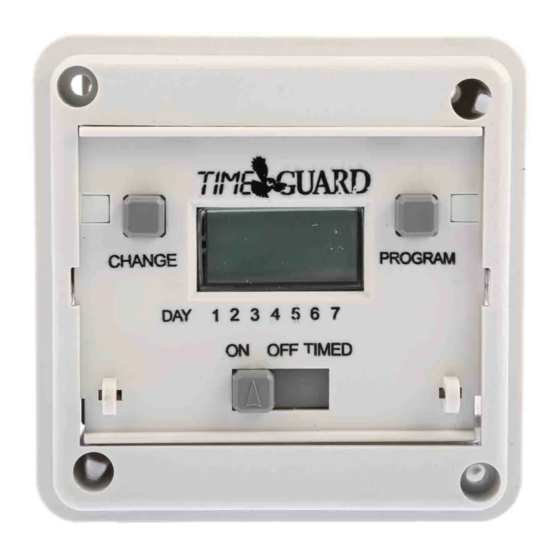
- Page 8 Programme Button EL17 Programming Instructions used to select the Change Button clock time and the 6 sets Day(s), Hours ON/OFF and Minute times programme times and self cancelling and to review them override once set CHANGE PROGRAM Output Status DAY 1 2 3 4 5 6 7...
- Page 9 Programming sequence ..➔ Setting clock Programme 4 ON Programme 1 ON Programme 4 OFF Programme 1 OFF Programme 5 ON Programme 2 ON Programme 5 OFF Programme 2 OFF Programme 6 ON Programme 3 ON Programme 6 OFF .
- Page 10 1 2 3 4 5 6 7 G G G G G = 5 days (Weekdays) Mo Tu We Th Fr = 2 days (Weekend) Sa Su G G G G G G G = 7 days (Everyday) Mo Tu We Th Fr Sa Su = Individual days Starting with Monday through to Sunday ii Once day option selected press <Program>...
-
Page 11: Specifications
6. Cancelling Programmes Any ON/OFF programme can be cancelled by clearing its ON and OFF time. Follow step 5 and when into the ON or OFF programme to be cancelled press the <Change> button until the hour digits show --: then press the <Program>...
Need help?
Do you have a question about the EL17 and is the answer not in the manual?
Questions and answers