Table of Contents
Advertisement
Quick Links
Advertisement
Table of Contents

Related Manuals for Phottix Atlas II


Summary of Contents for Phottix Atlas II
- Page 1 Phottix Atlas II - 2.4 GHz Flash Trigger Instructions...
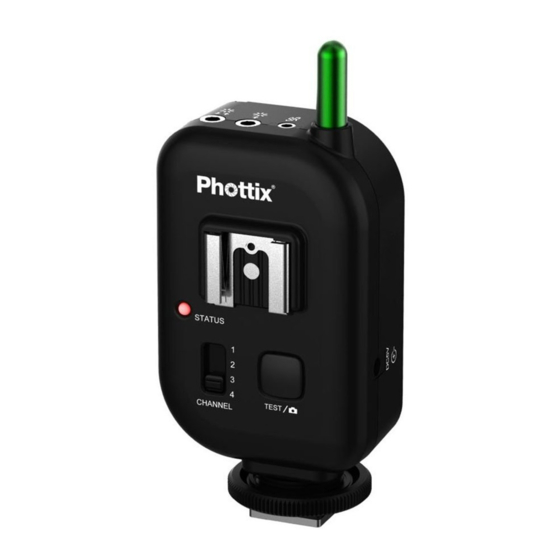
- Page 2 Parts 1. Power Switch 2. Transmit / Receive Mode Switch 3. DC Power Port 4. Channel Selector Switch 5. Test / Shutter Button 6. Flash Hot Shoe Connection 7. Camera Hot Shoe Connection 8. Locking Ring 9. Flash in/out Port 10.
-
Page 3: Please Note
Please check your ash manual for speci cs. These ashes can be red by PC Sync 1. Phottix Odin TCUs set on Channel 1, 2, 3 or 4 cable if available. and in any group will trigger the Phottix Atlas II set on Channel 1, 2, 3 or 4. -
Page 4: Inserting Batteries
Atlas II on Channels 1 to 4. remote when the Phottix Atlas II is set in Tx (transmit mode). 4. The Atlas II will not trigger Strato II Multi or Odin receivers. 2. The Test / Shutter Button takes a photo when used as a wired remote and connected to a 5. -
Page 5: Setting Channels
Setting Channels Turning units on/o 1. The Phottix Atlas II has four channel settings. 1. To turn on the Phottix Atlas II – move the 2. Move the Channel Selector Switch to 1, 2, 3, power switch to the “ON” position. - Page 6 Atlas II to Tx (transmit mode). 6. Set the ash to Manual mode. 5. Turn on the Phottix Atlas II and the camera. * It is not unusual for the ash to discharge once after turning on the Phottix Atlas II.
- Page 7 Atlas II to Rx (receive mode). Phottix Atlas II transceiver. 5. Turn on the ash/strobe, Phottix Atlas II and 2. Mount a Phottix Atlas II in the camera’ s hot camera. shoe port. 6. Set the ash/strobe to Manual mode.
- Page 8 5. Turn on the ash/strobe, Phottix Atlas II and studio lights camera. One Phottix Atlas II can be used to trigger two studio strobes or two ashes. Both ashes or 6. Set the ash to Manual mode. studio strobes must be of the same brand, * It is not unusual for the ash to discharge model, and voltage.
- Page 9 Atlas II Flash in/out port. remote* 3. Connect the opposite end of the cable to the 1. Turn o the camera and the Phottix Atlas II camera’s PC Sync port. transceiver. 4. Set the Transmit / Receive Mode Switch on 2.
- Page 10 – a half-press will autofocus, a full press will take a photo. Using the Atlas II as a wired remote* 7. The Atlas II will function as a wired remote 1. Turn o the camera and the Phottix Atlas II when used with or without batteries and the transceiver.
- Page 11 - Do not drop or crush. - Do not use harsh chemical(s) or solvents to clean the Atlas II. Use a soft cloth or lens paper. - Interference: The Phottix Atlas II transmits and receives radio signals at 2.4 GHz. Its perfor- mance can be a ected by electrical current, magnetic elds, and radio signals.
-
Page 12: Technical Speci Cations
Technical Speci cations Frequency: 2.4 GHz. Top ports: 3.5mm, 2.5mm Distance: 350m + C/F port voltage handling: 300V Channel: 4 channels Flash port voltage handling: 300V Batteries: 2 x AA batteries Body dimensions: 3.6x5.3x10.2cm Max sync speed: 1/250 sec* Antenna: 6.0x0.7cm Output: Hot shoe, 3.5mm ports, 2.5mm shutter Weight: 140g release port... - Page 13 FCC ID: P9M-ATLAS This device complies with Part 15 of the FCC Rules. Operation is subject to the following two conditions: (1) this device may not cause harmful interference, and (2) this device must accept any interference received, including interference that may cause undesired operation.
Need help?
Do you have a question about the Atlas II and is the answer not in the manual?
Questions and answers