Advertisement
07/19/2012
Ins-30201-US Net2 Entry - Panel
Technical Support
1.800.672.7298
Technical help is available:
Documentation on all Paxton products can be found on our web site - http://www.paxton-access.com/
Description of product
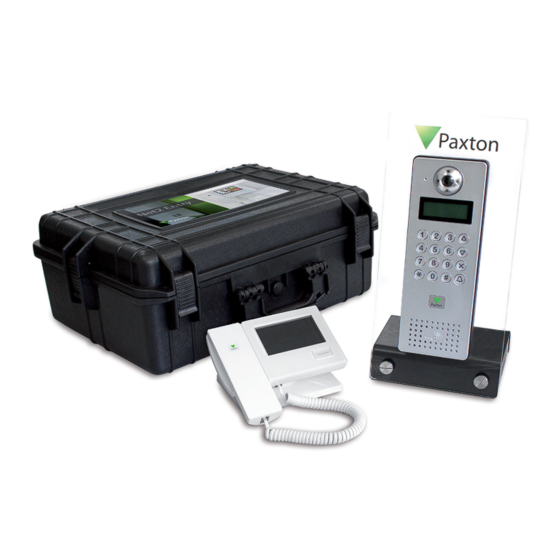
The Net2 Entry panel is a robust door entry panel incorporating both door entry and access control functions. It is
powered using power over Ethernet (PoE) and communicates with the other elements of the system using IPv6,
providing 'plug and play' installation. Each panel is associated with a Net2 Entry control unit which is the interface to
the door hardware.
The panel is equipped with a keypad and a proximity token reader. Net2 software is used to administer the access
control functions. A resident can use either the keypad or a token to gain entry. Installers gain access to the menu
options using an engineer code or an engineer token.
6
5
4
3
supportUS@paxton-access.com
Monday - Friday from 02:00 AM - 8:00 PM (EST)
7
8
1
2
1. Speaker
2. Proximity reader
3. Backlit keypad
4. LCD display
5. IR LEDS for night time operation
6. Microphone
7. Color camera
8. Light sensor
Paxton
Page 1
Advertisement
Table of Contents

Summary of Contents for Paxton Net2 Entry
-
Page 1: Technical Support
Description of product The Net2 Entry panel is a robust door entry panel incorporating both door entry and access control functions. It is powered using power over Ethernet (PoE) and communicates with the other elements of the system using IPv6, providing 'plug and play' installation. -
Page 2: Installation
PoE (Power over Ethernet) so the network must support this switch type. Paxton recommend that the network cable is run to each location and terminated in a network box. A patch cable should then be used to link the unit to the network. This makes unit replacement or removal for building maintenance much easier. -
Page 3: Flush Mount
SURFACE MOUNT 1. Determine and mark the height and position for the camera. 2. Mark and drill the hole for the network cable (network patch or Cat5). Ensure that the waterproof grommet will have clearance behind the backbox. 3. Determine the position of the mounting screws, drill the holes and push in the No 8 wall plugs. 4. - Page 4 Confirm the code and press bell to complete the process. The Net2 Entry system uses a separate control unit to operate the door. To associate a panel with its control unit, the Serial Number of the control unit must be entered.
-
Page 5: Door Open Time
Use the up and down arrows on the panel to view all the menu options. Use the key to Cancel 1. Door open time from the Engineer menu - Press key 1. This is the time period that the lock will stay released once the open door button has been pressed on a monitor. -
Page 6: Panel Settings
1. Set Interface ID from Panel settings menu - Press key 1 This sets the control unit that the Net2 Entry panel is associated with. Enter the Serial Number of the control unit and then press Bell. 2. Factory reset... -
Page 7: Engineer Access
7. Engineer Access from the Engineer menu - Press key 7 1. Set Engineer Code from Engineer Access menu - Press key 1 This allows the Engineer to change the Engineer code 2. Change Engineer Token from Engineer Access menu - Press key 2 This allows the engineer to add / change the Engineer token The engineer can create a token that can be presented to the proximity reader instead of using the engineer code to gain access to the Engineer Menu. - Page 8 Features Camera system Full color I/R illumination Audio system Two way Display Backlit LCD Paxton Access tokens 125k/Hz Proximity reader Environment Operating temperature - 20 °C ( - 4 °F ) 50 °C ( 122 °F ) IP55 IP Rating...


Need help?
Do you have a question about the Net2 Entry and is the answer not in the manual?
Questions and answers