Table of Contents
Advertisement
Quick Links
Advertisement
Table of Contents

Related Manuals for iXsystems TrueNAS ES12


Summary of Contents for iXsystems TrueNAS ES12
- Page 1 ® TrueNAS ES12 Expansion Shelf Basic Setup Guide December 2017 Edition...
-
Page 2: Es12 Expansion Shelf
If there is any shipping damage or any parts are missing, please take photos and contact iXsystems support immediately at support@iXsystems.com or 1-855-GREP4-iX (1-855-473-7449) or 1-408-943-4100. -
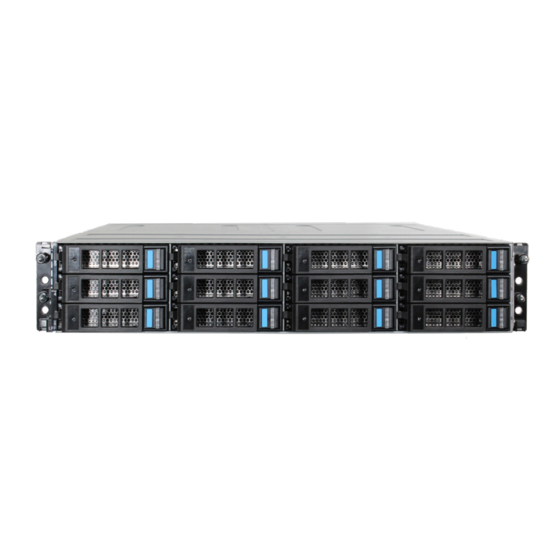
Page 3: Become Familiar With The Es12 System
(POST) and turns off during normal operation. It turns on if the TrueNAS software issues an alert (https://support.ixsystems.com/truenasguide/tn_options.html#alert). The ES12 contains two expansion modules in a side-by-side configuration. The connectors and features on each module are: 1-3: HD Mini SAS3 connectors (T1-T3) ®... -
Page 4: Rail Kit Assembly
1.2 Rail Kit Assembly On racks that are 30 inches deep or less, proceed to rail spring installation below. Racks from 31 to 36 inches deep require installation of the included rail extenders. For these deeper racks, install cage nuts on the outside rear of the rack. -
Page 5: Install Drive Trays
1.3 Install Drive Trays Drive trays are used to mount drives in the chassis. Each drive tray has a status LED which is blue when active or amber if a fault has occurred. A tray must be placed in each drive bay to maintain proper airflow for cooling. If fewer than twelve drives are connected, empty “air baffle”... -
Page 6: Connect Power Cords
1.4 Connect Power Cords Do not plug the power cords into a power outlet yet. Connect a power cord to the back of one power supply. Place the cord in the plastic clamp and press the tab into the latch to lock it in place. Repeat the process for the second power supply and cord. -
Page 7: Connect Sas Cables
1.5 Connect SAS Cables ® Shut down and power off the TrueNAS X series. Remove the X series power cables from the power outlets. Plug the ES12 power cords into power outlets. Wait two minutes for the drives to start. Connect an SAS cable from the ES12 expander module 1 T1 connector to the X series node 1 SAS 1 connector (cable #1 in photo). -
Page 8: Install Bezel (Optional)
2 User Guide ® ® The TrueNAS User Guide with complete configuration instructions is available by clicking Guide in the TrueNAS user inter- face or at https://support.ixsystems.com/truenasguide/truenas.html. 3 Contacting iXsystems For assistance, please contact iX Support: Contact Method Contact Options https://support.ixsystems.com Email support@iXsystems.com...
Need help?
Do you have a question about the TrueNAS ES12 and is the answer not in the manual?
Questions and answers