Table of Contents
Advertisement
Quick Links
Advertisement
Table of Contents

Summary of Contents for iXsystems TrueNAS ES12
- Page 1 TrueNAS ES12 Expansion Shelf ® Basic Setup Guide Version 1.7...
-
Page 2: Table Of Contents
� � � � � � � � � � � � � � � � � � � � � � � � � � � � � � � � � � � � � � � � � � � � � � � � � � � � � � � � � � � � � � � � � � � � � � Copyright © 2020 iXsystems, Inc. All rights reserved. All trademarks are the property of their respective owners. -
Page 3: Unpacking The Unit
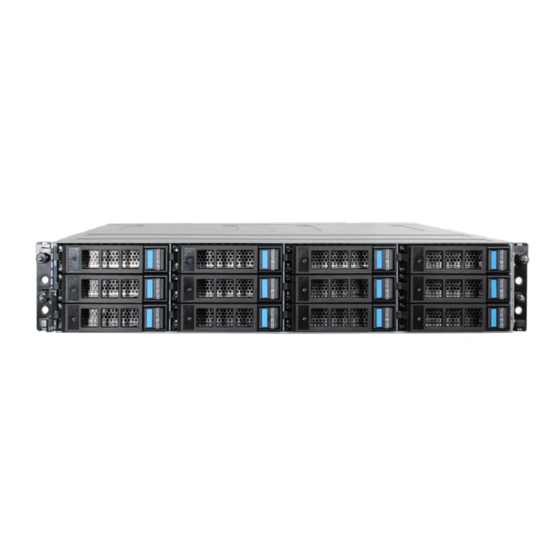
The TrueNAS ES12 is a 2U, 12-bay, SAS3(12 Gb/s) expansion shelf with dual expansion controllers and redun- dant power supplies� 1 Unpacking the Unit TrueNAS units are carefully packed and shipped with trusted carriers to arrive in perfect condition� If there is any shipping damage or any parts are missing, please take photos and contact iXsystems support immediately support@ixsystems�com... -
Page 4: Become Familiar With The Es12 System
(POST) and turns off during normal operation. It turns on if the TrueNAS software generates an alert� The ES12 has two expansion controllers in a side-by-side configuration: 1-3: HD Mini SAS3 connectors (T1-T3) 4: Debug port (TrueNAS internal use only) 5: Redundant power supplies Support: 855-473-7449 or 408-943-4100 Page 2 Email: support@ixsystems.com... -
Page 5: Rail Kit Assembly
Using the included bolts, install the rail extender inside the rear of the rack� Repeat the process for the second extender, which is a mirror image of the first. 3.2 Rail Spring If not already present, install a spring on the silver posts in the side of each rail� Support: 855-473-7449 or 408-943-4100 Page 3 Email: support@ixsystems.com... -
Page 6: 3�3 Attaching Rails To The Rack
Carefully place the chassis onto the rails mounted in the rack� Push the chassis in until the ears are flush with the front of the rack. If needed, attach the bezel. Use two of the supplied screws to secure each ear to the rack� Support: 855-473-7449 or 408-943-4100 Page 4 Email: support@ixsystems.com... -
Page 7: Install Drive Trays
To load an individual drive tray into a bay, press the blue button to open the latch� Carefully slide the tray into a drive bay until the left side of the latch touches the metal front edge of the chassis, then gently swing the latch closed until it clicks into place� Support: 855-473-7449 or 408-943-4100 Page 5 Email: support@ixsystems.com... -
Page 8: Connect Power Cords
Plug the ES12 power cords into power outlets� Wait two minutes for the drives to start. The ES12 is com- patible with several TrueNAS systems� Typical SAS cable connections for one or two ES12 expansion shelves to TrueNAS High Availability (HA) systems are shown here� 6.1 X-Series Support: 855-473-7449 or 408-943-4100 Page 6 Email: support@ixsystems.com... - Page 9 6.2 M40 Support: 855-473-7449 or 408-943-4100 Page 7 Email: support@ixsystems.com...
- Page 10 6.3 M50 Support: 855-473-7449 or 408-943-4100 Page 8 Email: support@ixsystems.com...
-
Page 11: Install Bezel (Optional)
8 Software Documentation The TrueNAS Documentation Hub has software configuration and usage articles. It is available by clicking Guide in the TrueNAS web interface or going directly to https://www�truenas�com/docs� 9 Contacting iXsystems For assistance, please contact iX Support: Contact Method Contact Options https://support.ixsystems.com... - Page 12 Support: 855-473-7449 or 408-943-4100 Page 10 Email: support@ixsystems.com...


Need help?
Do you have a question about the TrueNAS ES12 and is the answer not in the manual?
Questions and answers