Advertisement
USER MANUAL
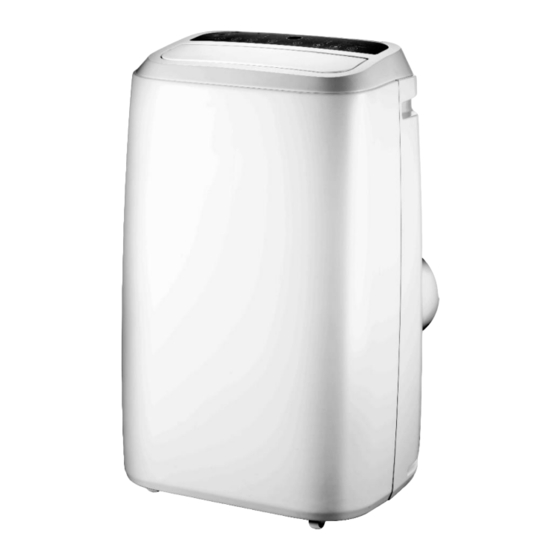
PORTABLE AIR CONDITIONER WITH HEATPUMP
P16HP / P18HP
Thank you for choosing electriQ
Please read this user manual before using this innovative Air Conditioner and
keep it safe for future reference.
Visit our page www.electriQ.co.uk for our entire range of Intelligent Electricals
Page 1 of 15
Advertisement

Subscribe to Our Youtube Channel
Related Manuals for ElectrIQ P16HP


Summary of Contents for ElectrIQ P16HP
- Page 1 P16HP / P18HP Thank you for choosing electriQ Please read this user manual before using this innovative Air Conditioner and keep it safe for future reference. Visit our page www.electriQ.co.uk for our entire range of Intelligent Electricals Page 1 of 15...
-
Page 2: Table Of Contents
CONTENTS SAFETY INSTRUCTIONS FEATURES AND PARTS LIST INSTALLATION OPERATION AND SETTINGS WATER-DRAINAGE MAINTENANCE TROUBLESHOOTING APPENDIX Page 2 of 15... -
Page 3: Safety Instructions
SAFETY INSTRUCTIONS IMPORTANT! Carefully read the instructions before operating the unit This appliance is for indoor use only. Rating: This unit must be only connected to a 220-240 V / 50 Hz earthed outlet. Installation must be in accordance with regulations of the country where the unit is used. - Page 4 R290 refrigerant gas complies with European environmental directives. R290 has a low GWP (Global Warming Potential) of 3. The P16HP contains about 225 g of R290 refrigerant gas, and the P18HP contains about 300g of R290 refrigerant gas ...
-
Page 5: Features And Parts List
FEATURES AND PARTS LIST FEATURES Full climate control, cooling, heating, fan and dehumidifier Self-evaporative system - no external water tank needed Powerful but compact LED screen, indicates temperature and operation mode Enhanced design with hot air outlet positioned higher – This allows for improved performance with the use of a short hose ... - Page 6 PARTS LIST Control Panel Rear cover Inlet FRONT VIEW REAR VIEW SIDE VIEW Castor Plug ACCESSORIES Exhaust Hose Fishtail Connector Slide Bar Remote Control Exhaust hose connector Page 6 of 15...
-
Page 7: Installation
INSTALLATION Warning:Before using this unit, please keep it upright for at least 3-4 hours. This unit can easily be moved from one room to another. While moving the unit please note that it must always be kept upright and then placed on an even surface. - Page 8 INSTALLATION OF WINDOW KIT 1. Partially open the window and then fix the slide bar into the opening in the window, by putting it into position before closing the window onto it to seal the gap. 2. Push the fishtail adaptor into the slot in the slide bar Note: The slide bar is only designed to be installed with sliding or sash windows or doors.
-
Page 9: Operation And Settings
OPERATION AND SETTINGS CONTROL PANEL & FUNCTION POWER BUTTON Press to turn unit “ON” or “OFF” MODE Pressing this button will select between the Cooling , Heating , Auto, Fan Dehumidify modes. COOLING MODE: Cold air will be expelled through the top of the unit and hot air will be expelled through the vent hose. - Page 10 SLEEP MODE Press the SLEEP button to enter sleep mode, the default fan speed is low and the Sleep mode indicator led will illuminate. When the sleep mode is turned on: After one hour the set temperature will increase by 1 degree Celsius, after another hour the set temperature will increase by another degree, and will then remain set at that temperature.
-
Page 11: Water-Drainage
REMOTE CONTROL POWER – ON/OFF Switch MODE – Operation Mode TIMER – Timer Mode SPEED – Fan Speed Selector TEMP+ - Temperature Up TEMP- – Temperature Down SLEEP SWING The functions on the remote are the same as those on the main control panel WATER-DRAINAGE MANUAL DRAINAGE:... -
Page 12: Maintenance
MAINTENANCE CLEANING Please shut off the unit and unplug from the mains before cleaning or performing any maintenance CLEAN THE SURFACE Clean the plastic housing with a duster or a soft wet cloth. Do not use chemical solvents (such as benzene, alcohol or gasoline) as they may cause irreversible damage. -
Page 13: Troubleshooting
TROUBLESHOOTING Do not repair or disassemble the unit by yourself, unauthorized repair attempts will invalidate the warranty and may cause bodily harm. Problem Reasons Solutions No power supply Power-on and turn on the unit. Water-full indicator illuminated Drain the internal water tank The unit does Timer function is active Cancel Timer function... -
Page 14: Appendix
Please remember that this equipment will be further handled during the recycling process, so please be considerate when depositing your equipment. Please contact the local council for details of your local household waste recycling centres. TECHNICAL DATA P16HP P18HP Capacity Cooling: 4.6 kWh / Cooling: 5.2 kWh /... - Page 15 UK SUPPORT www.electriQ.co.uk/support Please, for your own convenience, make these simple checks before calling the service line. If the unit still fails to operate call: 0871 620 1057 or complete the online form 1. Has the unit been standing upright for at least 2 hours? 2.
Need help?
Do you have a question about the P16HP and is the answer not in the manual?
Questions and answers