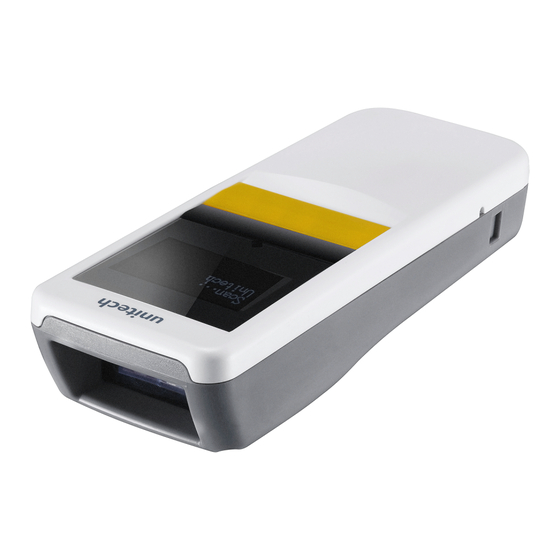
Unitech MS926 Quick Start Manual
Wireless 2d pocket scanner
Hide thumbs
Also See for MS926:
- User manual (140 pages) ,
- Quick start manual (2 pages) ,
- User manual (144 pages)
Table of Contents
Advertisement
Quick Links
MS926 Pairing
●
NFC Pairing with Mobile Devices (BT HID Mode)
Step 1. Ensure your mobile device supports NFC and that it is enabled.
Step 2. MS926 will automatically enter BT pairing mode. (For firmware version
older than 2.4, please hold Page Down key and Scan button
simultaneously to enter BT pairing mode.)
Step 3. Turn both NFC & Bluetooth
Step 4. Touch the back of the MS926 scanner to your mobile phone, until the
device prompts to accept pairing.
Step 5. Press ok to respond your Bluetooth
Step 6. MS926 is now connected to your mobile phone.
●
Pairing with Mobile Devices (w/o NFC)
Step 1. Go to your host device settings and turn the Bluetooth
Step 2. MS926 will automatically enter BT pairing mode. (For firmware version
older than 2.4, please hold Page Down key and Scan button
simultaneously to enter BT pairing mode.)
Step 3. The MS926 will appear on your device as "MS926-XXXXXX."
Step 4. Select "MS926-XXXXXX."
Step 5. If you have Bluetooth
paired. Proceed to "Test & Finish."
Step 6. If you are prompted to enter a pincode, please enter the number "2926"
to finish pairing.
●
Pairing with PC / Notebook (BT HID Mode)
Step 1. Open "Devices and Printers" by clicking the Start button and then,
on the Start menu, clicking Devices and Printers.
Step 2. MS926 will automatically enter BT pairing mode. (For firmware version
older than 2.4, please hold Page Down key and Scan button
simultaneously to enter BT pairing mode.)
Step 3. Click "Add a device," and then follow the instructions.
Step 4. Click the Bluetooth
to your computer, and then click Next. If you don't see the device you want
to add, make sure the device is turned on and discoverable. If you just
turned on the device, it may take Windows several seconds to detect it.
Scanner Type
BT HID *
Operation Mode
* :Default Option
For additional configuration options, please visit www.ute.com to download the user manual and the
scanner configuration manager utility.
Charging
Plug the USB cable into the port on the scanner and into a USB port
on the host computer.
on your mobile device.
®
pairing request.
®
2.1 or higher,"MS926-XXXXXX" will now appear as
®
enabled device (MS926-[XXXXXX]) you want to add
®
BT SPP
Wedge
MS926
Host
USB
Open a word processing program such as
Microsoft Word or Notepad and scan the
following barcode:
If the word "unitech" appears on the
screen you have succesfully installed
your scanner.
function on.
®
The MS926 should be recognized as a
●
• If the MS926 is out of wireless range from
• The MS926 can also operate in Batch
BT SPP (Slave)
Batch
Wireless 2D Pocket Scanner
Quick Start Guide
Scanner
Micro USB
Test & Finish
MS926 TIPS
generic HID device by your host device,
similar to a standard keyboard. This
allows you to scan into any field you could
normally type into.
the host device, it will automatically save
any scan data in its buffer memory and
automatically upload the scan data to the
host when back in wireless range.
Mode, where a wireless connection is not
required. In Batch Mode, the MS926
saves all scan data in the internal memory
and then uploads the data when
connected to a host.
USB SPP
Auto *
Version 1.0
401320G
Advertisement
Table of Contents

Summary of Contents for Unitech MS926
-
Page 1: Quick Start Guide
Step 3. Turn both NFC & Bluetooth on your mobile device. ® Step 4. Touch the back of the MS926 scanner to your mobile phone, until the device prompts to accept pairing. If the word “unitech” appears on the Step 5. Press ok to respond your Bluetooth pairing request. -
Page 2: Power Saving
MS926 Wireless 2D Pocket Scanner Quick Start Guide BT Config Remove Pair BT Pairing Paired Device System Restore & Info Display F/W Version Factory Default Data & Memory Erase Memory Free Memory Space Send Batch Erase Last Memory Entry Beeper Control...


Need help?
Do you have a question about the MS926 and is the answer not in the manual?
Questions and answers