Advertisement
Quick Links
INSTALLATION INSTRUCTIONS
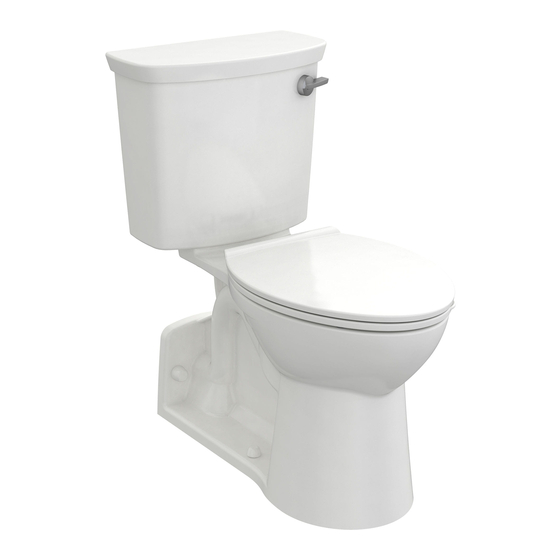
YORKVILLE
VORMAX
™
When installed so top of seat is 17" to 19" (432mm to 483mm) from the nished oor. MEETS THE AMERICANS WITH DISABILITIES ACT
GUIDELINES AND ANSI A117.1 REQUIREMENTS FOR ACCESSIBLE AND USEABLE BUILDING FACILITIES - CHECK LOCAL CODES.
Thank you for selecting American Standard - the benchmark of fine quality for over 100 years. To ensure this product is installed
properly, please read these instructions carefully before you begin. (Certain installations may require professional help.) Also be sure
your installation conforms to local codes.
!
CAUTION: PRODUCT IS FRAGILE. TO AVOID BREAKAGE AND POSSIBLE INJURY HANDLE WITH CARE!
NOTE: For proper operation the recommended working pressure is between 25 psi at valve when flushing and 80 psi static.
RECOMMENDED TOOLS AND MATERIALS
Putty Knife
Sealant
Hacksaw
Regular Screwdriver
Tape Measure
Recommended fitting type for
back-to-back installations.
1
DIMENSIONS (Nominal) NOTE: Distance from floor to closet
flange centerline (rough-in) must be 4" (102 mm) with flange
surface flush to 1/16" (16mm) max. beyond finished wall.
FINISHED WALL
30-3/16"
(767mm)
8-7/8"
(225mm)
C/L OF SEAT POST
HOLES 5-1/2"
(140mm CENTERS)
18-1/2"
(470mm)
13-3/8"
13-7/16"
(340mm)
(342mm)
4"
(102mm)
C/L OF 1/2" DIA HOLES 168mm (6-5/8") CENTERS
Product names listed herein are trademarks of AS America, Inc.
© AS America, Inc. 2018
BACK OUTLET TOILET
®
(NOT SUPPLIED)
Adjustable Wrench
Carpenters Level
Flexible Supply Tube
Closet Bolts
BACK-TO-BACK INSTALLATION
SUPPLY AS
REQ'D
17"
(432mm)
*9"
(229mm)
3"
(76mm)
Floor Lag Bolts
Wall Mounting Bolts
Neoprene or
Graphite Felt Gasket
(Yorkville Toilets)
Depending upon your plumbing and venting conditions, the flow from the
toilet in a back-to-back installation may create a vacuum on the system
and draw water from the opposing bowl. The National Standards Plumbing
Code prohibits the use of a cross fitting for drainage as throw over is
possible. The code does approve a directional "Y" style fitting with proper
venting to direct the water downward and away from the other toilet.
18"
(458mm)
C/L
32-13/16"
(833mm)
14"
(355mm)
*6"
(152mm)
4"
(102mm)
3"
(76mm)
C/L OF
11-3/16"
WASTE
(284mm)
OUTLET
EZ-INSTALL KIT INCLUDED WITH TANK
Attachment Handle
KIT INCLUDED WITH BOWL
Bolt Caps (4)
2
INSTALL CLOSET BOLTS
Install closet bolts in flange channel, turn 90°, and
slide into place 6" (152 mm) apart and parallel to
floor. (Use putty to hold bolts in place if necessary.)
Brace under flooring as needed and drill two
mounting pilot holes as shown.
CLOSET
BOLTS
(102mm)
13-3/8"
(340mm)
6-5/8"
(168mm)
Nuts (3)
FLUSH TO
1/16" (16mm)
EXPOSED
CLOSET
FLANGE
4"
PILOT
HOLES
7302407-100
Advertisement

Related Manuals for American Standard YORKVILLE VORMAX


Summary of Contents for American Standard YORKVILLE VORMAX
- Page 1 GUIDELINES AND ANSI A117.1 REQUIREMENTS FOR ACCESSIBLE AND USEABLE BUILDING FACILITIES - CHECK LOCAL CODES. Thank you for selecting American Standard - the benchmark of fine quality for over 100 years. To ensure this product is installed properly, please read these instructions carefully before you begin. (Certain installations may require professional help.) Also be sure your installation conforms to local codes.
- Page 2 INSTALL TOILET ON FLANGE INSTALL NEOPRENE OR GRAPHITE FELT SEAL* a. Unplug waste opening and install toilet on closet flange so bolts project through mounting holes. b. Loosely install retainer washers and nuts. Side of washers marked "THIS SIDE UP" must face up! FLANGE FLANGE BOLTS SEALANT...
- Page 3 Water Level Adjustment Knob Trip Lever Rod Overflow Tube Approximate Water Level Float Cup Adjustable Screw Fill Valve Or Water Control Adjust water level to level indicated on tank by turning water level adjustment knob to move float cup up or down. Prime the system by flushing the Water Supply Line product 5 times before use to...
- Page 4 WARNING: Do not use in-tank cleaners. These products can seriously corrode fittings in the tank. This damage can cause leakage and property damage. American Standard shall not be responsible or liable for any damage caused by the use of in-tank cleaners.
Need help?
Do you have a question about the YORKVILLE VORMAX and is the answer not in the manual?
Questions and answers