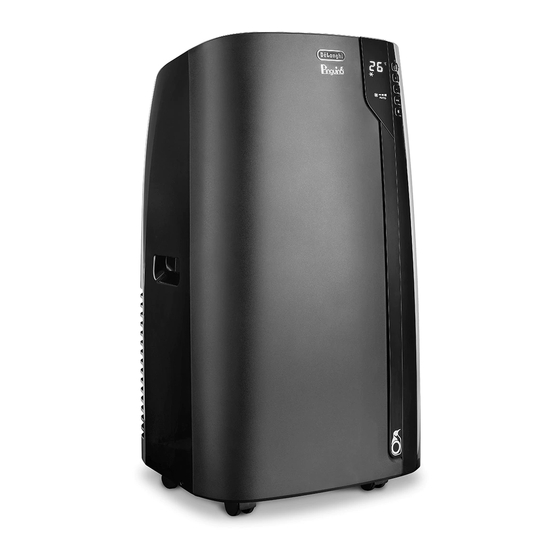
DeLonghi EX Series Manual
Hide thumbs Also See for EX Series:

Advertisement

De'Longhi Appliances via Seitz, 47 31100 Treviso Italia www.delonghi.com

Advertisement

Table of Contents
loading

Summary of Contents for DeLonghi EX Series

  • Page 1 De’Longhi Appliances via Seitz, 47 31100 Treviso Italia www.delonghi.com...
  • Page 2 EX Series CONDIZIONATORE AIR CONDITIONER CLIMATISEUR KLIMAGERÄT AIRCONDITIONER CLIMATIZADOR CONDICIONADOR ΚΛΙΜΑΤΙΣΤΙΚΌ...
  • Page 3 pag. 4 page 15 page 24 S. 33 pag. 42 pág. 51 pág. 60 σελ. 69...
  • Page 5 C16 C10 D2.2 D2.1 min. 30 cm min. 30 cm...
  • Page 7 mental capabilities or lack of experience INTRODUCTION Thank you for choosing this De’Longhi product. Please take a few and knowledge if they have been given minutes to read these instructions. This will prevent running any supervision or instruction concerning risks or damaging the appliance. use of the appliance in a safe way and Symbols used in these instructions understand the hazards involved.
  • Page 8 WARRANTY AND TECHNICAL ASSISTANCE Check the plate for the type of refrigerant gas used Warranty and technical assistance conditions are indicated in the in your appliance. documentation provided with your appliance. Specific information regarding appliances with TECHNICAL DATA R410A refrigerant gas Power supply See characteristic plate R410 is a refrigerant gas that complies with EC ecology regula-...
  • Page 9: Air Conditioning With Installation

    Below you will find all the information necessary for operating • Lower the window (fig. 4). your air conditioner. • Set the air conditioner near the window. Insert the air The appliance must be placed where there are no obstacles to exhaust hose B2 previously assembled in the grille on the air intake and output.
  • Page 10 Attach the flange accessory B1 provided to the hole. • To turn the appliance off, touch the , key and then pull the Fit the adapter B3 in the air exhaust hose housing A7 on • plug. the back of the appliance (see fig. 1). •...
  • Page 11 FAN MODE (fig. 14) Please note: When using this mode, the air exhaust hose (B2) does not need • Comfort is subjective. Consequently, different individuals to be attached to the appliance. can judge the same environmental conditions differently. To correctly set this mode: •...
  • Page 12: Operation Using The Remote Control

    OPERATION USING THE REMOTE CONTROL TURNING THE APPLIANCE ON AND OFF • Insert the plug in the socket. (See page 4 - D) • Aim the remote control at the receiver (A11) on the air • Press the (D1) button on the remote control (when the conditioner.
  • Page 13: Cleaning The Appliance

    CLEANING THE APPLIANCE We suggest cleaning the appliance with a damp cloth and then drying it.For safety reasons, do not wash the air conditioner with water. Precautions Do not use gasoline, alcohol or solvents for cleaning.Do not spray liquid insecticides or similar substances. CLEANING THE AIR FILTER OR SILVER-ION AIR FILTER (only on some models) To maintain the efficiency of the air conditioner, it is recom-...
  • Page 14: Self-Diagnosis

    SELF-DIAGNOSIS The appliance has a self-diagnosis system that identifies some operating errors. The error messages appear on the appliance display. IF THE FOLLOWING APPEARS ON IF THE FOLLOWING APPEARS ON IF THE FOLLOWING APPEARS ON THE DISPLAY... THE DISPLAY... THE DISPLAY... “Low Temperature”...
  • Page 15: Troubleshooting

    TROUBLESHOOTING Check the following points before calling the authorised Technical Service Centre in your area. PROBLEMS CAUSES SOLUTIONS The air conditioner does not turn on lt is not plugged in plug it in there is no power wait the internal protection device was call the help centre triggere The air conditioner works for a short...

This manual is also suitable for:

Pac ex120

Table of Contents