SOMFY Sonesse 30 RTS Installation Instructions Manual
Hide thumbs
Also See for Sonesse 30 RTS:
- Installation manual ,
- User manual (56 pages) ,
- Instructions manual (34 pages)
Table of Contents
Advertisement
Available languages
Available languages
Quick Links
See also:
User Manual
Advertisement
Table of Contents

Subscribe to Our Youtube Channel
Related Manuals for SOMFY Sonesse 30 RTS


Summary of Contents for SOMFY Sonesse 30 RTS
- Page 1 ® Sonesse 30 RTS...
-
Page 3: Installation Instructions
Installation instructions page 2 SOMFY hereby declares that this product complies with the essential requirements and other relevant provisions of Directive 1999/5/EC. A Declaration of Conformity is available at the web address www.somfy.com/CE. Suitable for use in EU, CH and NO دليل... -
Page 4: General Safety Instruction
• Any use outside the sphere of application specified by Somfy is not approved. Such use, or any failure to comply with the instructions given herein will invalidate the warranty, and Somfy refuses to accept liability. -
Page 5: Installation
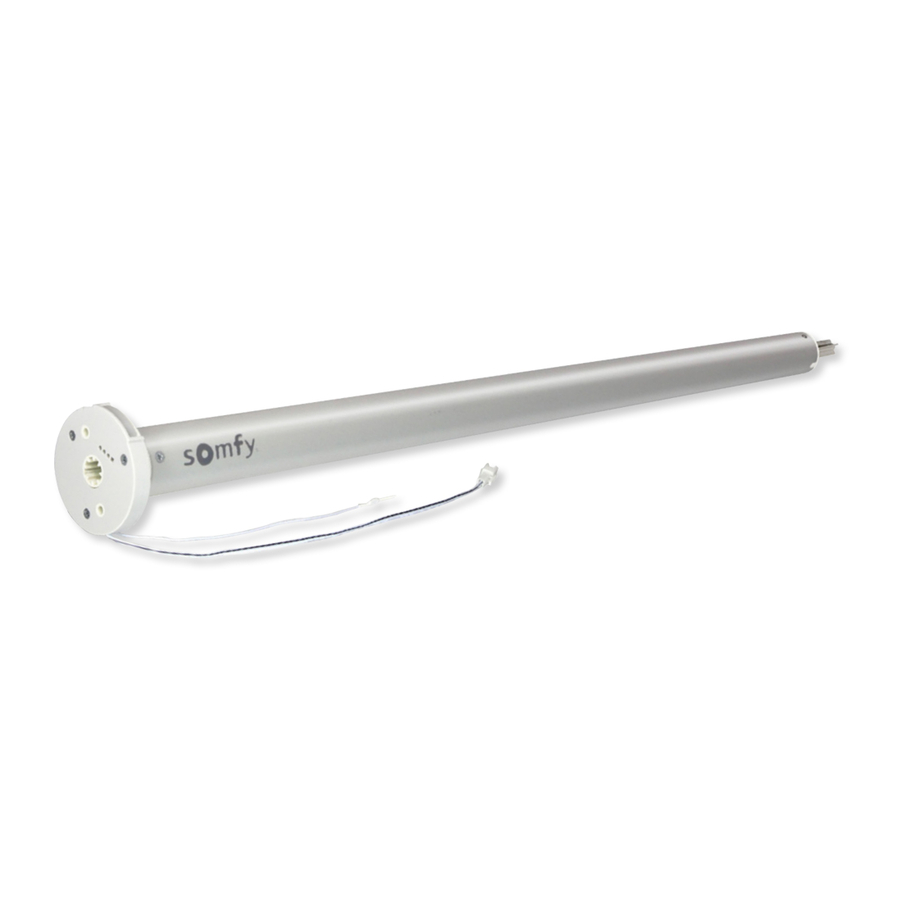
1) Mount the motorized tube on the end bracket (c). 2) Mount the motorized tube on the motor bracket (d). Wiring Connect the power cable to the motor. Copyright © 2009 Somfy SAS. All rights reserved - V0 - 09/2009... -
Page 6: Checking The Direction Of Rotation
Recording the RTS control point Press the programming button on the back of the RTS control point until the motor jogs. The RTS control point address is permanently recorded. Copyright © 2009 Somfy SAS. All rights reserved - V0 - 09/2009... -
Page 7: Mode Selection: Roller Or Tilting Mode
3) Delete the MY position To delete the MY position, move to this position and press the MY button until the shade jogs. Copyright © 2009 Somfy SAS. All rights reserved - V0 - 09/2009... - Page 8 Press the MY and DOWN buttons simultaneously. The shade moves to the Sun disappearing position. Press and hold the MY button until the shade jogs. The sun disappearing position is deleted. Copyright © 2009 Somfy SAS. All rights reserved - V0 - 09/2009...
- Page 9 4) To tilt the slats, press and hold the UP or DOWN button or use the scroll of the remote control until the slats reach the desired position. Copyright © 2009 Somfy SAS. All rights reserved - V0 - 09/2009...
-
Page 10: Adding/Deleting Rts Sensors
PROG. PROG. Quickly press the RTS sensor (C) PROG button to add or delete: the shade jogs and the RTS sensor is programmed or deleted from the motor. Copyright © 2009 Somfy SAS. All rights reserved - V0 - 09/2009... -
Page 11: Sun Function
(MY or down limit) if no sun disappearing position has been memorised. The Wind function is not compatible with this motor. Copyright © 2009 Somfy SAS. All rights reserved - V0 - 09/2009... -
Page 12: Adjusting The Tilting Speed
UP button to increase the speed or DOWN button to decrease the speed. 3) To confirm the new speed, press and hold the MY button until the shade jogs. Copyright © 2009 Somfy SAS. All rights reserved - V0 - 09/2009... -
Page 13: End Limit Re-Adjustement
3) Press and hold the UP or DOWN button to move the shade to the new desired position. 4) To confirm the new limit press and hold the MY button until the shade jogs. Copyright © 2009 Somfy SAS. All rights reserved - V0 - 09/2009... -
Page 14: Modifying The Motor Rotation Direction
Erasing the memory of the motor To reset the motor, press the prog button on the motor head until the shade jogs 3 times. All the settings are erased. Copyright © 2009 Somfy SAS. All rights reserved - V0 - 09/2009... -
Page 15: Troubleshooting
• The crown is properly fitted to the tube. • The end-limits of the motor are properly adjusted. • Verify that the shade is within the recommended weight limit. Copyright © 2009 Somfy SAS. All rights reserved - V0 - 09/2009... - Page 16 تشغيل الحدود النهائية أثناء دوران المحرك • تركيب التاج بطريقة صحيحة مع الماسورة • ضبط الحدود النهائية للمحرك بطريقة صحيحة • .تحقق أن وزن الستارة في النطاق الموصى به • Copyright © 2009 Somfy SAS. All rights reserved - V0 - 09/2009...
- Page 17 .فيتم محو جميع المحساسات محو ذاكرة المحرك PROG. PROG. إلعادة ضبط المحرك، اضغط على زر البرمجة على رأس المحرك إلى أن تتحرك الستارة ببطء .3 مرات .فيتم محو جميع أوضاع الضبط Copyright © 2009 Somfy SAS. All rights reserved - V0 - 09/2009...
- Page 18 اضغط على زر الرفع أو زر اإلنزال وأبقه مضغوطا لتحريك الستارة إلى الوضع المرغوب .به الجديد وأبقه لتأكيد الحد الجديد، اضغط على زر .مضغوطا إلى أن تتحرك الستارة ببطء Copyright © 2009 Somfy SAS. All rights reserved - V0 - 09/2009...
- Page 19 أثناء تحرك الستارة، اضغط على زر الرفع لوهلة قصيرة لزيادة السرعة أو اضغط على زر .اإلنزال لوهلة قصيرة لخفض السرعة لتأكيد السرعة الجديدة، اضغط على زر .وأبقه مضغوطا إلى أن تتحرك الستارة ببطء Copyright © 2009 Somfy SAS. All rights reserved - V0 - 09/2009...
- Page 20 تظل على وضعها (الوضع المفضل السفلي) إذا لم يكن قد تم تخزين وضع اختفاء .الشمس وظيفة تحريك الستارة تبع ا ً لشدة الرياح ال تتوافق .مع هذا المحرك Copyright © 2009 Somfy SAS. All rights reserved - V0 - 09/2009...
- Page 21 لمحساس ّ ; اضغط بسرعة على زر PROG إلجراء اإلضافة أو المحو: فتتحر ّ ك PROG. PROG. (C) RTS أو الستارة ببطء ويتم برمجة محساس .محوه من المحرك Copyright © 2009 Somfy SAS. All rights reserved - V0 - 09/2009...
- Page 22 إلمالة الشرائح، اضغط على زر الرفع أو زر الخفض وأبقه مضغوط ا ً أو استخدم الزر الدوار في جهاز التحكم عن بعد إلى أن تصل الشرائح إلى .الوضع المرغوب به Copyright © 2009 Somfy SAS. All rights reserved - V0 - 09/2009...
- Page 23 .وزر الخفض في وقت واحد اضغط على زر .فتتحرك الستارة إلى وضع اختفاء الشمس وأبقه مضغوطا إلى أن تتحرك اضغط على زر .الستارة ببطء .فيتم محو وضع اختفاء الشمس Copyright © 2009 Somfy SAS. All rights reserved - V0 - 09/2009...
- Page 24 وزر الخفض ثم اضغط على زر .الستارة ببطء محو الوضع المفضل ، قم بتحريك الستارة لمحو الوضع المفضل إلى أن إلى هذا الوضع ثم اضغط على زر .تتحرك الستارة ببطء Copyright © 2009 Somfy SAS. All rights reserved - V0 - 09/2009...
- Page 25 اضغط على زر البرمجة على ظهر نقطة التحك ّ م إلى أن يتحرك المحرك. فيتم الالسلكي ّ ة تخزين عنوان نقطة التحك ّ م الالسلكي ّ ة .بشكل دائم Copyright © 2009 Somfy SAS. All rights reserved - V0 - 09/2009...
- Page 26 .المحرك بالبراغي قم بتركيب الماسورة التي تحتوي على المحرك على الدعامة الطرفية قم بتركيب الماسورة التي تحتوي على المحرك على دعامة المحرك التمديدات السلكية .قم بتوصيل كابل الكهرباء بالمحرك Copyright © 2009 Somfy SAS. All rights reserved - V0 - 09/2009...
- Page 27 .»تعليمات األمان التي يجب اتباعها، باإلضافة إلى القواعد العامة، مشروحة في هذا الدليل وفي المستند المرفق «تعليمات األمان ال تغمر المحرك أبدا في أي تجنب تعريض المحرك !سوائل !للصدمات !ال تثقب المحرك أبدا تجنب تعريض المحرك !للسقوط Copyright © 2009 Somfy SAS. All rights reserved - V0 - 09/2009...
- Page 28 Copyright © 2009 Somfy SAS. All rights reserved - V0 - 09/2009...
- Page 29 Copyright © 2009 Somfy SAS. All rights reserved - V0 - 09/2009...
- Page 30 Copyright © 2009 Somfy SAS. All rights reserved - V0 - 09/2009...
- Page 31 Copyright © 2009 Somfy SAS. All rights reserved - V0 - 09/2009...
- Page 32 Fax: +961 (0) 1 391 228 Export: Somfy Export Thailand:Bangkok Regional Office Malaisia: Somfy Malaisia: +60 (0) 3 228 74743 Tel: + 33 4 50 96 70 76 Tel: +66 (0) 2714 3170 Tel: + 33 4 50 96 75 53...
Need help?
Do you have a question about the Sonesse 30 RTS and is the answer not in the manual?
Questions and answers