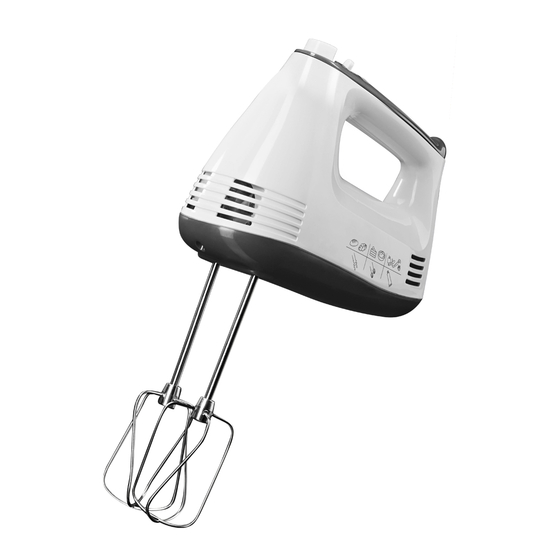
Silvercrest SHMS 300 A1 Operating Instructions Manual
Hand mixer set
Hide thumbs
Also See for SHMS 300 A1:
- Operating instructions manual (57 pages) ,
- Operating instructions manual (41 pages) ,
- Operating instructions manual (51 pages)
Summary of Contents for Silvercrest SHMS 300 A1
- Page 1 KOMPERNASS GMBH BURGSTRASSE 21 · D-44867 BOCHUM www.kompernass.com ID-Nr.: SHMS300A1-04/10-V2 KITCHEN TOOLS Hand Mixer Set SHMS 300 A1 Hand Mixer Set Operating instructions...
- Page 2 SHMS 300 A1...
-
Page 3: Table Of Contents
CONTENT Intended Use Technical data Important safety instructions Items supplied Description of Components Unpacking Placing Speed levels Operation Kneading and Whisking ...4 Blending...5 Cleaning Disposal Warranty and Service Importer Read the operating instructions carefully before using the appliance for the first time and preserve this booklet for later reference. -
Page 4: Intended Use
• Children should be supervised to ensure that they do not play with the appliance. • Do not use the hand mixer outdoors. The appliance is intended exclusively for domestic use indoors. • Unplug the power cable after every use and before cleaning, so as to prevent the appliance from switching itself on inadvertently. -
Page 5: Items Supplied
• Check that all of the items listed are present and that they do not show signs of damage. Placing • Place the mixer stand 6 onto a level surface. Three suction discs have been fixed to the base of the mixer stand 6 to prevent it sliding during operation. -
Page 6: Speed Levels
6. 6. Press the release button for tilting 5 and lower the holder downwards. 7. Place the hand mixer on the holder so that it firmly engages. 8. Slide the lid 9 into the guiderails on the mixing bowl 6 so that it is firmly seated. -
Page 7: Blending
• To ensure an effective blending of the ingredients, the foodstuffs to be processed should cover at least the lower section of the blender w. • First switch the hand mixer on when the blender w has been inserted into the ingredients to be blended. -
Page 8: Cleaning
4. Push the speed switch 1 into the position "Blender" (s. section " Speed levels“) and press the Turbo button 0. Keep the Turbo button 0 pressed down during the whole procedure. The appliance stops as soon as it is released. Warning: Do not operate the blender w for longer than 1 minute in one session. -
Page 9: Warranty And Service
Warranty and Service The warranty for this appliance is for 3 years from the date of purchase. The appliance has been ma- nufactured with care and meticulously examined be- fore delivery. Please retain your receipt as proof of purchase. In the event of a warranty claim, please make contact by telephone with our Service Depart- ment.


Need help?
Do you have a question about the SHMS 300 A1 and is the answer not in the manual?
Questions and answers