Advertisement
Quick Links
Quick Start Guide
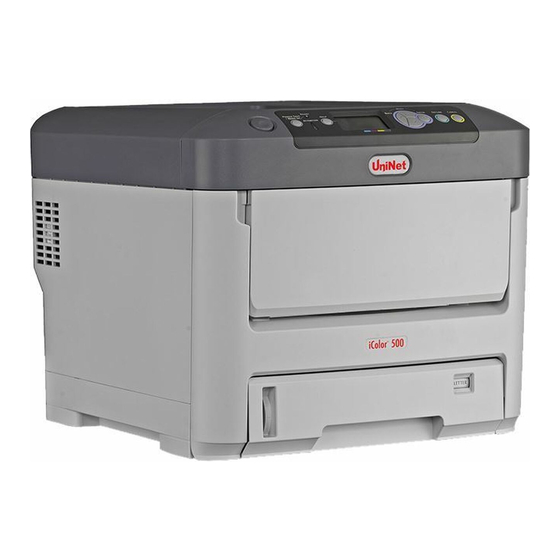
for the iColor 500
1. Remove the packing materials
2. Remove the fuser lock.
and check the components.
3. Uninstall the cartridges to remove the protective orange film from each. Lock the blue lever forward. Reinstall the cartridges.
* Please note the blue handle on the white cartridge is already in the locked position *
4. Using the provided USB drive "UniNet iColor Software", install the driver.
Only connect the Printer to the PC when prompted to by the software.
5. Connect the power cord and USB cable to the printer. Power on the printer.
6. If purchased, install the iColor TransferRIP software and insert the
dongle into an available USB port. The software is located on the
"UniNet iColor Software" USB Drive.
When prompted, enter the Update Code.
Your code is in a text file on the "UniNet iColor Software" USB Drive.
Please copy and paste the entire string of code. The date below
will automatically populate. Then click "Close".
3232 W. El Segundo Blvd, Hawthorne, California 90250 - sales@icolorprint.com www.icolorprint.com
Advertisement

Summary of Contents for Uninet iColor 500
-
Page 1: Quick Start Guide
“UniNet iColor Software” USB Drive. When prompted, enter the Update Code. Your code is in a text file on the “UniNet iColor Software” USB Drive. Please copy and paste the entire string of code. The date below will automatically populate. Then click “Close”. - Page 2 7. In Step 1 of the iColor TransferRIP software, import the two cartridge being installed. Click on “Color Mapping”. Choose the profiles. The profiles are located on the “UniNet iColor Software” desired color mapping option. The location of the cartridges in USB Drive.


Need help?
Do you have a question about the iColor 500 and is the answer not in the manual?
Questions and answers