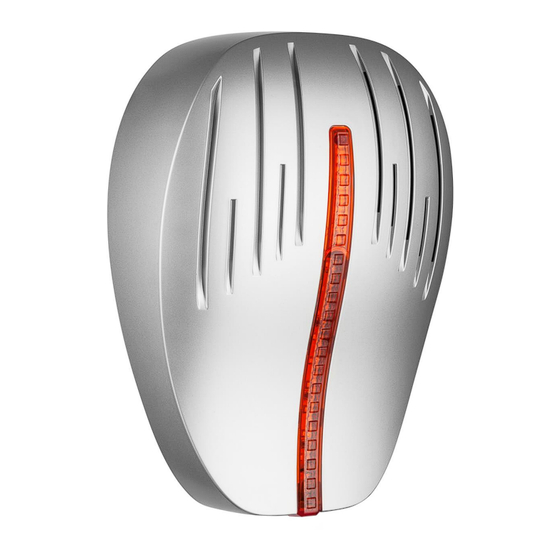
Summary of Contents for Venitem RIO L
- Page 1 INSTALLATION MANUAL SOUNDER MODELS RIO L – RIO LS MA-SE-RIO0-01-03 Manuale Rio eng rev3 Rev.3 Page 1 of 6...
- Page 2 The tamper devices detecting removal, sounder opening, foam and shock are to be connected in series. In case of tamper attempt, they open the contact between the two TAMPER terminals thus triggering off the alarm. Sounder mod. RIO LS: technical features as RIO L with double micro switch anti-foam circuit provided of anti-shock technology against hard hits.
- Page 3 MOUNTING: Screw the sounder on the wall and check if the tamper works properly; Insert the connection cables through the holes located on the lower part of the sounder base; If necessary, modify the default settings by acting on the dipswitches as shown in the charts below; Connect battery and power supplying to the alarm control panel;...
- Page 4 2. THREE-WIRE CONNECTION Connect 13.8 Volt supplying coming from control panel to the dedicated terminals: -RIC negative; +RIC positive. (+C trigger must be jumped to +RIC ); RES negative trigger for flash reset. Note: by default, DIPSWITCH N°2 is set in OFF position, POSITIVE-MISSING TRIGGER Micro-switch wires MAIN Main tamper line...
- Page 5 15° 102.3 112.9 dB (L) 45° 112.2 113.2 dB (LS) 75° 113.2 105° 111.3 135° 108.7 165° 100.8 RIO L DIP 3 in ON position Angolo dB (A) @1m 15° 102.0 45° 110.6 75° 112.9 105° 111.8 135° 109.1 165°...
- Page 6 WARRANTY All Venitem products are granted against factory or material defects. In order to improve design and quality of the products, Venitem reserves the right to modify the products without prior notice. All faulty or defective products must be returned to the supplier...


Need help?
Do you have a question about the RIO L and is the answer not in the manual?
Questions and answers