Table of Contents
Advertisement
Advertisement
Table of Contents

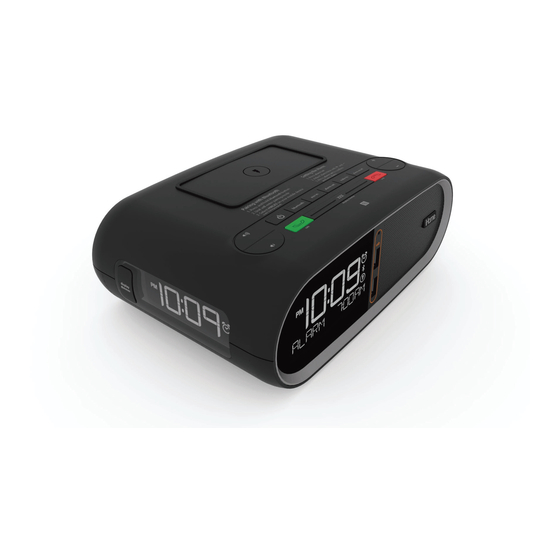
Summary of Contents for iHome HWL83
- Page 1 HWL83 Sta Quick Start Guide Included • HWL83 system • Universal AC adaptor...
-
Page 2: Charging Devices
Set Up Remove thumbscrew remove back security cover to access sta controls (volume limit switch, DST switch, time set button, time zone button), and DC jack. Connect the universal voltage outlet AC adapter to the wall outlet and the DC jack on the back panel of the unit. - Page 3 Setting the Time Zone and Clock (Factory Preset Clock) The rst time you connect your new preset clock to the AC outlet, the unit will automatically show the correct Eastern Standard time, which is the default setting. If you are not in the Eastern time zone, you must change the default setting to match your time zone (see Time Zone Setting below).
-
Page 4: Daylight Saving Time
Press and release the time zone button to con rm time zone setting. time zone Daylight Saving Time The unit ships with the Daylight Saving Time (DST) switch in Auto position, and will automatically adjust when the time changes in March and November. To switch manually, slide switch to +1 to add an hour or to -1 to subtract an hour. -
Page 5: Manual Clock Setting
Manual Clock Setting Press and hold the time set button on the back of the unit to enter clock setting mode. The time will ash and CLOCK SET will appear on the display. time set Press the - or + button to adjust time (hold for rapid adjust). Make sure to set the correct AM or PM time. - Page 6 Press the time set button to con rm year. The date will ash. time set Press the - or + button to set the date (hold for rapid adjust). Press the time set button. 2 beeps will con rm Clock Setting is complete.
-
Page 7: Battery Backup Installation
When Low Battery Icon ashes on the right of the display, replace backup batteries with 2 fresh AA batteries. Keep unit connected to AC power when replacing batteries or you will lose settings. Make sure to match polarity (+/–) on batteries as shown below. - Page 8 Cable on AC adapter Once sta has completed setup, adjust cable on AC adapter to t under the cable housing on the security cover on back of unit and tighten thumbscrew. • Place the unit on a level surface away from sources of direct sunlight or excessive heat.
- Page 9 Folded size: 108x 140(mm) HWL83 Quick Start Guide (English) - Front Size: 432 x 140 mm Color: 1C + 1C (Black) Material: 100 gsm WF paper Date: Feb 01, 2015 Set Up Setting the Time Zone and Clock HWL83 Press and release the time zone button to con rm time zone (Factory Preset Clock) setting.
-
Page 10: Important Safety Instructions
HWL83 Legal Sheet - Front HWL83 Legal Sheet - Back Size: 108 x 140 mm Size: 108 x 140 mm 1C + 1C Printing Color: Black Printing Color: Black Mat’l: 100 gsm WF paper Mat’l: 100 gsm WF paper Jan 08, 2016...


Need help?
Do you have a question about the HWL83 and is the answer not in the manual?
Questions and answers